 Save to Pinterest
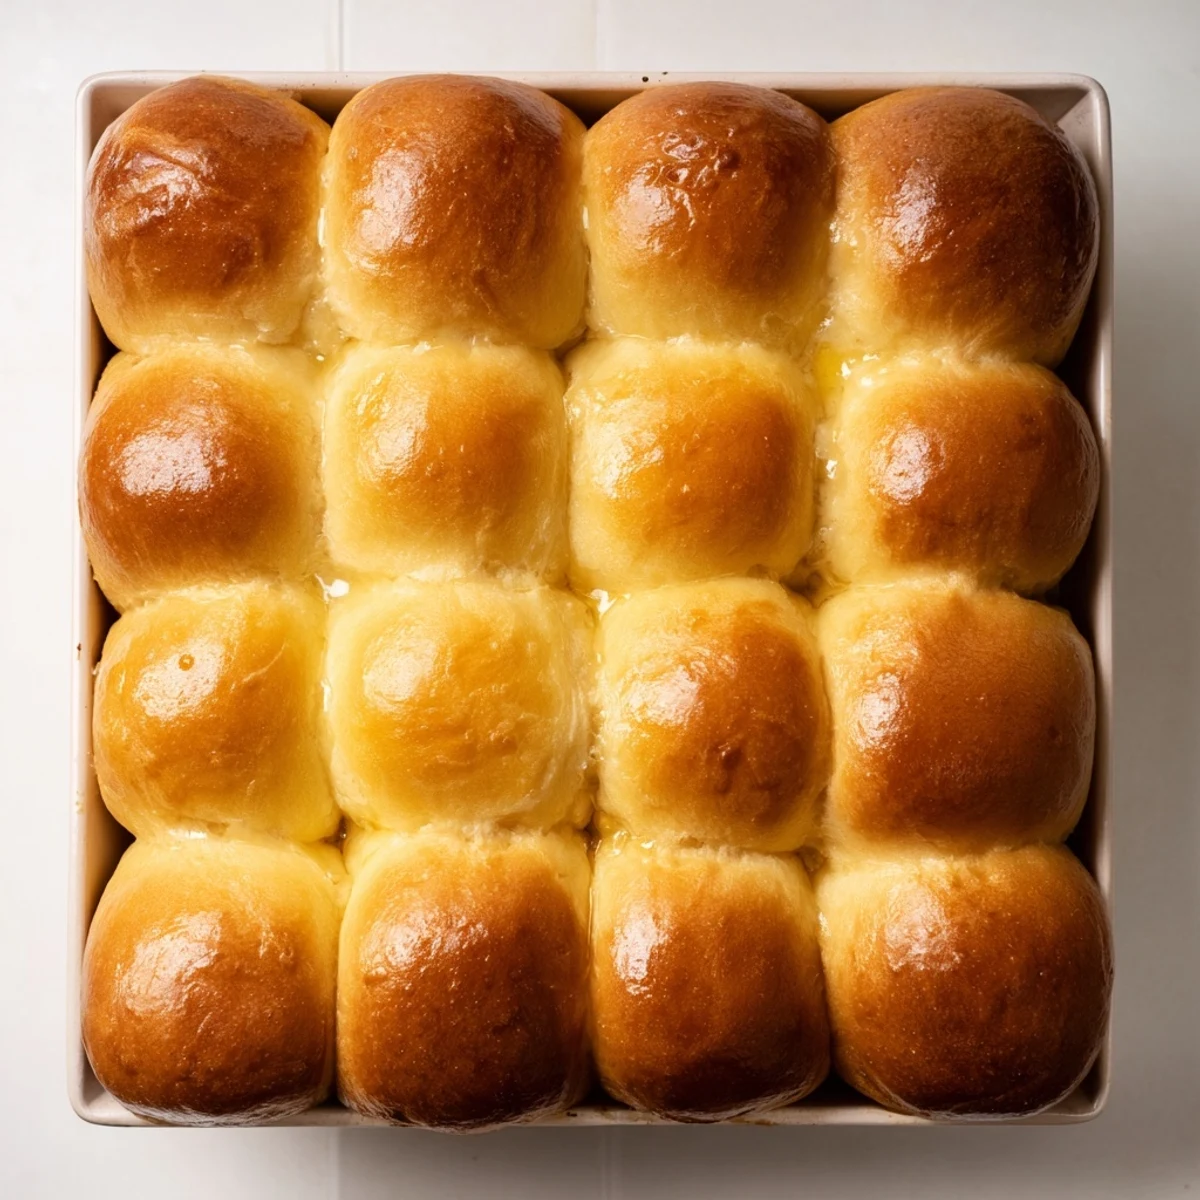
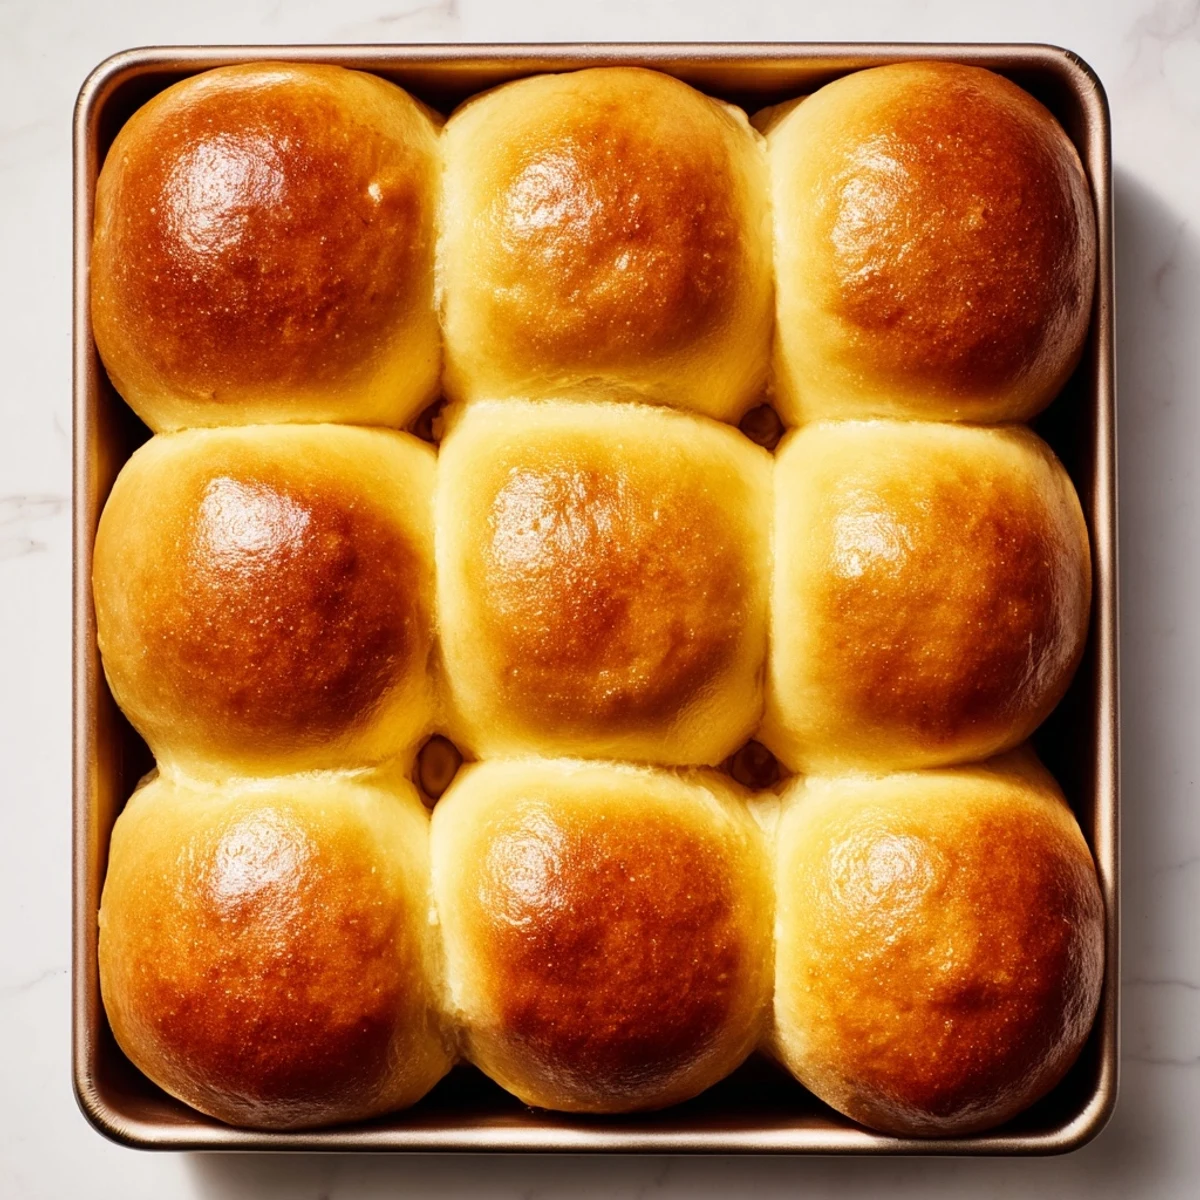
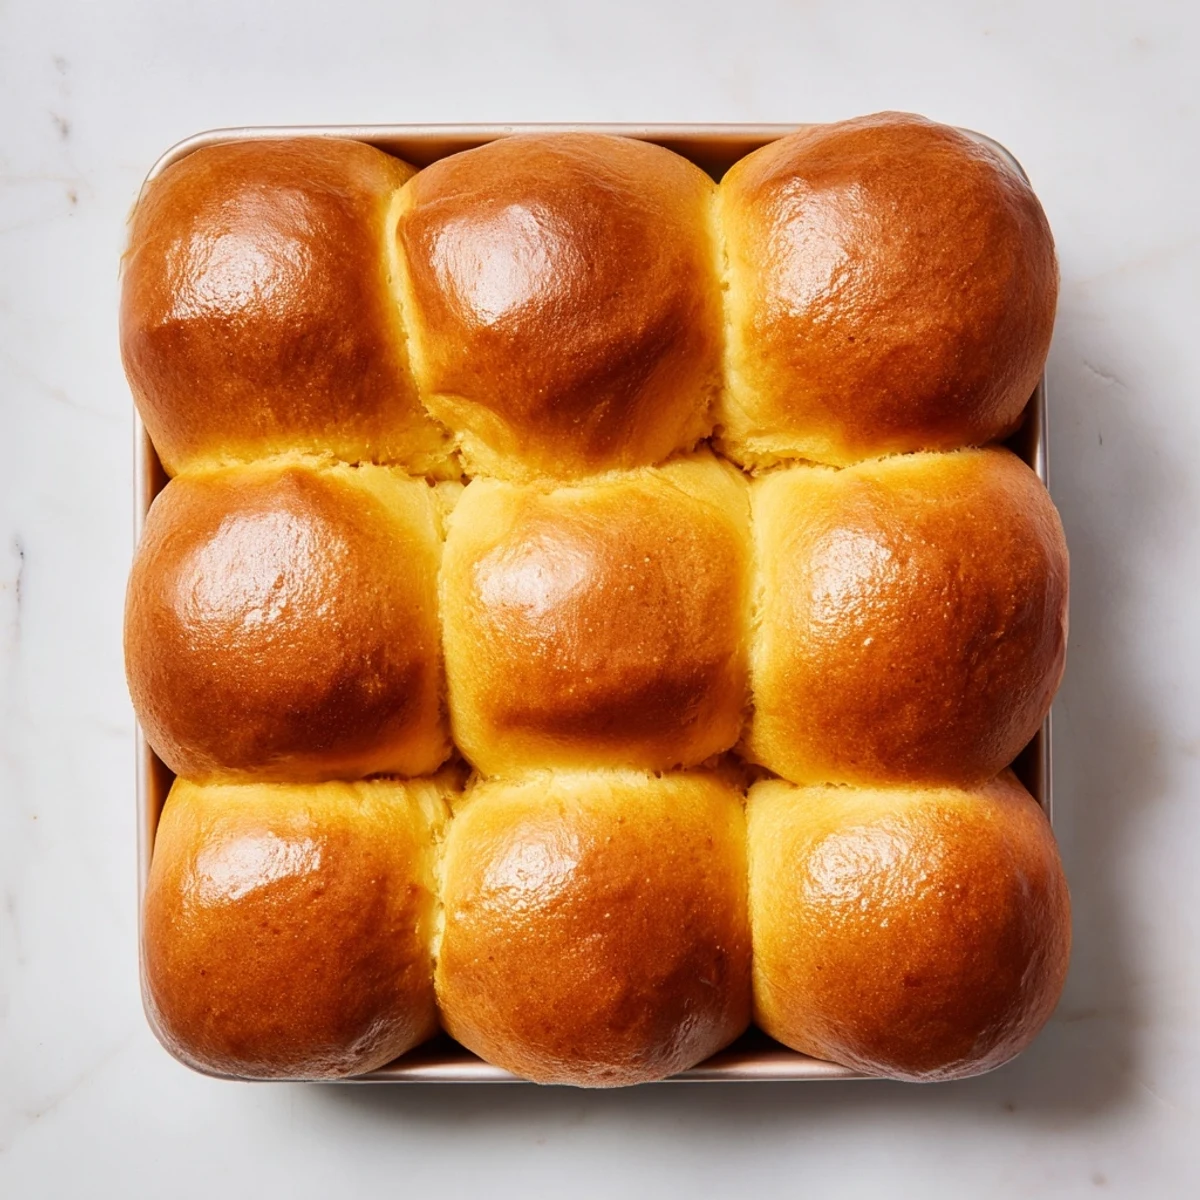
 These classic French brioche rolls deliver unmatched richness and tenderness through generous butter and eggs. The dough requires a two-stage rise process that develops incredible depth and creates those signature airy pockets inside each golden roll.
Perfect for serving warm with jam and honey at breakfast, or alongside your favorite savory dishes at dinner. The preparation involves kneading softened butter into the dough piece by piece, ensuring proper incorporation for that melt-in-your-mouth texture brioche is famous for.
The first time I made brioche, my kitchen smelled like a French bakery at dawn. That warm buttery fragrance drifted through every room, pulling everyone out of bed hours before breakfast. Now these rolls are my go-to when I want to make ordinary weekends feel special. Something about the process feels like magic.
Last Sunday, my sister stopped by unexpectedly and walked right to the oven, asking what smelled so incredible. We tore into the rolls straight from the pan, steam rising between our fingers, butter melting into our palms. She took three home and texted me before even reaching her house. Now that is a compliment.
Ingredients
- 3 1/2 cups all-purpose flour: This creates the perfect structure while keeping the crumb tender
- 1/4 cup granulated sugar: Just enough to help the yeast work and create that gorgeous golden crust
- 2 1/4 tsp instant dry yeast: Instant yeast cuts down on proofing time without sacrificing rise
- 1 tsp fine sea salt: Do not skip this, it balances all that rich butter perfectly
- 4 large eggs: Room temperature eggs incorporate better into the dough for consistent results
- 1/2 cup whole milk: Lukewarm milk wakes up the yeast without killing it off
- 10 tbsp unsalted butter: Softened and cubed butter creates those signature flaky layers
- 1 large egg: Mixed with milk for that shiny professional looking finish
- 1 tbsp whole milk: Thins the egg wash just enough for even browning
Instructions
- Start the dough foundation:
- Combine flour, sugar, yeast, and salt in your stand mixer bowl, giving it a quick mix to distribute everything evenly
- Bring it together:
- Add those room temperature eggs and lukewarm milk, mixing on low until you see a rough shaggy dough forming
- Add the butter slowly:
- With mixer on medium, drop in butter cubes one at a time, letting each disappear completely before adding the next, then knead for 8 to 10 minutes until the dough pulls away from the bowl and feels smooth like satin
- Let it rise:
- Place dough in a greased bowl, cover with a warm towel, and walk away for 1 to 1.5 hours until it has doubled in size
- Shape the rolls:
- Punch down gently, divide into 12 equal pieces, and tuck the edges under to create smooth tight balls
- Second rise:
- Arrange in your greased pan, cover again, and let them puff up for 45 to 60 minutes until they look pillowy and touch back slowly
- Heat things up:
- Preheat your oven to 350°F while you whisk the egg and milk for your wash
- Give them that glow:
- Brush the tops gently with the egg wash, being careful not to deflate those beautiful risen rolls
- Bake to golden perfection:
- Slide into the oven for 18 to 22 minutes until they are deeply golden and sound hollow when tapped
- Enjoy warm:
- Let them cool just slightly in the pan, then tear into one while it is still warm
 Save to Pinterest
 These rolls have become my secret weapon for dinner parties. Last month, my friend actually paused mid conversation after her first bite, closed her eyes, and asked if I would please teach her how to make them. That moment when someone connects with food you made, that is the real magic.
Making Them Ahead
I often make the dough the night before and let it do its first rise in the refrigerator. The cold actually develops more flavor and makes shaping easier the next morning. Just let it come to room temperature for about 30 minutes before shaping.
Getting Creative
Sometimes I tuck a square of dark chocolate or a spoonful of cinnamon sugar inside each ball before that second rise. The surprise center makes these special occasion worthy without any extra work. Lemon zest in the dough also brightens everything up beautifully.
Storing And Freezing
Fresh is obviously best, but these freeze remarkably well if wrapped tightly once completely cooled. Reheat in a 350°F oven for 5 minutes and they taste freshly baked. I always keep a few in the freezer for emergency bread needs.
- Wrap individually if you plan to grab just one at a time
- Do not refrigerate the baked rolls, they will stale much faster
- Freeze the unshaped dough after first rise for a head start later
 Save to Pinterest
 There is something deeply satisfying about pulling a pan of homemade brioche from the oven, golden and steaming. Your kitchen will smell like dreams, and these rolls might just become your family new weekend tradition.
Recipe FAQs
- → What makes brioche different from regular bread?
-
Brioche contains high amounts of butter and eggs, creating a richer, softer crumb and golden color compared to standard bread. The fat content produces that signature tender, cake-like texture that melts in your mouth.
- → Can I make these rolls without a stand mixer?
-
Yes, though kneading by hand will take longer—approximately 15-20 minutes. The butter incorporation requires patience; ensure each cube is fully worked into the dough before adding the next.
- → Why is my brioche dough so sticky?
-
Sticky dough is normal due to high butter and egg content. Resist adding too much flour. The dough becomes more manageable during the first rise as gluten develops and butter chills slightly.
- → How do I know when the rolls are fully baked?
-
Look for deep golden-brown tops and bottoms. The internal temperature should reach 190°F. When tapped, the rolls should sound hollow. If browning too quickly, tent with foil.
- → Can I prepare the dough ahead of time?
-
Absolutely. After the first rise, punch down and refrigerate overnight. Let come to room temperature for 30 minutes before shaping and proceeding with the second rise.
- → What's the best way to store leftover rolls?
-
Store at room temperature in an airtight container for 2-3 days. For longer storage, wrap individually and freeze up to 3 months. Reheat in a 350°F oven for 5-7 minutes.
