
 Save to Pinterest
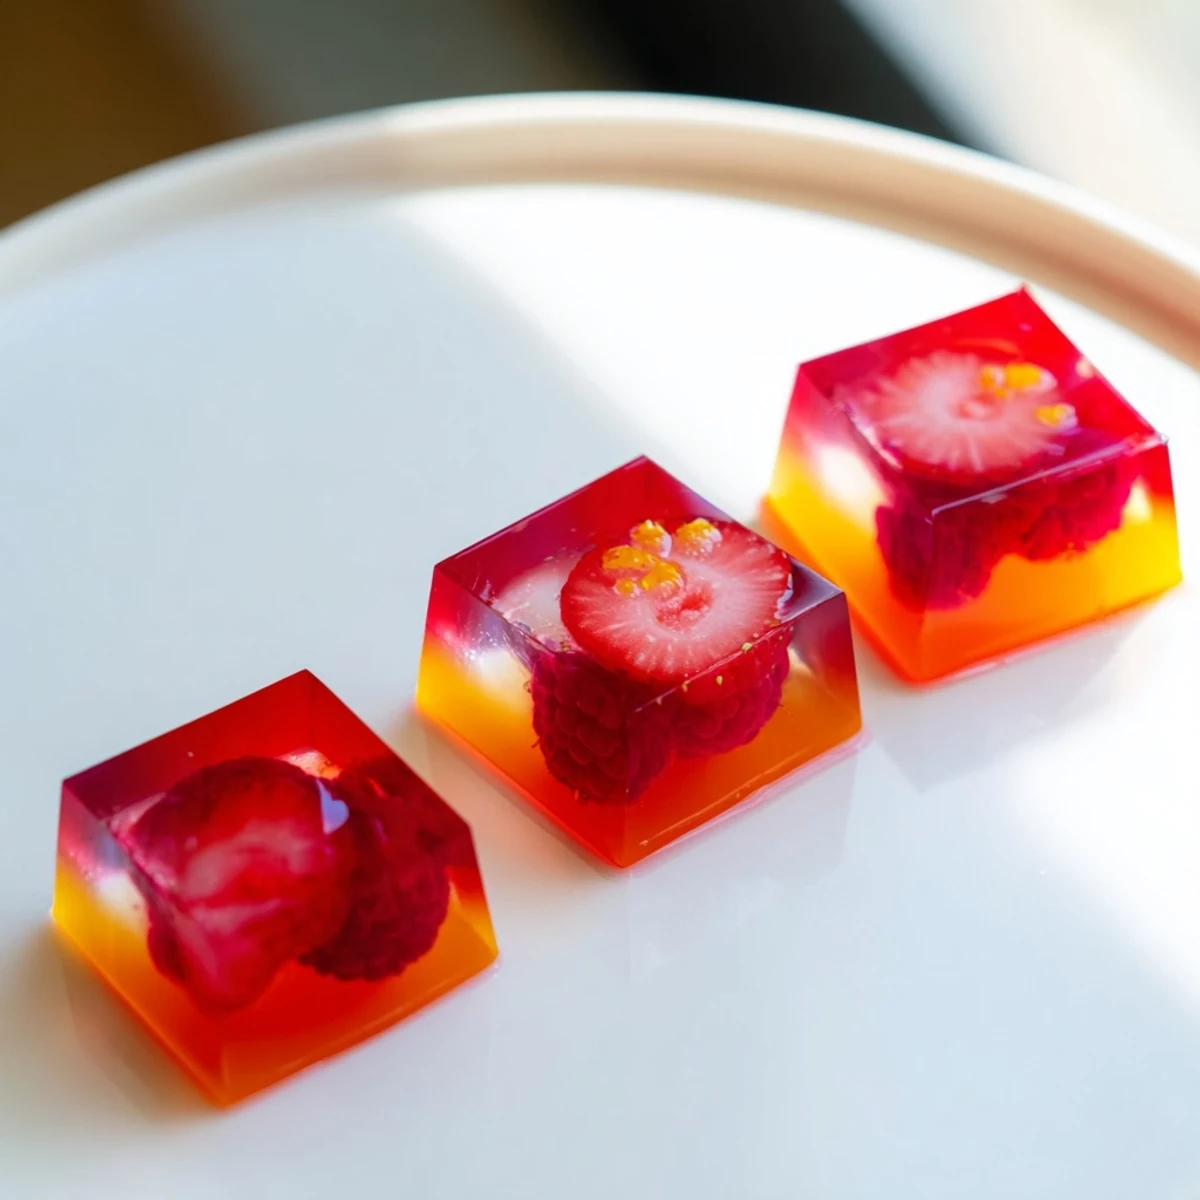
 These collagen fruit jellies combine pure fruit juice with collagen peptides and a touch of honey for a wholesome, protein-rich snack. Ready in about 15 minutes of hands-on time, they chill in the fridge for two hours until perfectly set.
Each jelly delivers 5 grams of protein and only 42 calories, making them an ideal guilt-free dessert or afternoon pick-me-up. Customize with your favorite juice, fresh berries, or citrus zest for endless flavor variations.
My friend Claire brought a tray of jewel toned fruit jellies to our book club potluck last spring, and I spent the entire evening pretending to discuss the novel while secretly plotting how to recreate them at home. The idea of folding collagen into something that tasted like a candy store revelation felt like discovering a loophole in the universe. I went home that night and immediately ordered collagen peptides, then stayed up reading every gelatin science article I could find before my eyes glazed over. Two years later, these little gems have become my most requested contribution to every gathering.
I made a double batch of these for my nieces birthday picnic last July, pouring the mixture into star shaped molds while she stood on a step stool telling me about her teacher's pet lizard. She ate four of them before the cake was even cut, and my sister in law pulled me aside asking for the recipe within the hour.
Ingredients
- Fruit juice (1 cup, 240 ml): Use 100% juice with no added sugar, since this is your flavor backbone and anything diluted will taste flat once set.
- Lemon juice (2 tablespoons): This brightens the overall flavor and helps the gelatin set properly, so do not skip it even if your juice is already citrus based.
- Collagen peptides powder (2 tablespoons): High quality, unflavored collagen dissolves seamlessly here without altering taste, but cheap brands can turn gritty.
- Honey or maple syrup (2 tablespoons): Adjust based on the natural sweetness of your juice, and taste the liquid warm before committing to the full amount.
- Unflavored powdered gelatin (2 tablespoons, about 25 g): This is the structural magic that turns liquid into a satisfying chew, and blooming it properly is nonnegotiable.
- Vanilla extract (1 teaspoon, optional): Adds a soft roundness that pairs beautifully with berry or apple juice bases.
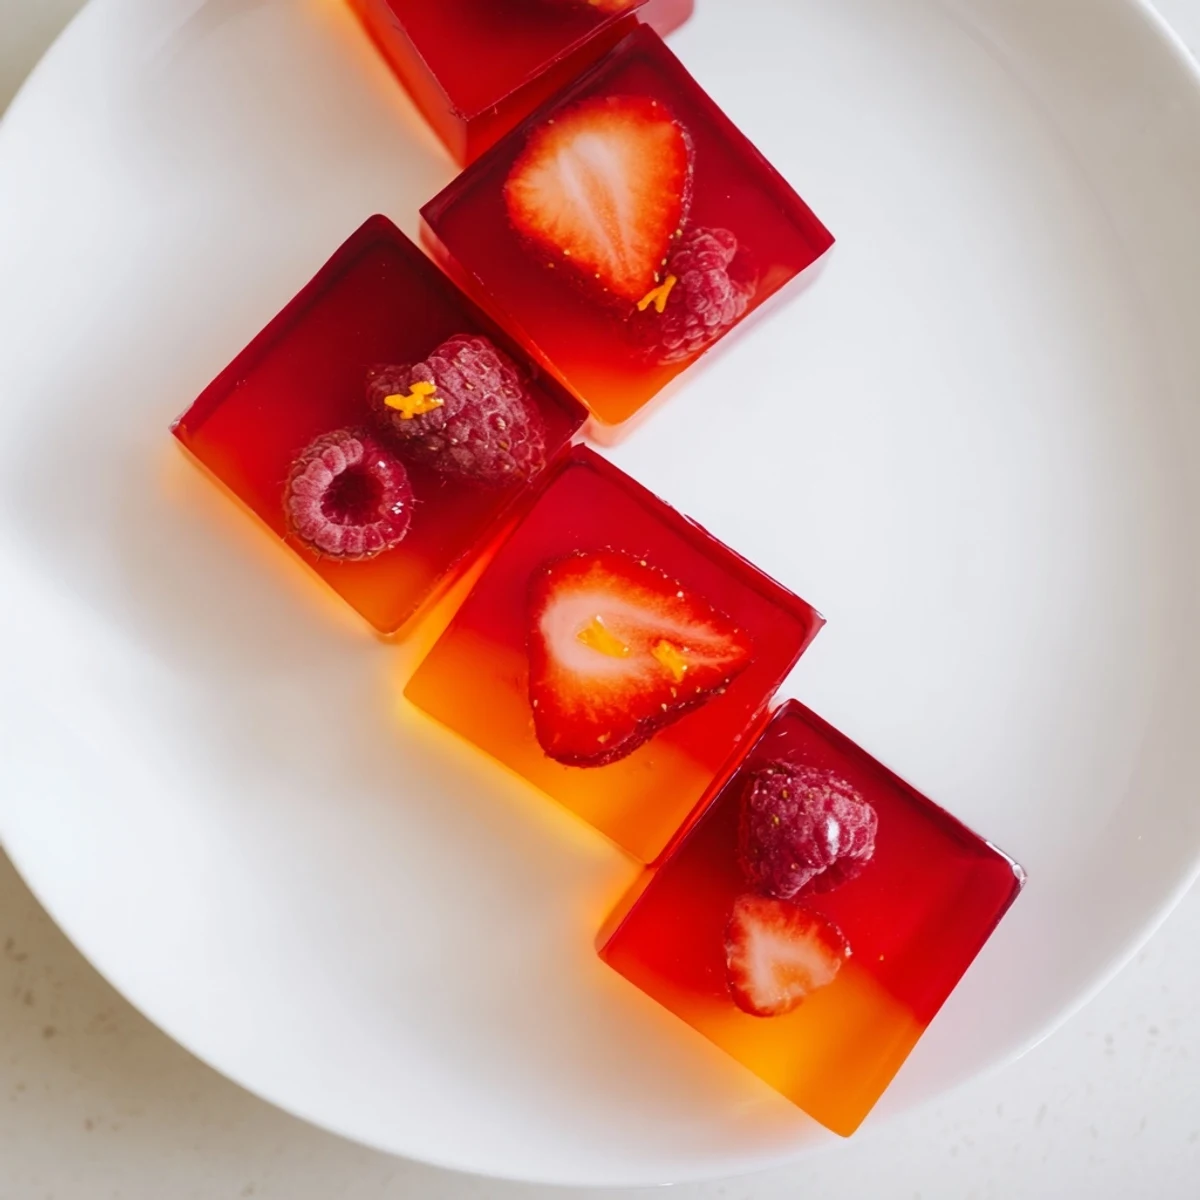
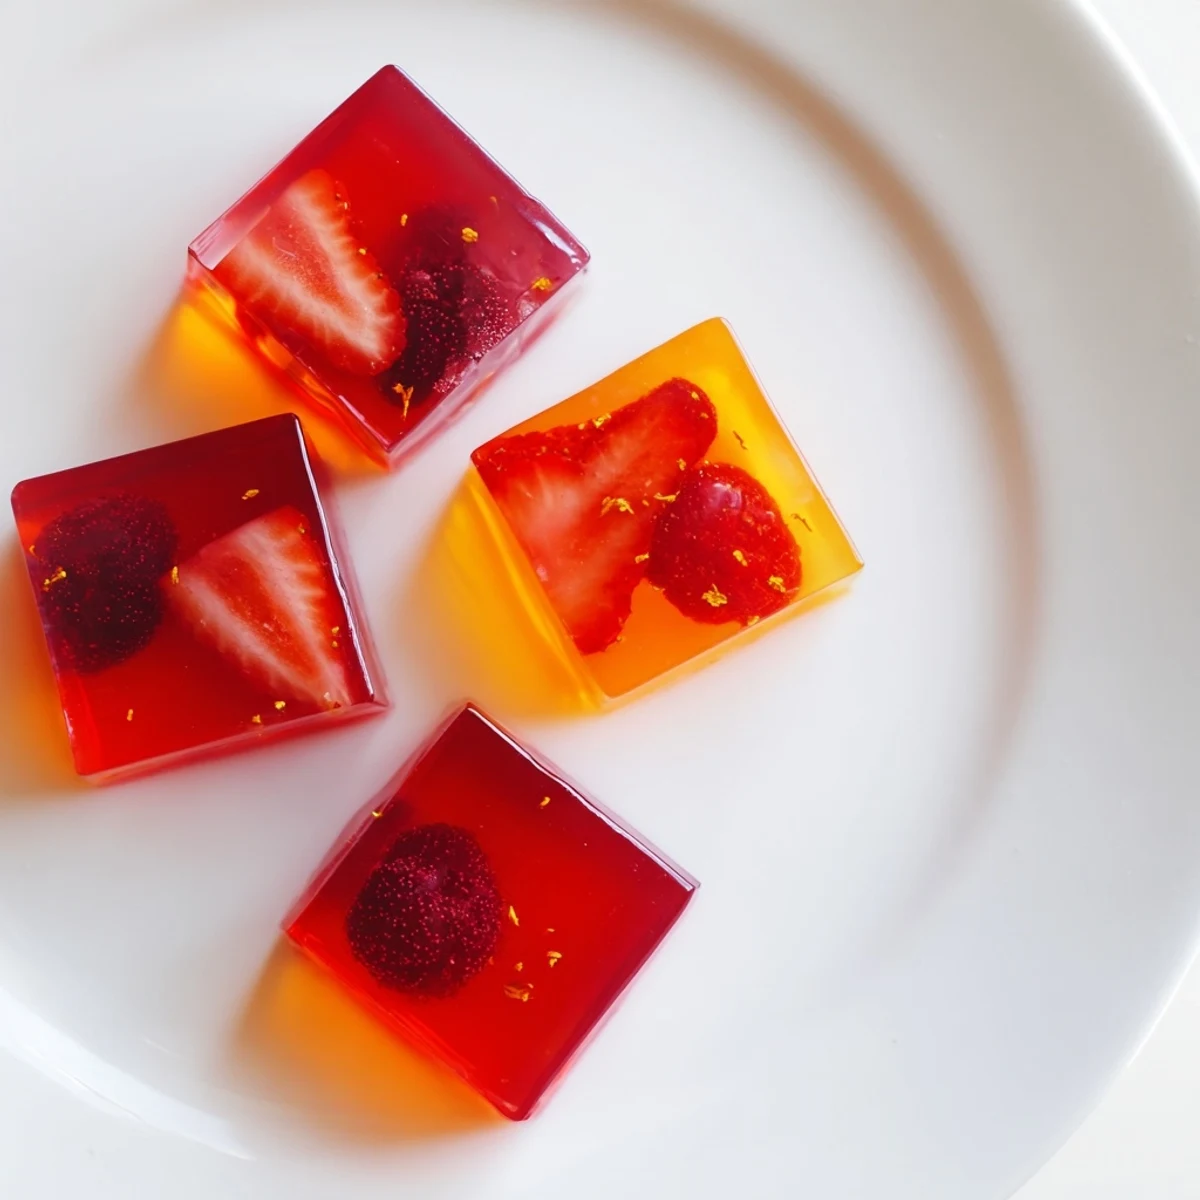
- Sliced fresh berries or citrus zest for garnish (optional): These float inside the jellies like tiny stained glass windows and make each piece feel finished.
Instructions
- Bloom the gelatin:
- Pour the fruit juice and lemon juice into a small saucepan, then sprinkle the gelatin evenly across the surface without stirring. Let it sit for three to five minutes until the powder looks wrinkled and has absorbed the liquid, like a sponge waking up.
- Gently warm the mixture:
- Place the saucepan over low heat and stir with a whisk or spoon until the gelatin completely dissolves and the liquid runs smooth with no visible granules. Resist the urge to let it boil, because high heat degrades the gelatin and leaves you with jellies that weep.
- Add the good stuff:
- Remove the pan from heat and stir in the collagen powder, honey or maple syrup, and vanilla extract if you are using it. Keep stirring until everything is fully incorporated and the mixture looks glossy and uniform.
- Taste and adjust:
- Dip a small spoon in and check the sweetness level, remembering that cold dulls sweetness slightly, so aim just a touch sweeter than you think you need.
- Pour into molds:
- Transfer the liquid carefully into silicone jelly molds or a lightly oiled, parchment lined square baking dish. If you are using a dish, the jellies will be sliceable squares later.
- Add garnishes:
- Drop sliced berries or a pinch of citrus zest into each mold now, pressing gently so they suspend beautifully in the middle rather than floating to one side.
- Chill until set:
- Refrigerate for at least two hours, though overnight yields the most satisfying texture. The jellies are ready when they feel firm and bounce back slightly when pressed with a fingertip.
- Unmold and serve:
- Pop the jellies out of silicone molds by pressing from the bottom, or cut the slab in the baking dish into neat squares with a sharp knife. Serve them chilled for the best texture and flavor.
 Save to Pinterest
 The morning after my first successful batch, I opened the fridge and found those glowing ruby squares sitting on the shelf like something between a vitamin and a piece of art, and I realized this recipe had quietly become part of my weekly rhythm.
Choosing the Right Juice Matters More Than You Think
Not all fruit juices behave the same way when combined with gelatin. Freshly squeezed juices produce the brightest flavor and clearest set, while store bought varieties sometimes contain enzymes or additives that interfere with gelling. Pineapple juice, for instance, contains bromelain that can prevent setting unless it has been pasteurized. I learned this the hard way with a batch that stayed stubbornly liquid overnight and had to be repurposed as a smoothie base. Stick with orange, berry, apple, or grape for reliable results, and always check that the label says 100% juice.
Storing Your Jellies Properly
These jellies keep beautifully in an airtight container in the refrigerator for up to five days, though in my house they rarely survive past day two. Avoid stacking them directly on top of each other without a layer of parchment in between, because they will stick and tear. Freezing is not recommended since the texture turns grainy and unpleasant upon thawing. If you are bringing them to a gathering, transport them in a cooler bag with an ice pack so they maintain their shape.
Making Them Your Own
Once you master the basic ratio, the variations become genuinely addictive and turn your kitchen into a tiny jelly laboratory.
- Try layering two different juice flavors by pouring the first layer, chilling until set, then adding the second layer on top for a beautiful striped effect.
- A tiny pinch of sea salt dissolved into the mixture elevates the fruit flavor in a way that surprises everyone who tries it.
- Always remember that the jellies need at least two full hours in the fridge before you attempt to unmold them, and patience here saves you from a sticky mess.
 Save to Pinterest
 Keep a batch of these tucked in your fridge and you will always have something bright, nourishing, and unexpectedly delightful to offer yourself or anyone who drops by.
Recipe FAQs
- → Can I use any type of fruit juice for these jellies?
-
Yes, you can use any pure fruit juice such as orange, berry, apple, or a blend. Avoid juices with added sugars or pulp-heavy varieties, as they may affect the setting process and clarity of the jellies.
- → Why won't my jellies set properly?
-
The most common reason is not allowing the gelatin to bloom fully before heating. Sprinkle it evenly over cold juice and wait 3–5 minutes. Also make sure the gelatin dissolves completely over low heat without boiling, as high temperatures can weaken its gelling power.
- → How long do collagen fruit jellies last in the fridge?
-
Store them in an airtight container in the refrigerator for up to 5 days. Beyond that, the texture may begin to break down and the flavors can dull.
- → Can I make a vegan version of these jellies?
-
Yes. Replace both the gelatin and collagen with 2½ tablespoons of agar agar powder. Keep in mind the texture will be slightly firmer and more brittle compared to gelatin-based jellies, and you will lose the collagen protein benefit.
- → What molds work best for shaping the jellies?
-
Silicone molds are ideal because they flex easily, allowing you to pop out each jelly without damaging its shape. If you don't have molds, a lined and lightly oiled square baking dish works well—just cut the set mixture into neat squares with a sharp knife.
- → Does heating collagen powder reduce its benefits?
-
Collagen peptides are fairly heat-stable. Gentle warming over low heat, as this method calls for, preserves most of their nutritional integrity. Avoid prolonged boiling or high-temperature exposure to maintain the amino acid profile.