 Save to Pinterest
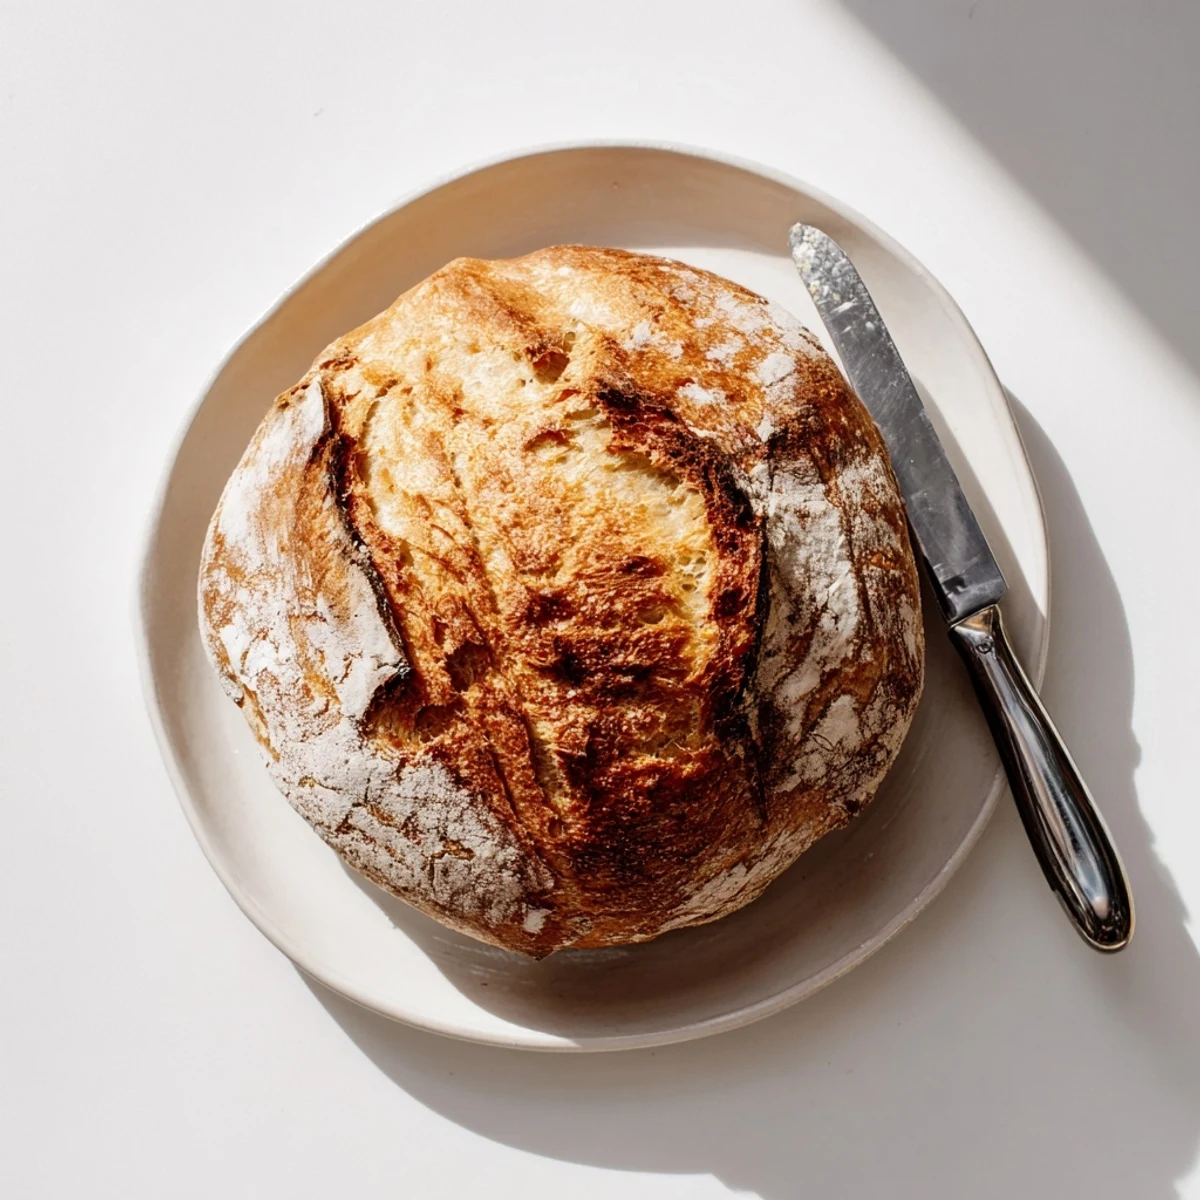
 This effortless no-knead method produces bakery-quality artisan bread with minimal active work. The dough develops deep flavor through a long, slow fermentation at room temperature. Baking in a preheated Dutch oven creates steam, resulting in that signature crackling crust and beautifully airy interior. The technique is forgiving and perfect for beginners—you don't need any special skills or equipment beyond a heavy pot with a lid.
The smell of this bread baking reminds me of a tiny apartment kitchen where I first discovered that patience might be the most important ingredient in baking. I had almost zero counter space and a Dutch oven that barely fit in the oven, but when that crackling crust emerged, I felt like a magician. Now every time I make it, the sound of breaking open the fresh loaf takes me back to that first triumphant moment.
My neighbor once texted me at midnight asking what was baking because the aroma had drifted through the building. I ended up giving her half the loaf still warm from the oven and we sat on her fire escape eating it with nothing but butter. That bread connected us more than any dinner party ever could.
Ingredients
- All-purpose flour: The backbone of your bread, giving structure without requiring specialty flours
- Salt: Do not skip this because it enhances flavor and controls fermentation
- Instant yeast: Works faster than active dry and mixes directly with the flour
- Lukewarm water: Should feel like bath temperature on your wrist, around 70°F to 21°C
Instructions
- Mix the dry ingredients:
- Combine flour, salt, and yeast in a large bowl until evenly distributed
- Add water and mix:
- Pour in the lukewarm water and stir with a spatula until you have a shaggy, sticky dough
- Let it rest overnight:
- Cover the bowl and let it sit at room temperature for 12 to 18 hours until bubbly and doubled
- Shape the dough:
- Turn the dough onto a floured surface and gently form it into a ball using the sides of your hands
- Second rise:
- Place the dough on parchment paper, cover with a towel, and let it rise for 30 to 45 minutes
- Preheat your pot:
- Put your Dutch oven in the oven and heat to 450°F or 230°C for at least 30 minutes
- Bake covered:
- Carefully transfer the dough with the parchment into the hot pot, cover, and bake for 30 minutes
- Finish baking:
- Remove the lid and bake for another 10 to 15 minutes until the crust is deep golden brown
- Cool completely:
- Let the bread rest on a wire rack for at least 30 minutes before slicing
 Save to Pinterest
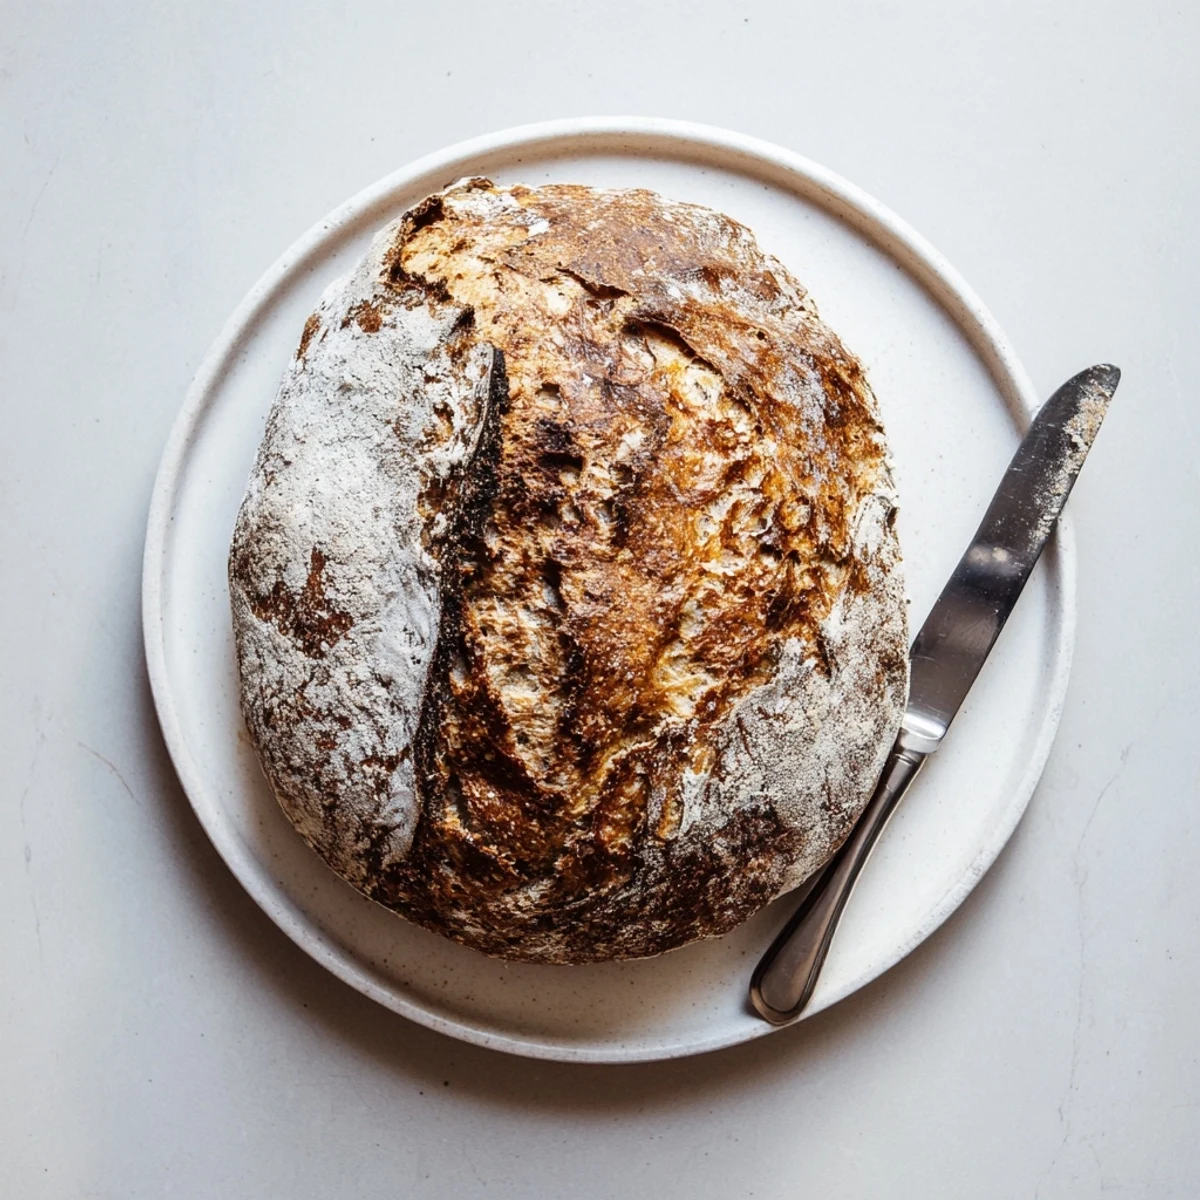
 There is something meditative about the overnight rise that taught me to slow down and trust the process. Every time I check on that bubbling dough in the morning, I feel connected to bakers throughout history who relied on nothing but time and simple ingredients.
Adding Flavor Variations
You can mix in half a cup of chopped olives, roasted garlic, or fresh herbs right at the beginning with the flour. These additions become little surprises tucked throughout the crumb.
Storing Your Bread
Keep the loaf at room temperature for up to two days, wrapped in a cloth or paper bag. If it starts to feel stale, refresh it in a warm oven for 10 minutes to bring back that freshly baked texture.
Getting The Best Crust
The Dutch oven creates steam that gives you that professional bakery crust at home. Make sure not to open the lid during the first 30 minutes of baking.
- Preheat the pot for the full 30 minutes
- Handle the parchment paper carefully when transferring
- Let the bread cool completely before slicing
 Save to Pinterest
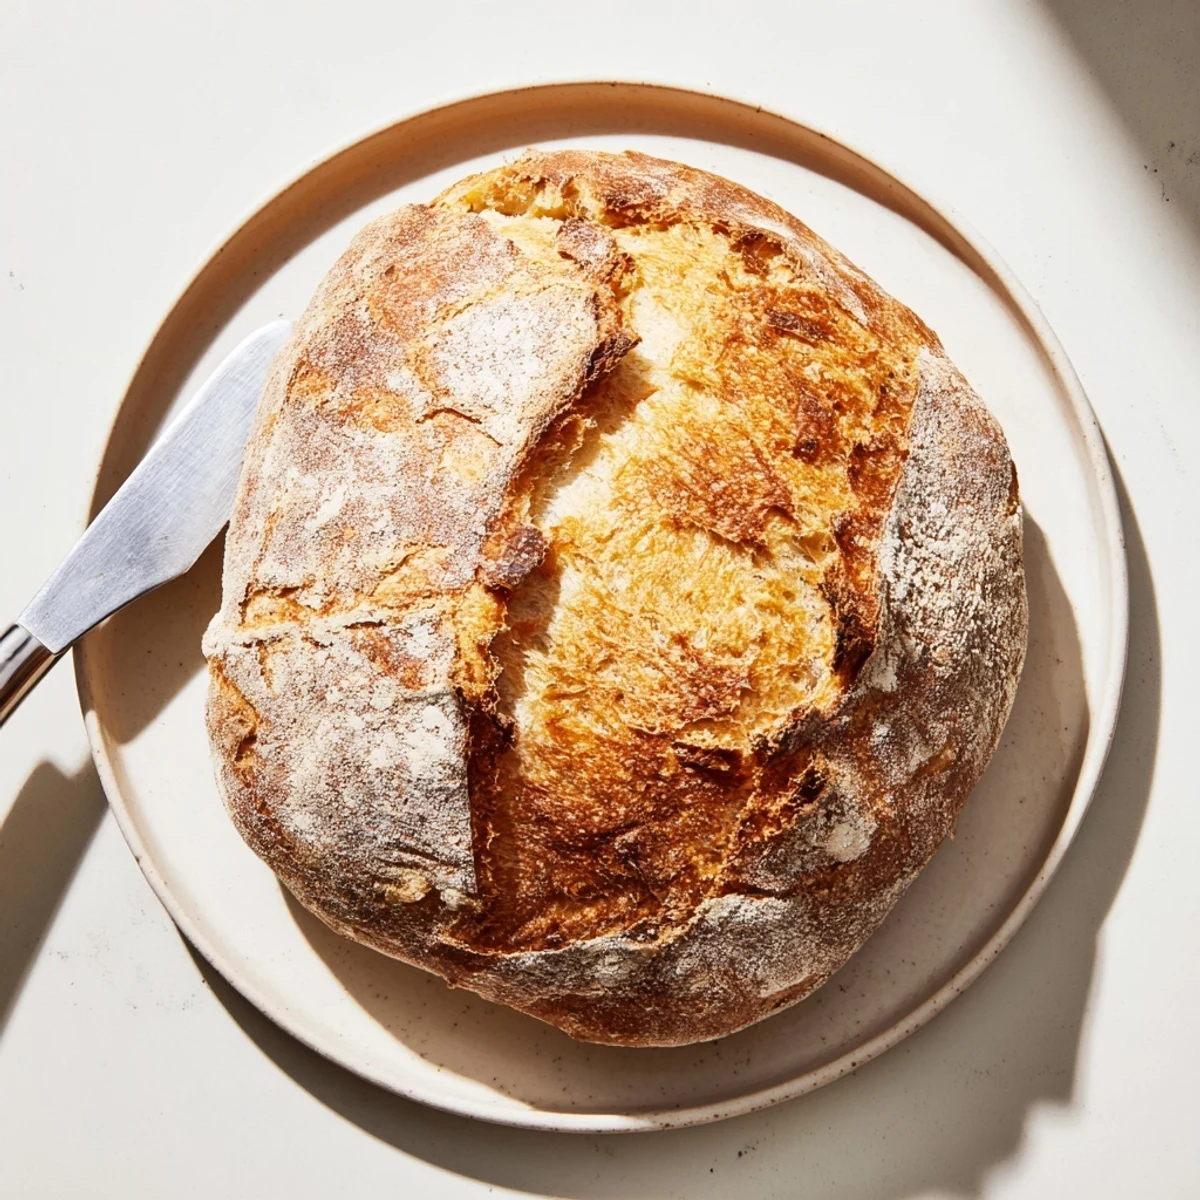
 Homemade bread has a way of turning an ordinary Tuesday dinner into something special. Hope this recipe brings as much joy to your kitchen as it has to mine.
Recipe FAQs
- → Why bake bread in a Dutch oven?
-
The Dutch oven traps steam from the dough, creating a humid environment that allows the bread to expand fully before the crust sets. This results in a loaf with excellent oven spring and a beautifully crackling, golden crust that's difficult to achieve with regular baking methods.
- → Can I speed up the rising time?
-
While tempting, the long slow rise is essential for developing flavor and structure. Reducing the time will result in a denser, less flavorful loaf. Plan ahead and let the dough ferment for the full 12-18 hours for the best texture and taste.
- → How do I know when the bread is done baking?
-
The bread is ready when the crust is deep golden brown and sounds hollow when tapped on the bottom. An instant thermometer inserted into the center should read between 200-210°F (93-99°C). Let it cool completely before slicing for the best texture.
- → Can I add mix-ins like olives or herbs?
-
Absolutely. Add up to ½ cup of chopped olives, roasted garlic, sun-dried tomatoes, fresh rosemary, or other herbs when mixing the dough. These additions will incorporate seamlessly during the long rise and infuse the loaf with wonderful flavor.
- → How should I store the finished bread?
-
Store at room temperature wrapped in a clean cloth or paper bag for up to 2 days. Avoid plastic bags, which will make the crust soft. For longer storage, slice and freeze in a sealed bag—toast individual slices as needed to refresh the crust.
