 Save to Pinterest
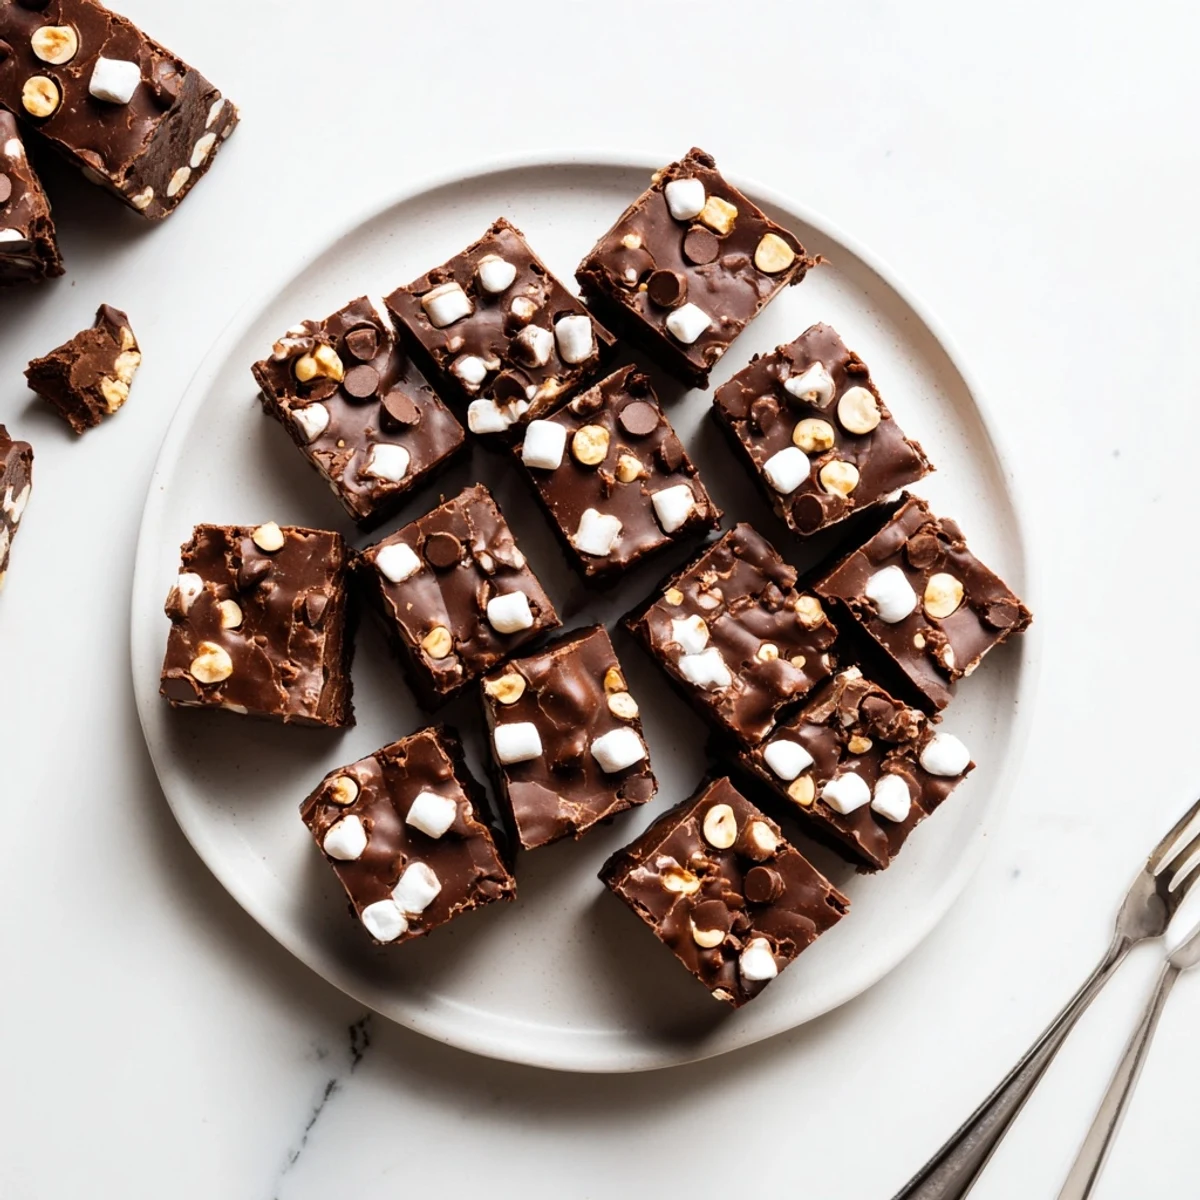
 This luscious rocky road fudge combines velvety semi-sweet chocolate with sweetened condensed milk and butter for an incredibly smooth base. Loaded with mini marshmallows, roasted peanuts or walnuts, and optional milk chocolate chips, every bite delivers the perfect balance of creamy, crunchy, and chewy textures.
The stovetop method takes just 5 minutes of active cooking time, making it perfect for last-minute treats, holiday gifting, or potluck contributions. After a brief chill in the refrigerator, the fudge sets into firm squares that hold their shape while melting in your mouth.
Customize easily by swapping nuts for pecans or almonds, adding dried fruit instead of marshmallows for a nut-free version, or using dark chocolate for an intense cocoa experience. Store in the fridge for up to a week, though these irresistible squares rarely last that long.
The snow was falling sideways when I decided to make fudge for the first time, mostly because I'd eaten all the holiday cookies my neighbor dropped off. Three hours later, I was standing in my pajamas at 11 PM, watching chocolate melt like magic in a saucepan, wondering why I'd ever been intimidated by something so simple. That first batch came out a little lopsided, but my husband took one bite and declared it better than any fancy chocolate shop we'd ever visited.
Last Christmas, my niece helped me make a double batch, and she spent the entire time sneaking marshmallows when she thought I wasn't looking. We ended up with slightly less than the recipe called for, but that fudge disappeared so fast at our family gathering that nobody noticed the missing marshmallows anyway.
Ingredients
- Semi-sweet chocolate chips: I've learned through many batches that quality chocolate makes a huge difference here, so skip the generic store brand and grab something you'd actually eat straight from the bag.
- Sweetened condensed milk: This creates that impossibly smooth texture that sets fudge apart from regular chocolate, and there's really no substitute for its magic.
- Unsalted butter: Just a little adds richness and helps the fudge set properly without making it greasy.
- Mini marshmallows: The mini size distributes better throughout the fudge than regular ones, creating those perfect little pockets of fluff in every bite.
- Roasted nuts: I prefer the extra flavor from already-roasted peanuts or walnuts, but raw nuts work too if you toast them lightly in a dry pan first.
- Milk chocolate chips: Totally optional, but I love how they create little pockets of slightly sweeter chocolate throughout the darker base.
Instructions
- Prep your pan:
- Line an 8x8-inch pan with parchment paper, letting the edges hang over like little handles that will save your life when it's time to lift the fudge out later.
- Melt the base:
- Combine the chocolate chips, sweetened condensed milk, and butter in a medium saucepan over the lowest heat setting your stove has, stirring constantly until everything melts into a glossy, smooth pool of chocolate heaven.
- Cool slightly:
- Take the pan off the heat and let it sit for just 2-3 minutes, because hot chocolate will turn your marshmallows into a sad puddue instead of fluffy little clouds.
- Fold in the goodies:
- Gently stir in the marshmallows, nuts, and extra chocolate chips, being careful not to overmix or you'll break down the marshmallows too much.
- Set and chill:
- Pour everything into your prepared pan and smooth the top with a spatula, then refrigerate for at least 2 hours until completely firm.
- Slice and serve:
- Use those parchment handles to lift the whole block out, then cut into squares with a sharp knife, running it under hot water between cuts for cleaner edges.
 Save to Pinterest
 My grandmother started making fudge every winter after she retired, and it became her signature gift to everyone in the family. Now whenever I smell melting chocolate, I'm transported back to her tiny kitchen with the snow falling outside and her ceramic chickens watching over the stove.
Making It Your Own
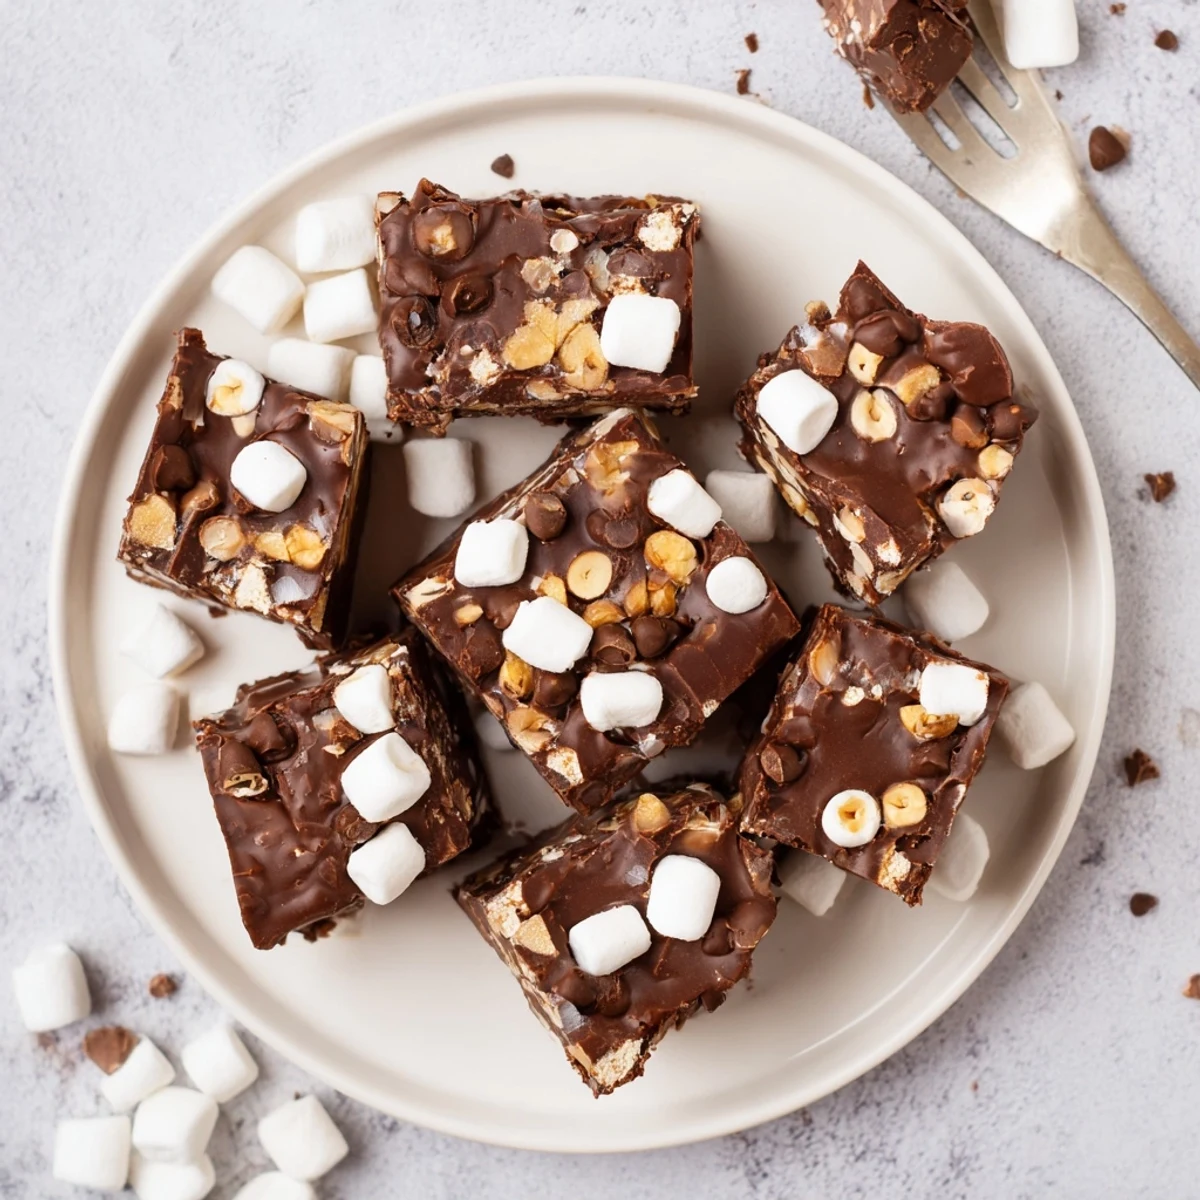
I've made this fudge with dark chocolate for a more sophisticated version, swapped pecans for the peanuts, and even added dried tart cherries one year when I was feeling fancy. The base is so forgiving that almost any mix-in works, though I've learned that some additions need to be folded in gently so they don't sink to the bottom.
Storage Secrets
This fudge actually tastes better after sitting in the fridge for a day, as the flavors have time to meld and the texture becomes even creamier. I keep mine between layers of parchment paper in an airtight container, and it's never lasted longer than a week in my house, though the recipe says it'll stay fresh that long.
Troubleshooting Tips
If your fudge won't set, it probably didn't cool enough before you added the mix-ins, or the chocolate got too hot during melting. Grainy fudge usually means the heat was too high or you stopped stirring too early, and both issues can often be fixed by remelting and starting over with more patience.
- Don't double the recipe unless you have a larger pan, because thicker fudge takes forever to set and the texture suffers.
- A warm knife makes the cleanest cuts, but don't use a hot knife or you'll melt the fudge as you slice.
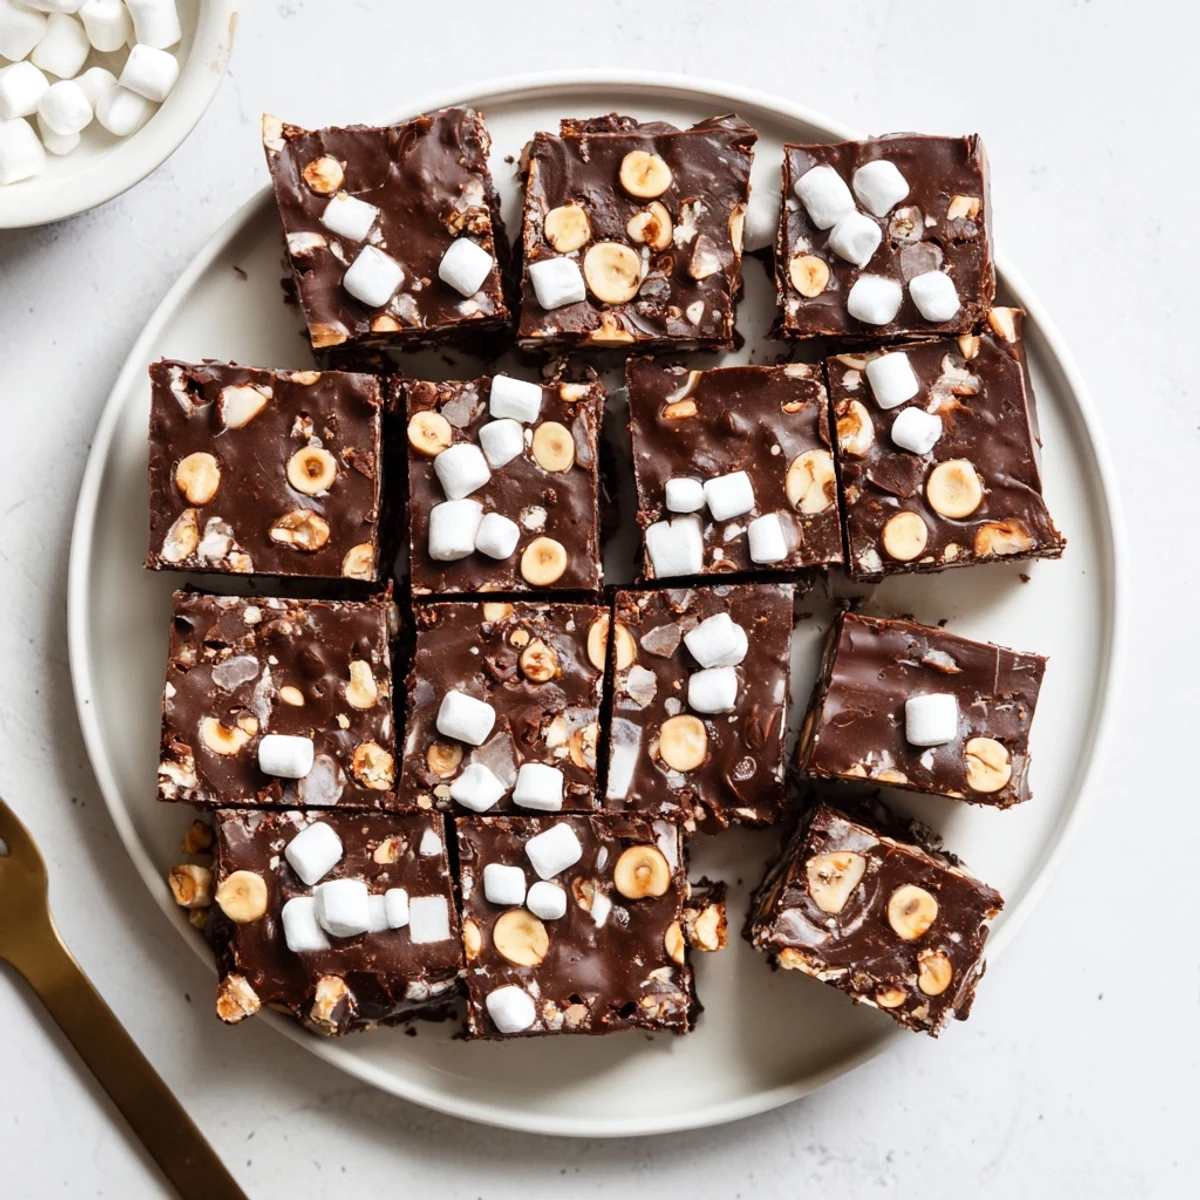
- If you're making this for a party, cut it into small squares because it's incredibly rich and a little goes a long way.
 Save to Pinterest
 There's something deeply satisfying about making something so delicious with so little effort, and watching people's faces light up when they take that first bite never gets old.
Recipe FAQs
- → Can I make rocky road fudge without nuts?
-
Absolutely. Simply omit the nuts and increase the marshmallows to 2 cups, or add dried cranberries, cherries, or chopped dried apricots for texture. You can also stir in crushed graham crackers or pretzels for a salty crunch.
- → How long does rocky road fudge need to set?
-
The fudge requires at least 2 hours in the refrigerator to fully set. For best results, let it chill for 3-4 hours or overnight before cutting. This ensures clean squares that hold their shape perfectly when served.
- → Can I freeze rocky road fudge?
-
Yes, freeze fudge for up to 3 months. Wrap squares tightly in plastic wrap, then place in an airtight freezer container or freezer bag. Thaw in the refrigerator for 2-3 hours before serving. The texture remains perfectly creamy after freezing.
- → Why did my fudge turn out grainy?
-
Grainy fudge usually results from overheating the chocolate. Always melt chocolate over low heat, stirring constantly. If using a microwave, heat in 30-second intervals at 50% power, stirring between each burst. High heat can seize chocolate, creating a gritty texture.
- → Can I use white chocolate instead?
-
White chocolate works beautifully. Use high-quality white baking chips or chopped white chocolate bars. Keep the condensed milk and butter quantities the same. Pair with dried cranberries and pistachios for a festive variation, or add crushed candy canes during winter holidays.
- → What's the best way to cut clean fudge squares?
-
Use a sharp knife warmed under hot water and wiped dry between cuts. Lift the entire fudge slab from the pan using parchment paper overhang, then place on a cutting board. Score lines lightly first, then press firmly through for clean edges.
