 Save to Pinterest
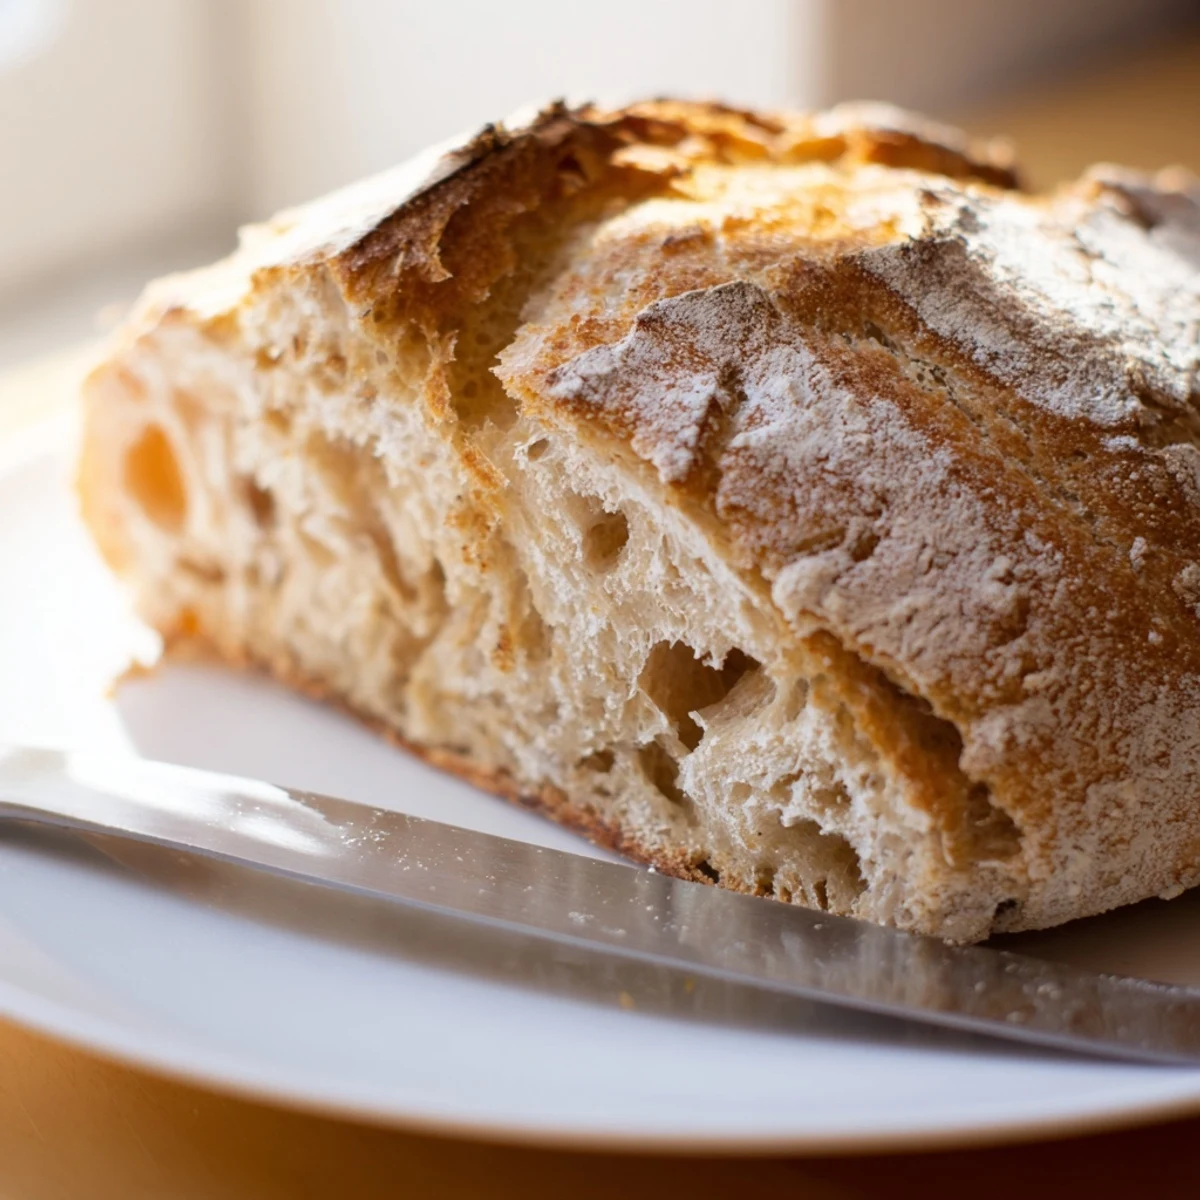
 Master the art of artisan bread baking without any kneading. This revolutionary method combines flour, water, yeast, and salt in a bowl, lets the dough develop overnight, and bakes inside a preheated Dutch oven for professional results. The extended fermentation creates complex flavors and a perfect texture—crackly crust with an open, airy crumb structure. Simply mix ingredients, wait 12-18 hours, shape briefly, and bake. No special skills, equipment beyond a Dutch oven, or physical effort needed.
The smell of this bread baking transforms my entire kitchen into something resembling a corner bakery, except without the 4 AM wake-up call. I stumbled across no-knead bread during a particularly lazy weekend when I wanted fresh bread but absolutely refused to commit to the elbow grease traditional recipes demand. That first pull of the crusty, golden loaf revealed the most tender, hole-filled crumb I had ever achieved in my home kitchen. Now it is my go-to for everything from weeknight dinner accompaniment to impressing dinner guests who assume I spent hours laboring over it.
I once served this at a dinner party where my friend Sarah, who has been baking bread for decades, demanded to know my secret technique. When I explained that I had stirred everything together with a spoon and walked away for 18 hours, she looked at me like I was confessing to a crime. Now she makes it weekly and sends me photos of her beautiful loaves. There is something incredibly satisfying about watching that shaggy, sticky blob transform into such an elegant final product.
Ingredients
- Bread flour: Higher protein content gives better structure and chew, but all-purpose works in a pinch
- Instant yeast: No proofing needed and it blends right into the dry ingredients
- Lukewarm water: Should feel like bath temperature, too hot kills the yeast, too cold slows everything down
- Salt: Do not reduce this, it is crucial for flavor and proper fermentation
- Extra flour for dusting: Prevents sticking and creates that beautiful bakery-style bottom crust
Instructions
- Mix your dough:
- Combine flour, salt, and yeast in a large bowl, then pour in the water and stir until everything comes together into a rough, shaggy mass. It will look messy and unpromising, but trust the process and leave those stubborn dry bits alone.
- Let it work:
- Cover the bowl tightly and walk away for 12 to 18 hours at room temperature. The dough should bubble up and look alive, with little pockets covering the surface when it is ready.
- Shape gently:
- Turn the dough onto a floured surface and fold the edges toward the center to create a smooth ball. Handle it lightly and quickly to preserve all those precious air bubbles you spent hours creating.
- Rest again:
- Place the dough seam-side down on parchment paper and let it relax for 30 to 60 minutes while your oven heats. This final rest helps the dough hold its shape during baking.
- Preheat everything:
- Put your Dutch oven in the oven and heat to 450 degrees for at least 30 minutes. The hot pot creates steam that gives you that spectacular crispy crust.
- Bake covered:
- Carefully lift the dough into the hot pot using the parchment paper. Cover and bake for 30 minutes to trap steam and create initial rise.
- Finish baking:
- Remove the lid and bake for another 12 to 15 minutes until deep golden brown. The bread should sound hollow when tapped on the bottom.
- Cool completely:
- Let the bread rest on a wire rack for at least an hour before slicing. Cutting into warm bread ruins the texture and makes the crumb gummy.
 Save to Pinterest
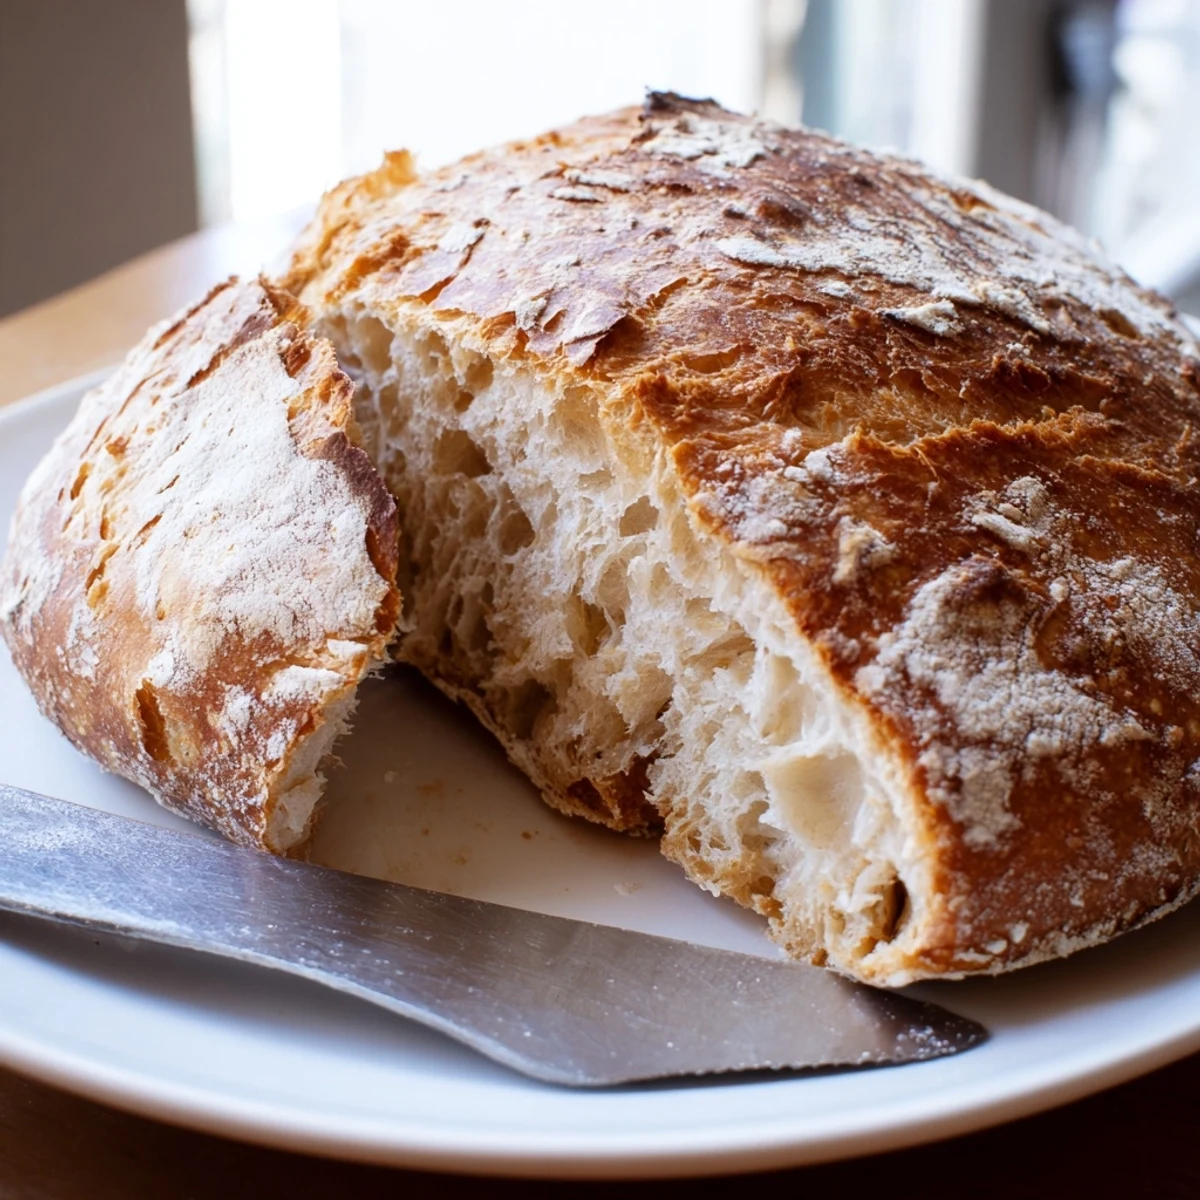
 This bread has become my Sunday ritual, filling the house with that unmistakable fresh-baked aroma that makes neighbors stop by to investigate. My kids now request it specifically for their school sandwiches, claiming it makes even peanut butter and jelly feel gourmet. There is profound satisfaction in something so simple yielding results so spectacular.
The Science Behind No-Knead
Long fermentation allows enzymes to break down proteins naturally, developing gluten structure without physical manipulation. The extended rise also creates complex flavor compounds that simply cannot develop in quick bread recipes. Time does the work that your hands usually would.
Choosing Your Flour
Bread flour creates a chewier loaf with better oven spring, but all-purpose produces perfectly acceptable results. Whole wheat flour adds nuttiness but can make the bread denser, so keep it to one third of the total flour. Experimenting with different flours teaches you so much about how gluten behaves.
Storage and Freezing Tips
Store the cooled loaf in a paper bag for up to two days, after which it dries out but makes excellent croutons or breadcrumbs. For longer storage, slice the bread and freeze individual pieces in a freezer bag. Frozen slices toast up beautifully, directly from freezer to toaster, and taste nearly as good as fresh.
- Never refrigerate fresh bread, it stales six times faster than at room temperature
- Revive day-old bread by sprinkling with water and reheating at 350 degrees for 10 minutes
- The parchment paper can usually be reused several times if it is not too greasy or torn
 Save to Pinterest
 Every time I pull that gorgeous golden loaf from the oven, I am amazed that something so rewarding comes from such minimal effort. This bread is proof that sometimes the best things really do come to those who wait.
Recipe FAQs
- → Why does no-knead bread work without kneading?
-
The extended resting period allows gluten strands to develop naturally over time. Instead of manually working the dough through kneading, the long fermentation process enables flour proteins to align and create the structure needed for a proper rise and texture.
- → Can I use all-purpose flour instead of bread flour?
-
Absolutely. All-purpose flour produces excellent results with a slightly lighter texture. Bread flour creates a chewier crumb due to its higher protein content, but either works beautifully for this method.
- → Why bake in a Dutch oven?
-
The preheated Dutch oven creates a steam-filled environment that mimics professional deck ovens. Steam keeps the crust soft initially, allowing maximum oven spring, then evaporates to form a thick, crispy, golden crust.
- → How do I know when the dough has risen enough?
-
Look for bubbles dotting the surface and the dough having doubled in volume. It should appear jiggly when you gently shake the bowl. A well-fermented dough will also have a slightly sour, yeasty aroma.
- → Can I add mix-ins like olives or nuts?
-
Yes. Fold in up to ½ cup of chopped olives, nuts, seeds, or dried fruit when you initially combine the ingredients. These additions will distribute evenly during the long rise and add wonderful flavor variations.
- → Why must the bread cool completely before slicing?
-
The internal structure continues to set as it cools. Cutting into warm bread releases steam and creates a gummy texture. Waiting 1-2 hours ensures the crumb stays light and the crust remains crisp.
