 Save to Pinterest
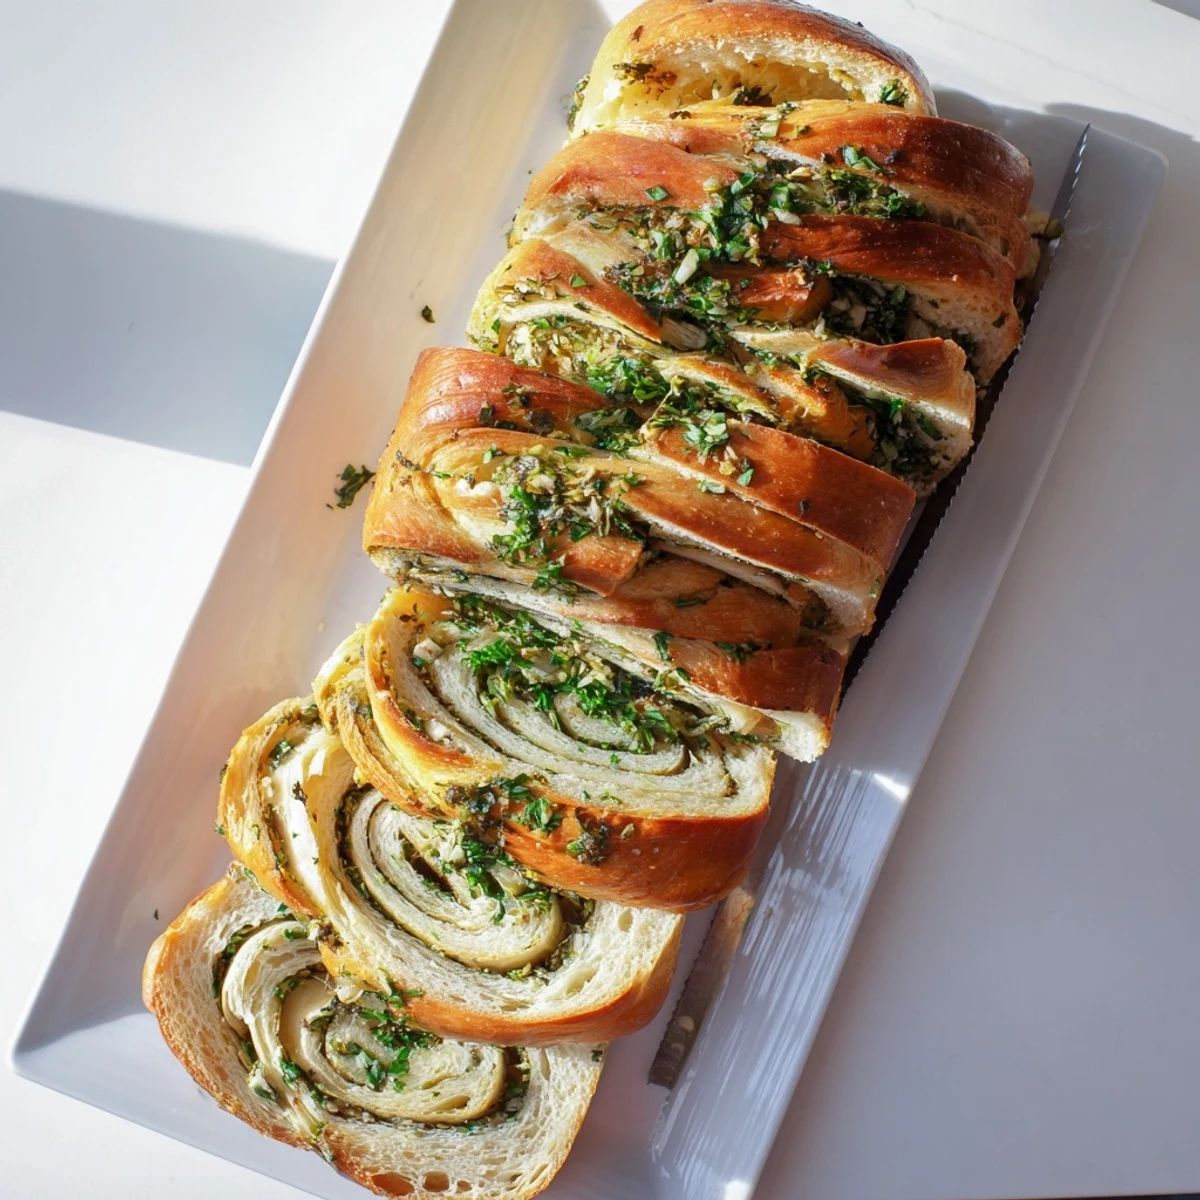
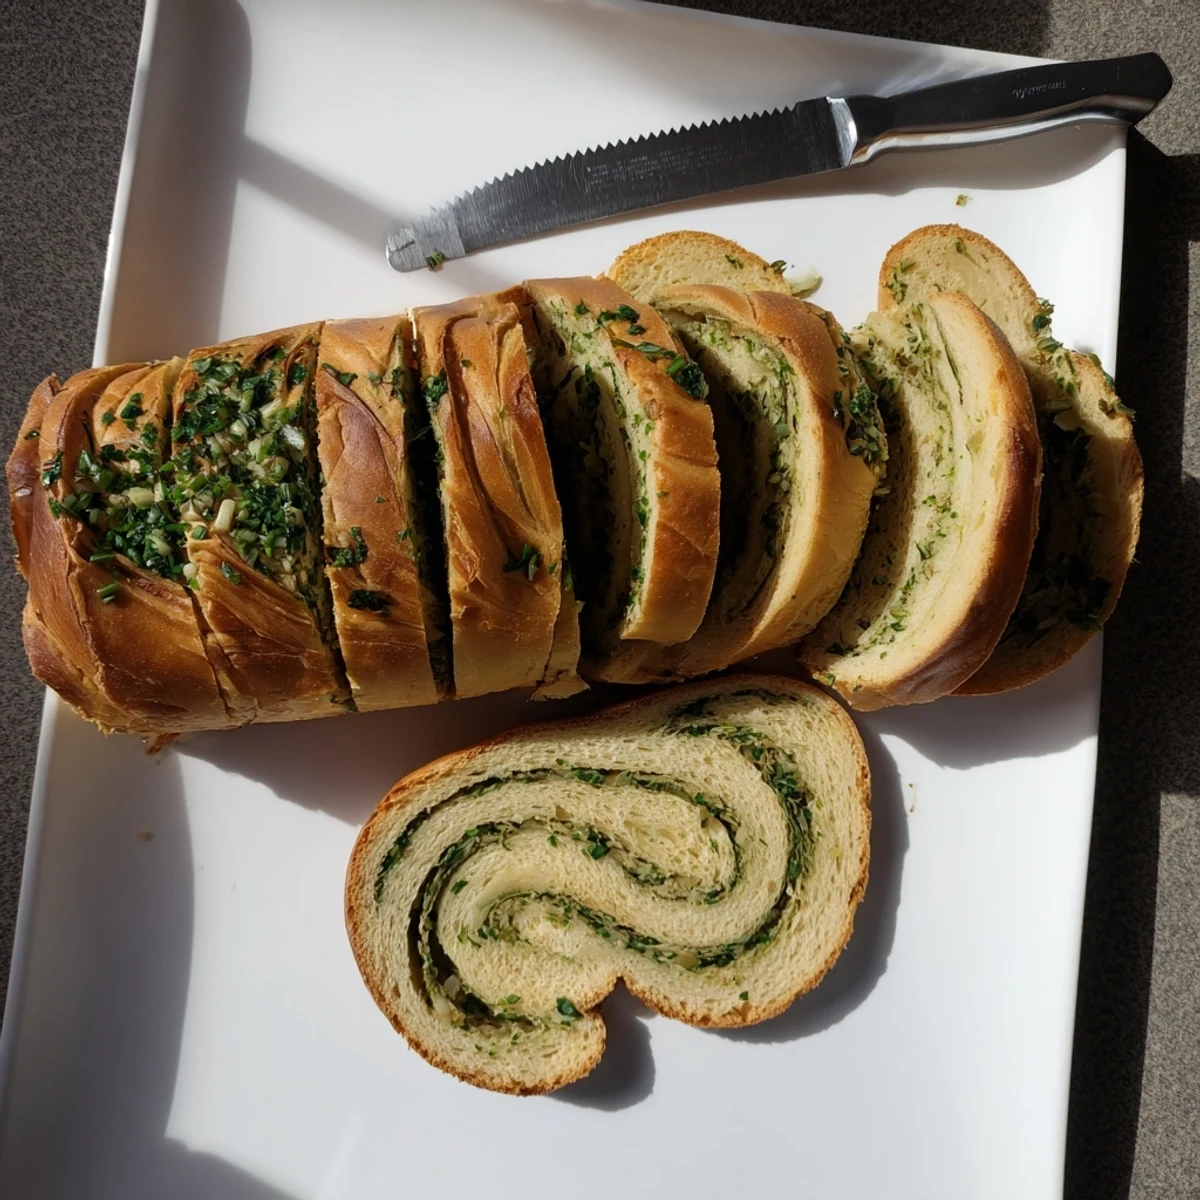
 Create a bakery-style loaf at home with this garlic and herb bread. The dough rises to perfection, creating a fluffy interior with a golden crust. Aromatic fresh parsley, rosemary, and chives combine with minced garlic and butter to infuse every slice with rich flavor.
The process takes just 20 minutes of active preparation, plus rising time. While the oven does the work, your kitchen fills with irresistible scents. Serve warm alongside soups, salads, or pasta dishes for an elevated dining experience.
Swap in dried herbs if fresh aren't available, or use plant-based butter for a vegan version. This versatile loaf stores well and tastes even better toasted the next day.
The kitchen was quiet except for the hum of the refrigerator when I first experimented with garlic bread from scratch. I'd always relied on store-bought garlic bread until a dinner party where I ran out of time to stop at the market. That panic led to one of those happy kitchen accidents that changes everything—the smell of fresh rosemary and garlic wafting through the house drew everyone into the kitchen before dinner was even ready.
My sister-in-law still talks about the first time she tasted this bread, slathering an extra slice with butter while standing at the counter. Now it's become the one thing everyone requests when they come over, even more than the main dish sometimes.
Ingredients
- All-purpose flour: This creates the perfect structure without becoming too dense or chewy
- Active dry yeast: The backbone of your bread, make sure your water is bath warm, not hot
- Sugar: Just enough to wake up the yeast and help browning
- Salt: Essential for flavor and controlling the yeast growth
- Warm water: Should feel like a comfortable baby bath temperature
- Olive oil: Adds subtle richness and helps keep the bread tender
- Unsalted butter: Softened perfectly so it spreads without tearing the dough
- Fresh garlic: Four cloves might seem bold but it bakes into mellow sweetness
- Fresh parsley: Brings bright color and fresh flavor to cut through the richness
- Fresh rosemary: Pine and earth notes that make the bread taste restaurant quality
- Fresh chives: Mild onion flavor that rounds out the herb blend beautifully
- Black pepper: Just enough heat to make things interesting
Instructions
- Wake up the yeast:
- Stir sugar and yeast into warm water, then walk away for five minutes and watch it bloom into a foamy layer
- Build the foundation:
- Pour in the flour, salt, and olive oil, mixing until everything comes together in a shaggy, messy ball
- Knead it out:
- Turn onto a floured surface and fold, push, and turn for eight minutes until the dough transforms from sticky to silky smooth
- Let it rest:
- Place in an oiled bowl, cover with a towel, and find a warm corner for one hour until it's doubled in size
- Make the magic spread:
- While dough rises, mash softened butter with minced garlic and all those fresh herbs until fragrant and well combined
- Roll it flat:
- Punch down the risen dough gently and roll into a rectangle about nine by thirteen inches
- Layer the flavor:
- Spread that garlic herb butter all the way to the edges like you're frosting a cake
- Roll and tuck:
- Roll from the short end into a tight cylinder and place seam side down in your greased loaf pan
- Second rise:
- Cover and let puff up for thirty minutes while your oven warms to 350°F
- Bake to golden:
- Slide into the oven for thirty to thirty five minutes until deeply golden and the bottom sounds hollow when tapped
- Rest before slicing:
- Give it ten minutes in the pan, then turn out onto a rack—this is the hardest part because the smell is incredible
 Save to Pinterest
 Last Thanksgiving, I made three loaves because my uncle kept visiting the kitchen to 'check on it' and somehow another slice disappeared each time. Now I double the recipe automatically because one loaf just disappears too fast.
Making It Ahead
You can prepare the dough through the first rise and refrigerate overnight, which actually develops more flavor. Let it come to room temperature before rolling and shaping the next day.
Getting The Rise Right
In cooler months, I preheat my oven for one minute, turn it off, and let the dough rise inside—the slight warmth works wonders. Just remember to remove it before preheating for baking.
Serving Ideas
This bread has become my go-to for bringing to dinner parties because it travels so well and serves as both side and appetizer. Slice it thick and people won't be able to stop at just one piece.
- Serve with a simple olive oil and balsamic dipping sauce
- Use day old slices to make incredible garlic bread croutons for soup
- Split horizontally and use for the most memorable sandwiches of your life
 Save to Pinterest
 There's something deeply satisfying about pulling homemade bread from the oven, the way it fills the whole house with warmth. Hope this recipe becomes as loved in your kitchen as it is in mine.
Recipe FAQs
- → How long does it take to make?
-
Total time is 2 hours, including rising periods. Active preparation takes just 20 minutes, while the oven handles the rest in 30-35 minutes of baking time.
- → Can I use dried herbs instead of fresh?
-
Yes, substitute fresh herbs with 1½ teaspoons dried mixed Italian herbs. Reduce the quantity since dried herbs are more concentrated in flavor than fresh.
- → How do I store leftover bread?
-
Wrap cooled bread tightly in plastic or place in an airtight bag. Store at room temperature for up to 3 days. For longer storage, slice and freeze for up to 3 months.
- → What can I serve this with?
-
This loaf pairs beautifully with soups, salads, pasta dishes, or as an appetizer with olive oil for dipping. It's also excellent for making garlic bread or sandwiches.
- → How can I tell when it's done baking?
-
The bread is ready when the top is golden brown and sounds hollow when tapped. You can also insert a thermometer—it should read 190°F internally.
- → Can I make this dairy-free?
-
Simply replace the butter with plant-based butter or margarine. The texture and flavor will remain delicious while making it suitable for vegan diets.
