 Save to Pinterest
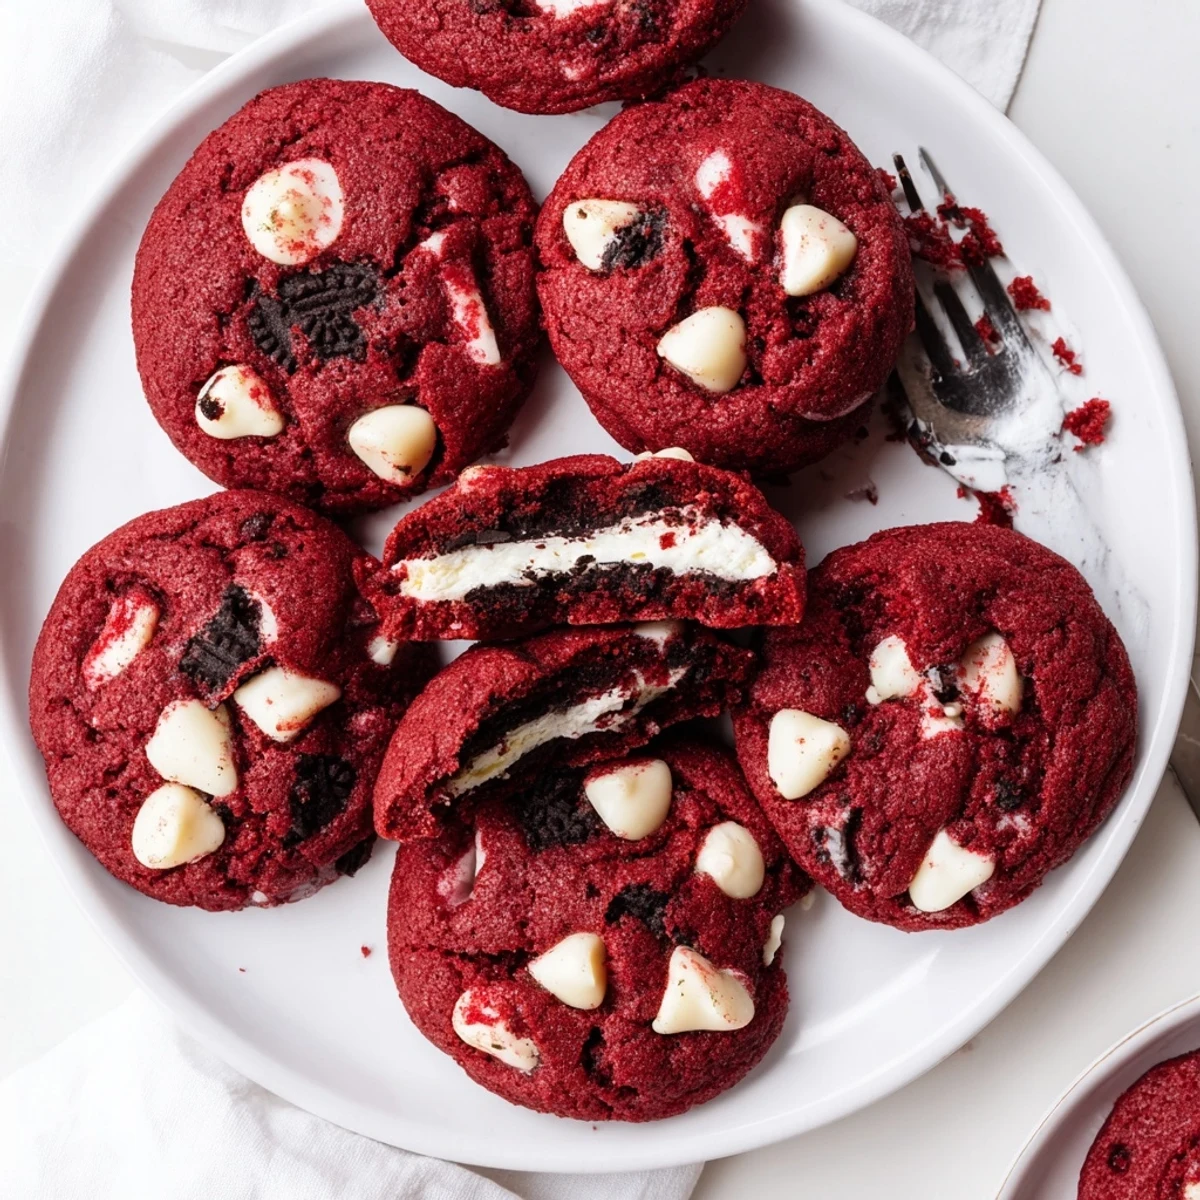
 These soft red velvet cookies combine hints of cocoa with white chocolate chips, wrapped around a velvety Oreo cream cheese filling. The vibrant color and indulgent center make them ideal for holidays and special occasions.
Preparation takes about 25 minutes with 12 minutes of baking time, yielding 16 stuffed cookies. The dough comes together quickly in a stand mixer, while the Oreo filling needs just 10 minutes of chilling to firm up for easy stuffing.
My sister called me at 9pm on a Tuesday, breathless about some viral cookie trend she'd seen on social media. Two hours later, my kitchen looked like a crime scene of red food coloring and Oreo crumbs, but we had created something magical. Now these stuffed cookies are my most requested holiday treat, and honestly, I've lost count of how many batches I've made since that chaotic night.
Last Christmas, I made these for my office cookie exchange and watched everyone's faces light up when they bit into that hidden cream filling. My coworker actually texted me later that night begging for the recipe, which is basically the highest compliment you can get.
Ingredients
- 2 cups all-purpose flour: The foundation that holds everything together, don't skip measuring this accurately
- 1/4 cup unsweetened cocoa powder: This gives that subtle chocolate depth red velvet is famous for
- 1 tsp baking soda: Helps these beauties puff up just right in the oven
- 1/2 tsp salt: Balances all that sweetness and intensifies the chocolate flavor
- 1/2 cup unsalted butter softened: Room temperature butter creams perfectly into the sugars for that tender texture
- 3/4 cup granulated sugar: Creates those crispy edges everyone loves in a cookie
- 1/2 cup packed light brown sugar: Adds moisture and a subtle caramel note
- 1 large egg: Binds the dough and adds structure
- 1 tbsp milk: Just enough moisture to bring everything together
- 2 tsp vanilla extract: Pure vanilla makes all the difference here
- 1 tbsp red food coloring: Gel coloring gives a deeper red without thinning your dough
- 1 cup white chocolate chips: The creamy contrast that makes these so special
- 4 oz cream cheese softened: The base of that incredible Oreo filling
- 2 tbsp unsalted butter softened: Makes the filling silky smooth
- 1 1/4 cups powdered sugar sifted: Sifting prevents lumps in your creamy filling
- 1/2 tsp vanilla extract: Because vanilla belongs everywhere
- 8 Oreo cookies finely crushed: The star of our filling, crushed into perfect little pieces
Instructions
- Get your oven ready:
- Preheat to 350°F and line two baking sheets with parchment paper, trust me cleanup will thank you
- Whisk the dry ingredients:
- Combine flour, cocoa powder, baking soda, and salt in a medium bowl, set it aside for later
- Cream the butter and sugars:
- Beat until light and fluffy, this should take about 2-3 minutes and looks like frosting
- Add the wet ingredients:
- Mix in egg, milk, vanilla, and that gorgeous red food coloring until everything's incorporated
- Combine it all:
- Gradually add the dry ingredients, mixing just until combined, then fold in white chocolate chips
- Make the Oreo filling:
- Beat cream cheese and butter until smooth, add powdered sugar and vanilla, then fold in crushed Oreos and refrigerate for 10 minutes
- Stuff those cookies:
- Scoop 2-tablespoon portions of dough, flatten slightly, add 1 teaspoon of chilled filling, and carefully seal the edges
- Bake to perfection:
- Space them 2 inches apart and bake for 11-12 minutes until edges are set but centers still look slightly soft
- Cool completely:
- Let them rest on the baking sheet for 5 minutes before moving to a wire rack, patience pays off here
 Save to Pinterest
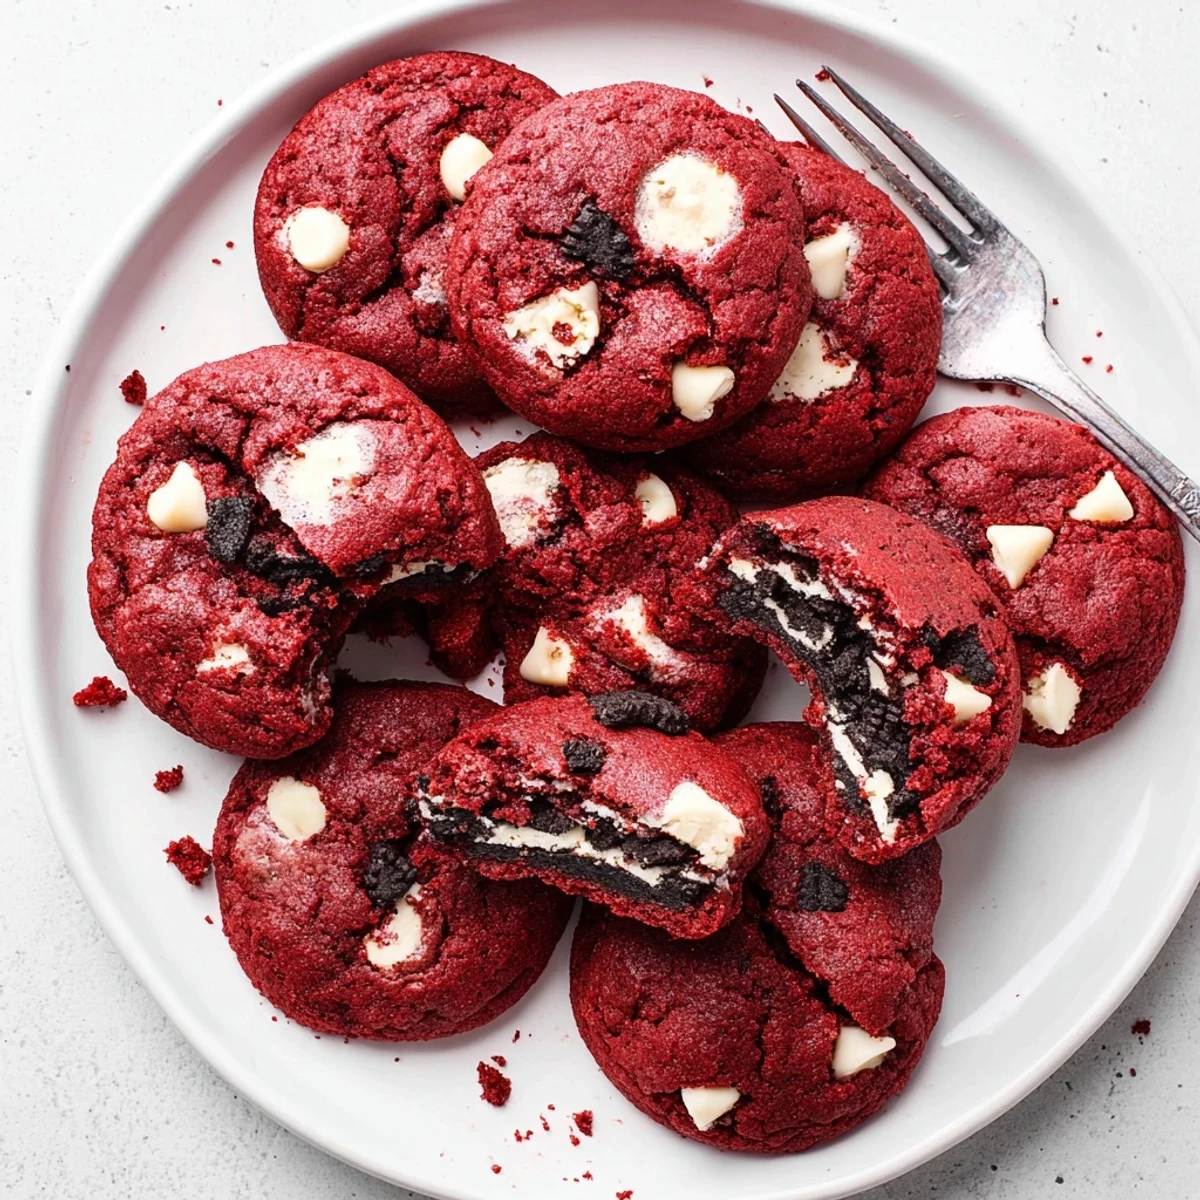
 My niece asked if we could make these for her birthday instead of cake, and honestly, she might be onto something. There's something so satisfying about watching people discover that hidden Oreo center for the first time.
Mastering the Stuff
The secret to perfectly stuffed cookies is working quickly with chilled dough and not overstuffing. I've learned that slightly wetting your hands helps prevent the red dough from sticking to your fingers during assembly.
Color Confidence
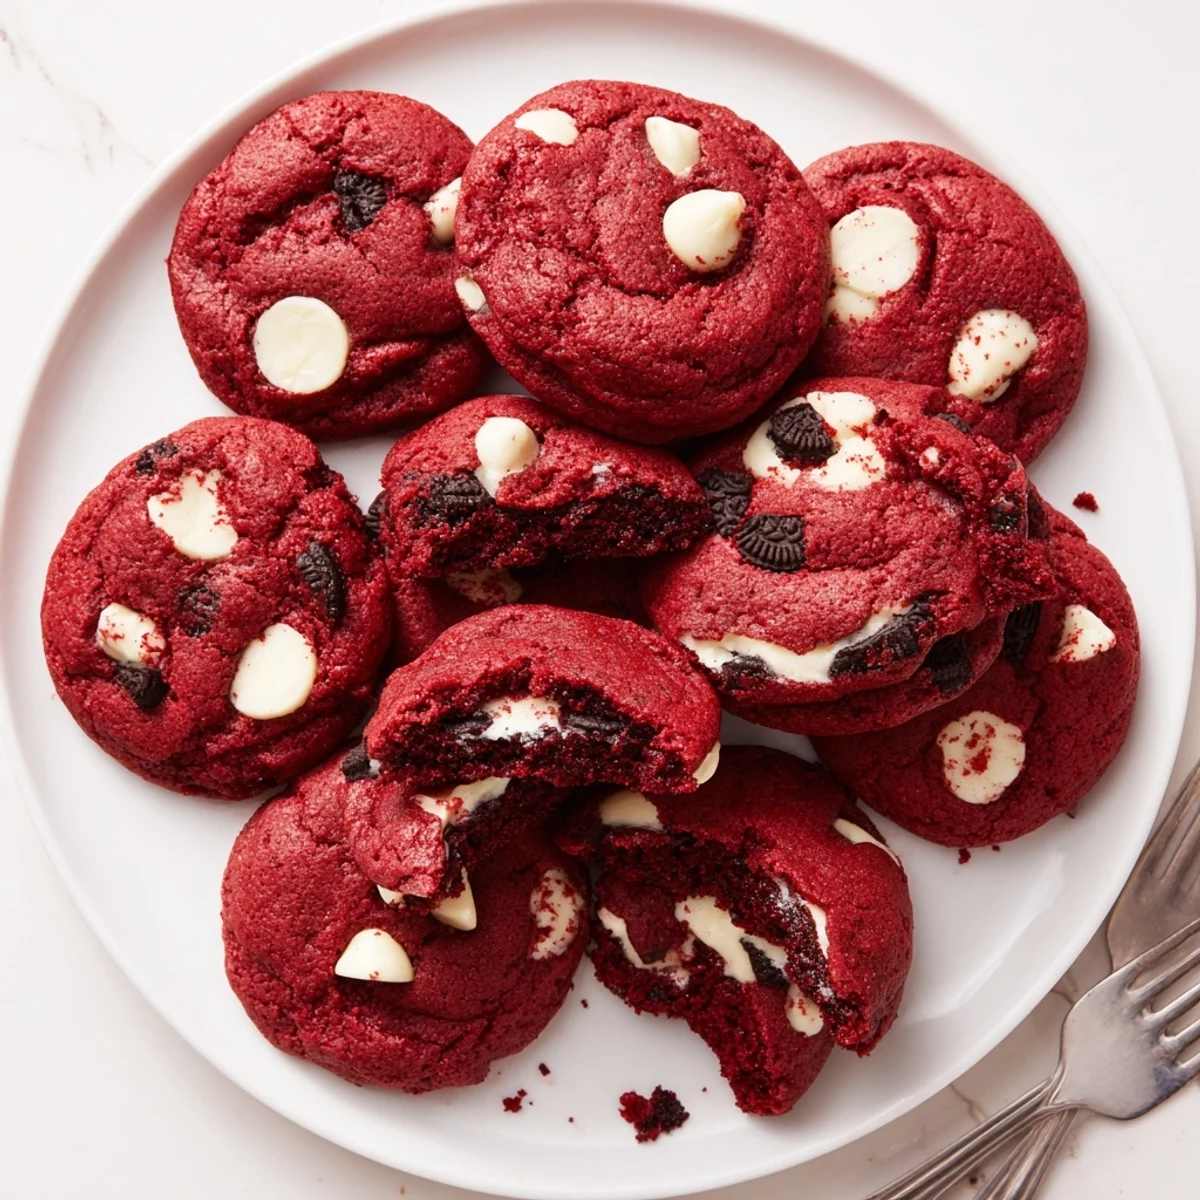
Gel food coloring is absolutely worth the extra trip to the store. Liquid coloring can throw off your dough consistency and results in a duller red, while gel gives you that vibrant bakery look without the fuss.
Storage Secrets
These actually taste better the next day when all those flavors have had time to mingle and get cozy with each other. Store them in an airtight container with a piece of bread to keep them soft and chewy.
- Freeze unbaked stuffed dough balls for fresh cookies anytime
- Let frozen dough thaw 10 minutes before baking
- These freeze beautifully for up to 3 months
 Save to Pinterest
 Every time I make these, I think about that late night with my sister and how some of the best recipes come from moments of spontaneous kitchen chaos. Hope these bring as much joy to your kitchen as they have to mine.
Recipe FAQs
- → Can I make the dough ahead of time?
-
Yes, refrigerate the cookie dough for up to 24 hours before baking. Let it soften slightly at room temperature for easier stuffing.
- → How do I prevent the filling from leaking during baking?
-
Chill the Oreo filling for at least 10 minutes before using, and seal the dough edges completely around the filling. Space cookies 2 inches apart on the baking sheet.
- → Can I freeze these cookies?
-
Bake and cool completely, then freeze in an airtight container for up to 3 months. Thaw at room temperature for best texture.
- → What if I don't have red food coloring?
-
The cookies will still taste delicious without the red color, or you can use natural beet juice powder for a subtle hue.
- → Can I use different mix-ins?
-
Semi-sweet chocolate chips work well instead of white chocolate. You can also add chopped pecans or walnuts for extra crunch.
