 Save to Pinterest
 Transform leftover vegetable scraps into a fragrant, nutritious broth by simmering them gently with herbs like thyme and bay leaves. This sustainable method extracts deep flavors ideal for enhancing soups, stews, and sauces. Simply boil scraps with peppercorns and water, simmer for an hour, then strain to reveal a light, versatile liquid that adds depth to your dishes. Adjust seasoning as desired and store cooled broth refrigerated or frozen for later use.
I started saving vegetable scraps in a gallon freezer bag after reading about zero-waste kitchens, mostly out of curiosity. The first time I simmered those odds and ends into actual broth, I couldn't believe how much flavor came from things I used to toss without thinking. Now that bag lives in my freezer, and every time I peel a carrot or trim celery, I know I'm halfway to my next batch of golden, aromatic broth.
I remember ladling this into a pot of risotto on a rainy Tuesday, watching the rice drink it up and turn creamy. My partner walked in, sniffed the air, and asked what I was making that smelled so good. I realized then that homemade broth doesn't just feed you, it changes the whole feeling of a meal.
Ingredients
- Vegetable Scraps: Carrot peels, onion skins, celery leaves, and mushroom stems all bring deep flavor; just avoid bitter greens like too much cabbage or broccoli, which can turn the broth harsh.
- Bay Leaves: These add a subtle woodsy note that rounds out the sweetness of the vegetables without overpowering anything.
- Black Peppercorns: A few whole peppercorns give gentle heat and complexity; I learned not to grind them because whole ones are easier to strain out.
- Fresh Thyme: Thyme brings an earthy, almost floral quality that makes the broth smell like a French kitchen; dried works fine if that's what you have.
- Salt: I go light here because I can always add more later, especially if I'm using the broth in a dish that will be seasoned again.
- Cold Water: Starting with cold water helps extract more flavor slowly as it heats; it's a small detail that makes a noticeable difference.
Instructions
- Gather Your Scraps:
- Toss your clean vegetable scraps into a large stockpot, letting them pile up like a colorful, mismatched puzzle. This is the moment you realize how much flavor you've been throwing away all along.
- Add Aromatics:
- Drop in the bay leaves, peppercorns, thyme, and a pinch of salt if you like. These little additions turn scraps into something that smells like it belongs in a restaurant kitchen.
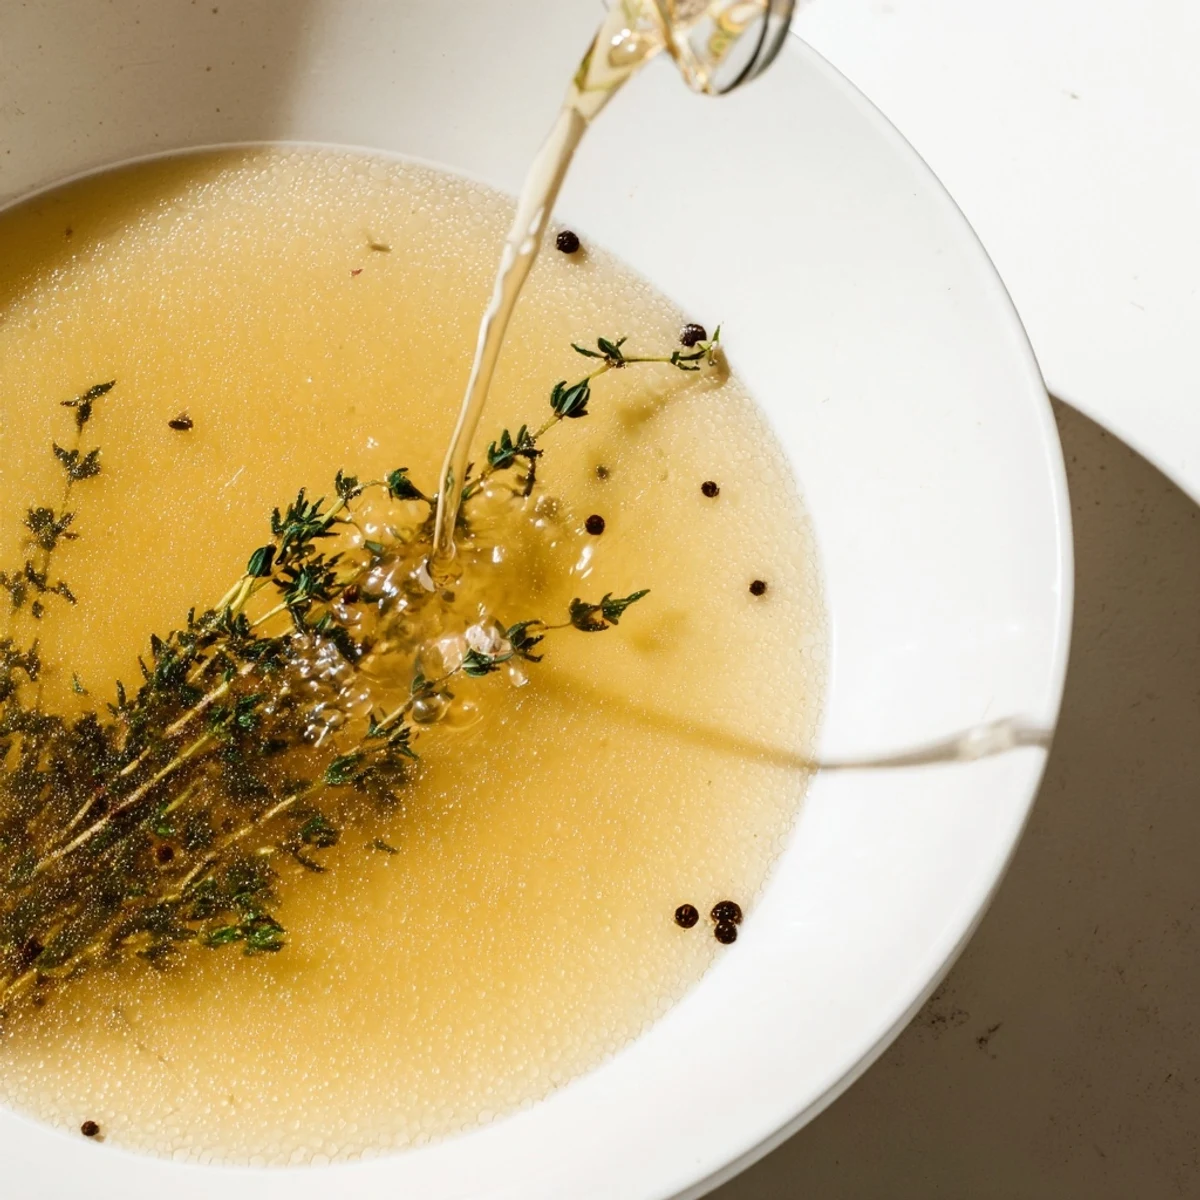
- Pour and Cover:
- Add cold water until everything is submerged, then set the pot over high heat. The water should just cover the scraps, not drown them.
- Bring to a Boil:
- Watch as the water starts to bubble and the kitchen fills with that earthy, vegetal aroma. Once it's boiling, turn the heat down to a gentle simmer.
- Simmer Low and Slow:
- Let it bubble quietly for an hour, skimming off any foam that rises to the top. This is the easiest hour of cooking you'll ever do, just let it do its thing.
- Cool Slightly:
- Pull the pot off the heat and give it a few minutes to calm down before you strain. Hot broth splatters, and patience here saves you from burns.
- Strain and Store:
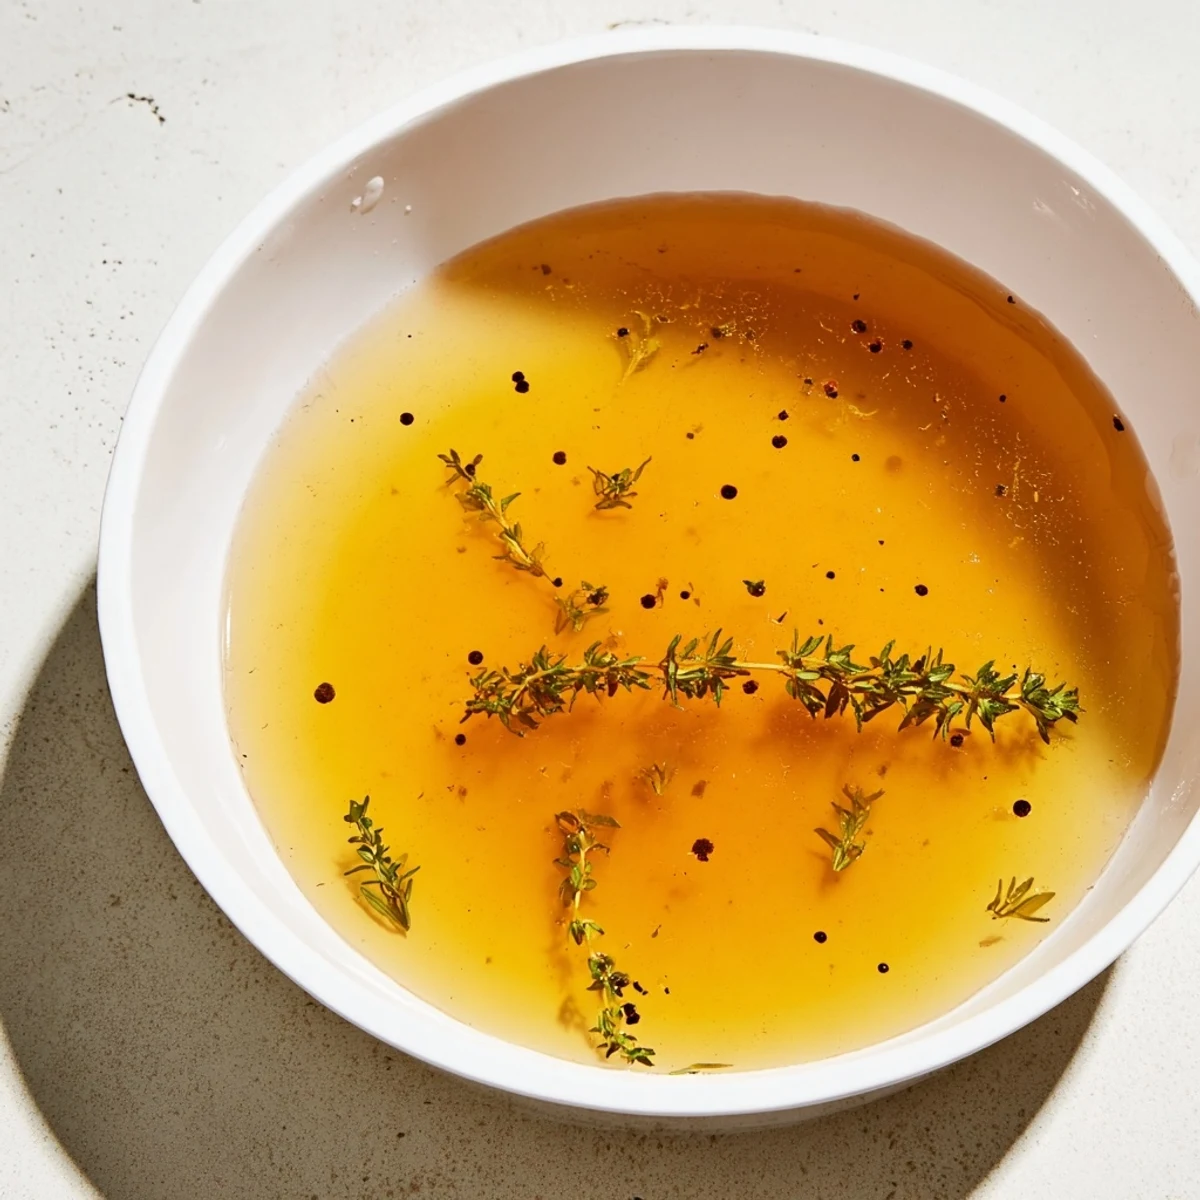
- Pour everything through a fine-mesh sieve or cheesecloth into a large bowl, pressing gently on the solids to get every drop. What's left is clear, golden broth that you can use right away or tuck into the fridge for up to five days.
- Taste and Adjust:
- Give it a sip and add more salt if needed. This is your broth, so make it taste the way you want it to.
 Save to Pinterest
 One winter evening, I poured this broth into mugs and handed them out like tea. We sipped it slowly, standing around the stove, and it felt less like a recipe and more like a ritual, something warm to hold when the world outside was cold.
How to Store Your Broth
I've learned to let the broth cool completely before pouring it into jars or freezer bags, because hot liquid can crack glass and create condensation that leads to freezer burn. In the fridge, it keeps for five days and develops an even rounder flavor as it sits. For longer storage, I freeze it in two-cup portions so I can grab exactly what I need without thawing a giant batch.
What to Do with Leftover Broth
This broth has become my go-to base for almost everything: soups, grains, sauces, even deglazing pans after searing vegetables. I've used it to cook lentils, simmer rice, and thin out hummus when it gets too thick. Once you have homemade broth on hand, you start finding reasons to use it everywhere, and your cooking tastes better without any extra effort.
Choosing the Right Scraps
Not all scraps are created equal, and I've made batches that tasted flat or oddly bitter before I figured out the balance. Onion skins add color and sweetness, carrot peels bring natural sugar, and celery leaves give a grassy brightness. Avoid anything moldy, slimy, or overly starchy like potato peels, which can make the broth cloudy and gummy.
- Save herb stems, especially parsley and cilantro, they pack more flavor than you'd expect.
- Leek tops and garlic skins add layers of savory depth without overwhelming the pot.
- If your broth tastes weak, simmer it longer or use less water next time.
 Save to Pinterest
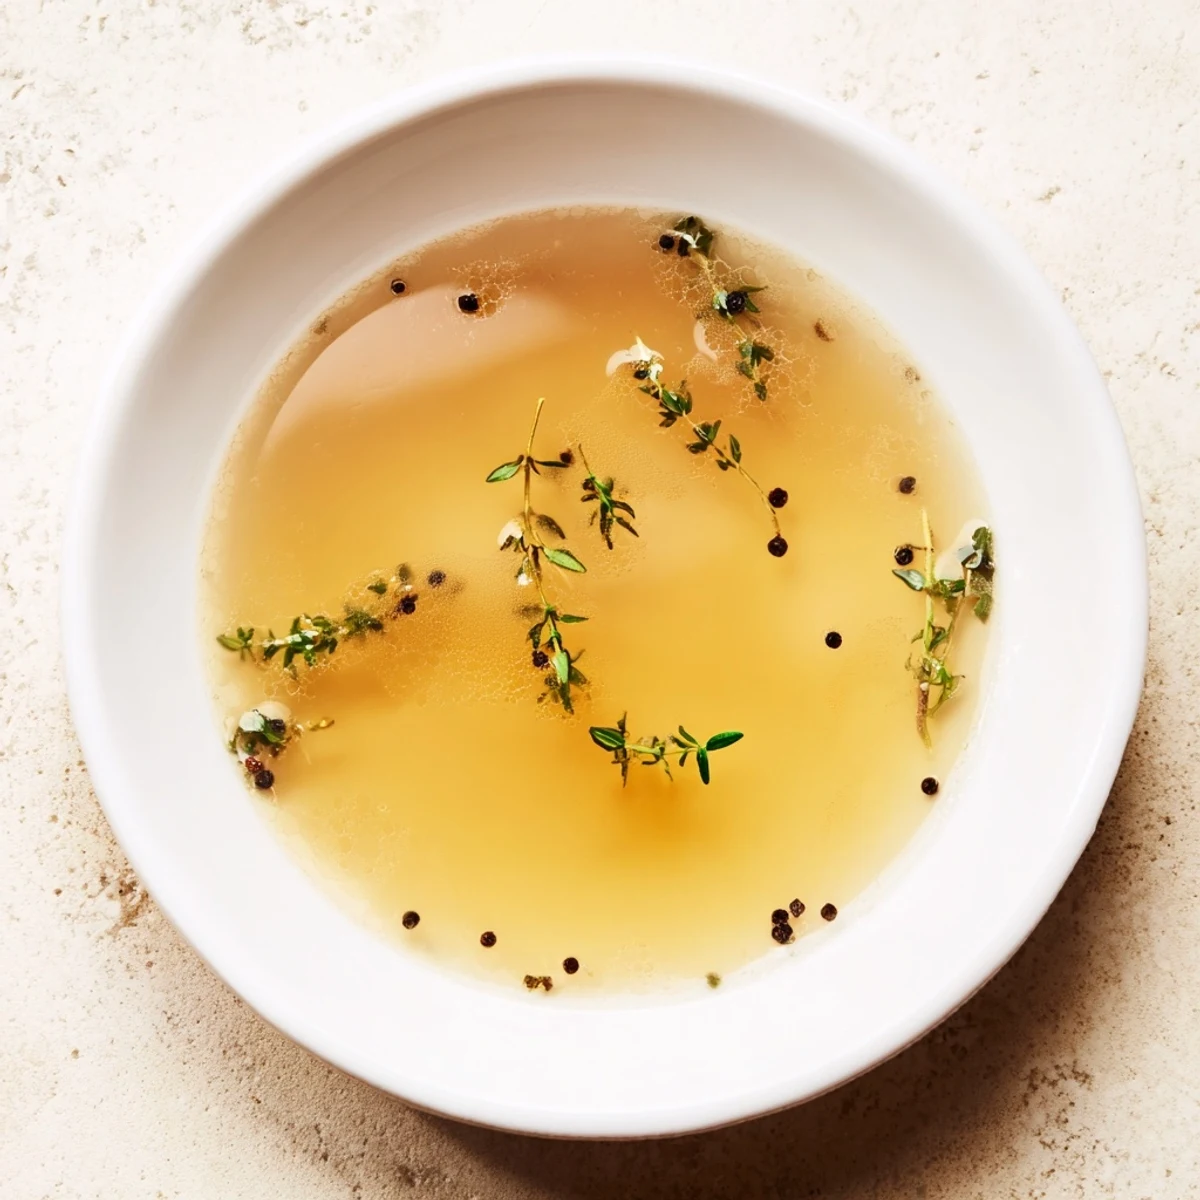
 This broth taught me that good cooking doesn't always mean buying more, sometimes it means seeing what you already have in a new light. Every batch feels like a small victory, proof that patience and scraps can become something nourishing and real.
Recipe FAQs
- → What vegetable scraps work best for this broth?
-
Use mild scraps like carrot peels, onion ends, celery leaves, leek tops, mushroom stems, parsley, and garlic skins to develop balanced flavors.
- → Can I add other herbs or spices?
-
Yes, thyme, bay leaves, and peppercorns create a fragrant base, but feel free to add herbs like rosemary or dried mushrooms for extra depth.
- → How do I prevent bitterness in the broth?
-
Avoid adding scraps from bitter vegetables such as broccoli, Brussels sprouts, or cabbage to keep the broth smooth and pleasant.
- → How long should I simmer the broth?
-
Simmer uncovered for about one hour, occasionally skimming any foam for clarity and flavor purity.
- → What is the best way to store the finished broth?
-
After cooling, store it in the refrigerator for up to 5 days or freeze in portions for up to 3 months to preserve freshness.
- → Can this broth be used in various cuisines?
-
Absolutely, its subtle flavor makes it a versatile base for international dishes like soups, risottos, and sauces.
