 Save to Pinterest
 Slice a 12-count Hawaiian roll horizontally and place the bottom half on a baking sheet. Layer even slices of cheddar (add ham or turkey if desired), replace the top, then brush with melted butter mixed with mustard, honey and a pinch of garlic powder. Bake at 350°F (175°C) for 10–15 minutes until the cheese is melted and tops are golden. Let rest briefly, cut into minis and serve warm. Swap cheeses or add bacon, tomatoes, or caramelized onions to vary the flavor.
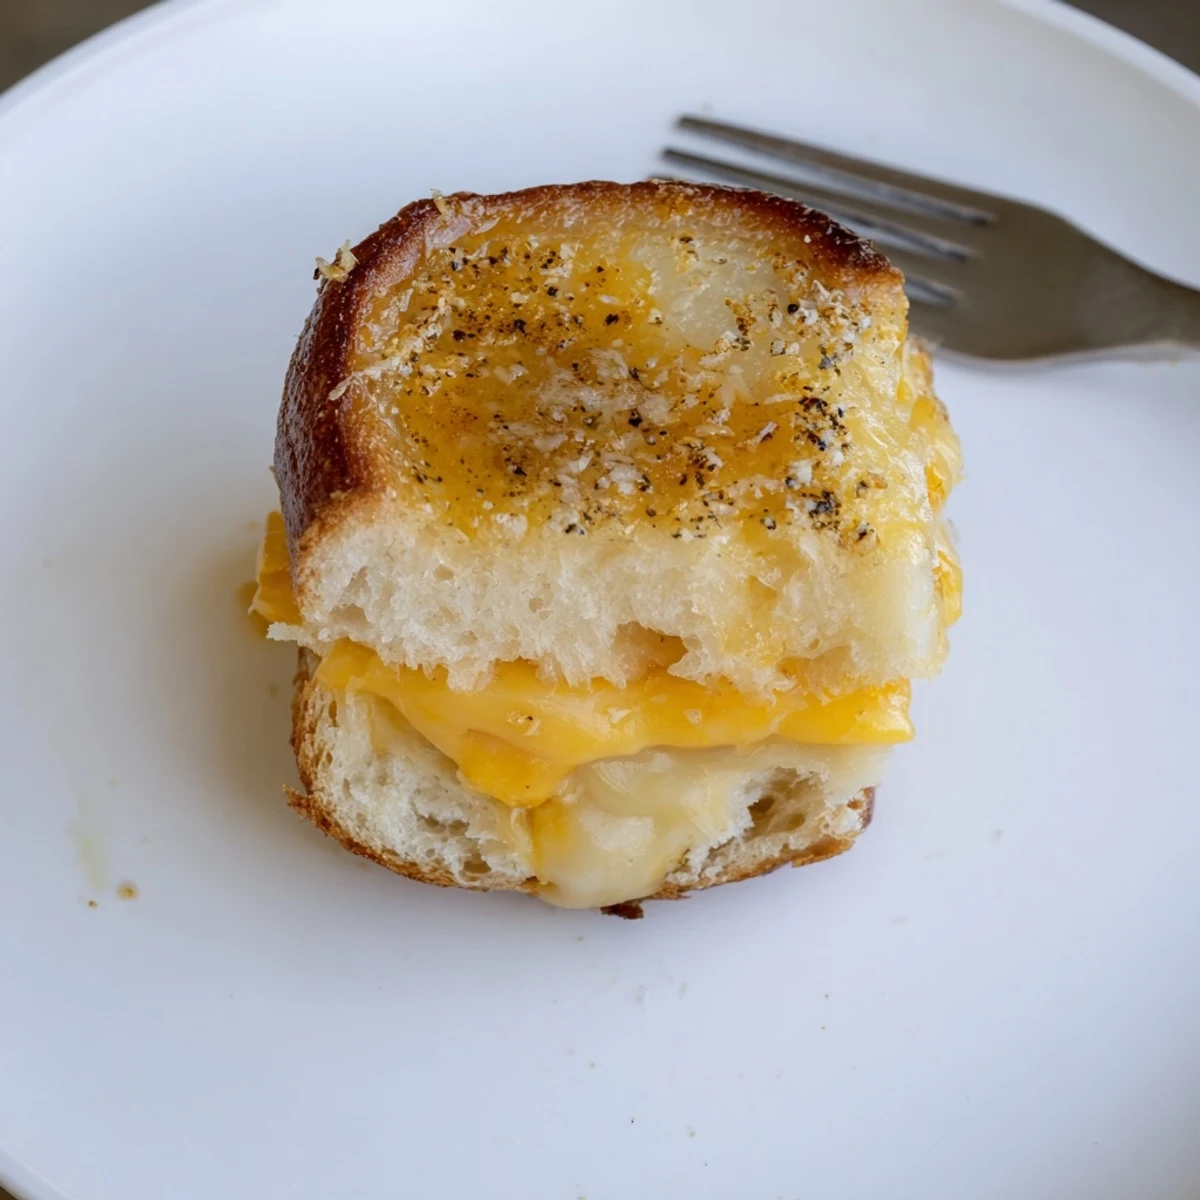
Hawaiian rolls always remind me of lazy weekend afternoons, when the sweet scent of freshly baked bread seems to take over the entire kitchen. The idea to turn them into mini grilled cheese sandwiches actually came while rummaging for a quick snack between streaming episodes with friends. The way the rolls toast up—crisp on the outside with cheese oozing at the center—made these an instant favorite. Sometimes the simplest concepts truly turn out to be golden.
One time I made a batch for a last-minute get-together—half the tray disappeared during a heated board game before I even had a chance to try one myself. Watching everyone grab, tear, and laugh over the melty cheese threads reminded me how food always brings out the best kind of messiness.
Ingredients
- Hawaiian sweet rolls: Their gentle sweetness lifts the grilled cheese from basic to brilliant; slice the whole block horizontally for less mess.
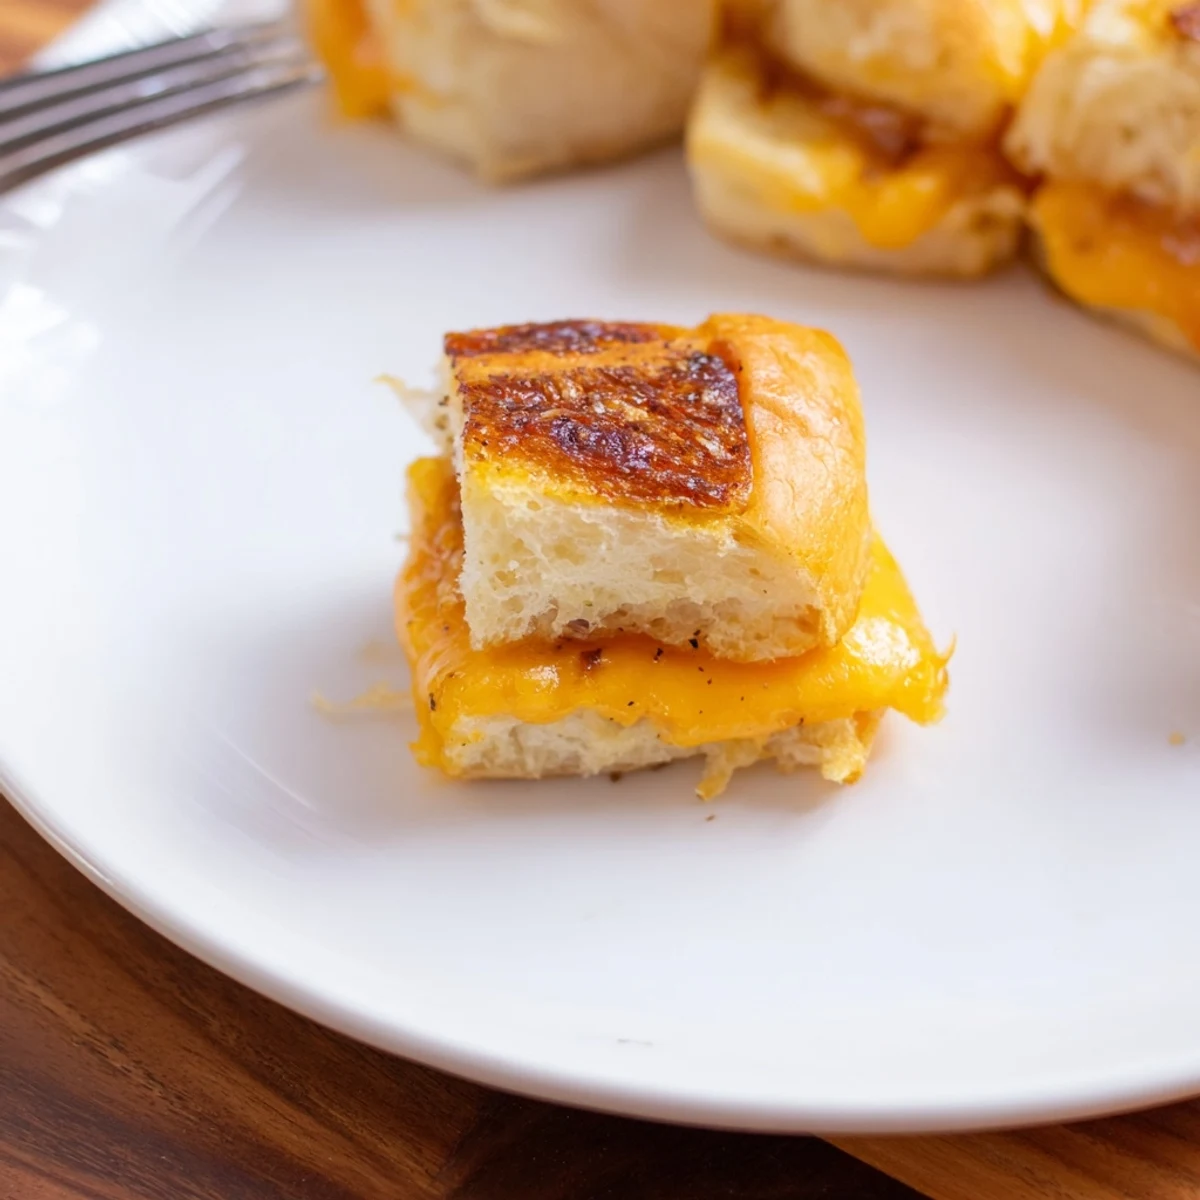
- Sliced cheddar cheese: Choose sharp cheddar for bold flavor, and tuck slices so they reach the edges for dramatic cheese pulls.
- Unsalted butter (melted): Brushing melted butter over the tops makes them golden and tempting—don’t shy away from a generous coat.
- Optional deli ham or turkey: A savory surprise for meat-lovers; layer thin slices to keep texture light.
- Dijon or yellow mustard (optional): A swipe adds a whisper of tangy depth; whisk into the butter for even coverage.
- Honey (optional): Just a touch balances savory and sweet, especially if you love a playful blend.
- Garlic powder (optional): Sprinkle into the butter for an extra-savory aroma that floats through the kitchen as they bake.
Instructions
- Set the Oven Stage:
- Start by preheating your oven to 350°F (175°C). Line a baking sheet with parchment to catch any melty cheese and ease cleanup afterward.
- Slice Rolls with Style:
- Using a serrated bread knife, carefully slice the entire block of Hawaiian rolls horizontally—top from bottom but keep the rolls connected for easier assembly.
- Cheese and Extras:
- Place the bottom half of the rolls on your baking sheet. Layer over cheddar slices (and ham or turkey if using) to the very edge for full gooey coverage.
- Lid and Butter:
- Gently position the top half of the rolls back on. Mix melted butter with any extras—mustard, honey, garlic powder—and generously brush the tops.
- Bake to Perfection:
- Bake in the oven for 10–15 minutes, until the cheese is bubbling and the tops turn a deep golden brown.
- Slice and Serve:
- Let the tray cool just enough to handle, then cut between the rolls for mini sandwiches and serve them up while still warm and melty.
 Save to Pinterest
 We made these on a rainy afternoon when the weather called for comfort food and cozy socks. At some point, someone declared these were the only grilled cheeses worth arguing over—and we all nodded with mouths too full to disagree.
Switching Things Up: Easy Variations
Tinkering with ingredients is half the fun—I've tried adding pepper jack for a spicy kick and slipping in thin slices of tomato for juicy brightness. Swapping out cheddar for provolone or Swiss gives these little sandwiches a new personality each time. If you've got a crowd, offering a DIY toppings bar with caramelized onions or bacon can turn snack time into a party.
Serving Suggestions to Make Them Shine
I love dunking these in a mug of tomato soup—the classic pairing never fails to brighten a dreary day. If you're serving for a group, arranging them on a big platter with tiny dipping bowls for extra mustard, honey, or ranch turns them into irresistible finger food. There's something about communal grazing that just brings everyone a bit closer.
Small Lessons for Big Flavor
After a couple batches, I’ve learned that nestling cheese right up to the roll edges ensures every bite has those crispy, bubbling corners. It’s worth slicing with a gentle hand to keep the rolls intact for easy serving. Don’t skip the few minutes cooling—the cheese needs just a moment to settle so the sandwiches cut neatly.
- Spread the butter mix while the rolls are still warm for that glistening finish.
- Pre-cutting parchment paper to fit your pan makes lifting the whole block out super easy.
- A sharp bread knife is your best friend for clean cuts—trust me, it’s worth using.
 Save to Pinterest
 If you find yourself with hungry company or just crave something satisfying and playful, these mini grilled cheese rolls have you covered. There’s magic in sharing something so simple, especially when you can make it yours every single time.
Recipe FAQs
- → Can I use other cheeses?
-
Yes—Swiss, provolone or pepper jack all melt well and change the flavor profile. Mix two cheeses for creaminess and depth.
- → How do I prevent soggy rolls?
-
Brush the tops and edges with melted butter to create a barrier, and avoid overly wet fillings. Bake until tops are golden so the exterior stays crisp while the cheese melts.
- → Can these be prepared ahead of time?
-
Assemble and refrigerate up to a day before baking. Brush with butter just before baking for best color and texture, then warm through and serve.
- → How should I reheat leftovers?
-
Reheat in a 350°F (175°C) oven for 8–10 minutes or until warmed and the cheese is gooey. Avoid the microwave to keep the tops from becoming soggy.
- → What add-ins work well?
-
Try sliced ham or turkey, cooked bacon, caramelized onions, or tomato slices. A smear of mustard or a touch of honey complements the sweet rolls nicely.
- → Any tips for serving at a party?
-
Cut into individual minis and keep warm on a low oven setting or insulated platter. Provide dipping options like tomato soup, mustard, or a spicy mayo for variety.
