 Save to Pinterest
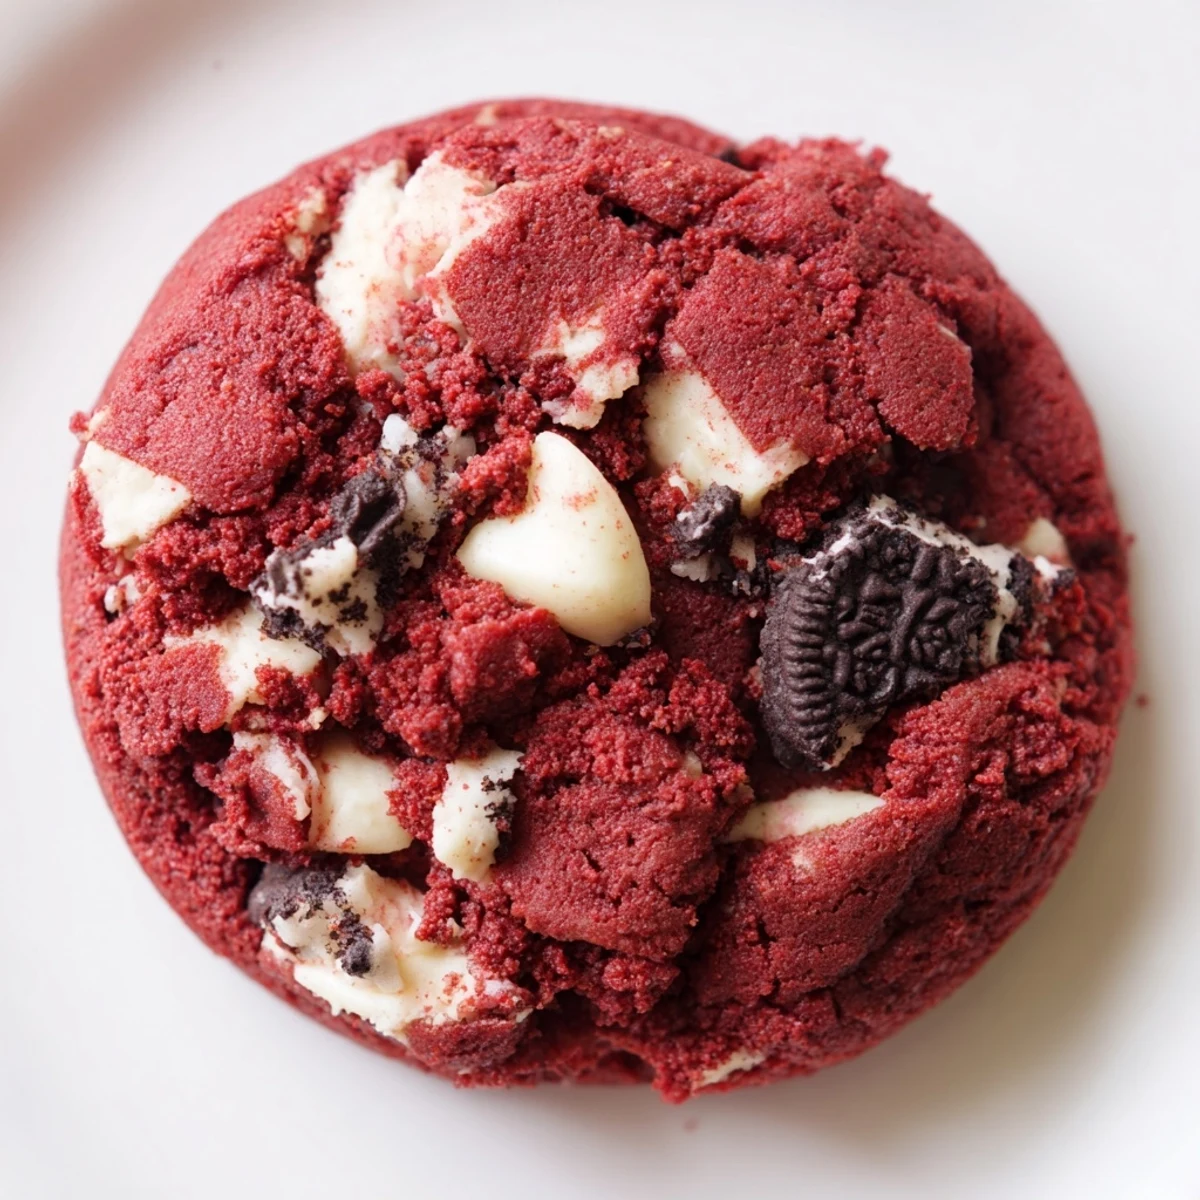
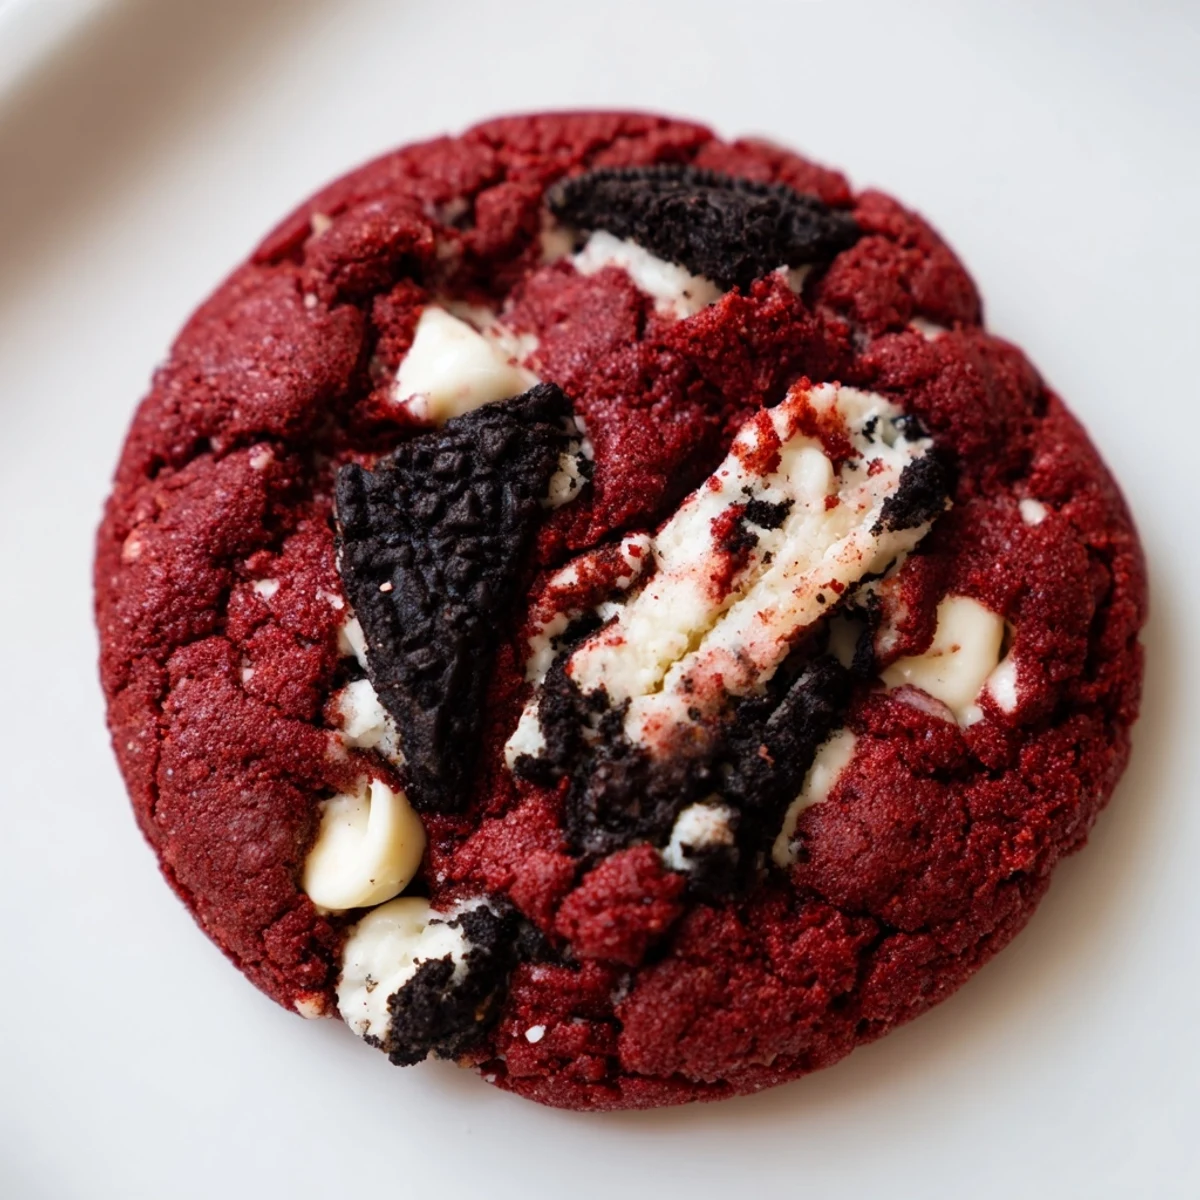
 These soft, chewy red velvet cookies combine rich cocoa flavor with the classic taste of cookies-and-cream. White chocolate chips add sweetness while chopped Oreo pieces deliver satisfying crunch throughout every bite. The vibrant red color makes these treats perfect for holidays, Valentine's Day, or anytime you want to bake something special.
The dough comes together quickly with just 20 minutes of prep time, and a quick 12-minute bake yields 24 perfectly soft cookies with slightly crisp edges. For best results, pull them from the oven when centers look slightly underbaked—they'll finish cooking on the baking sheet for that ideal soft texture.
Store in an airtight container for up to 5 days, though they rarely last that long!
The first time I made these, my kitchen counter looked like a crime scene with red streaks everywhere, but one bite of that cookie and I didn't even care about the cleanup. These were supposed to be for a friend's birthday, but I accidentally ate three straight from the oven while pretending to quality check them. Now I double the batch just to account for my complete lack of self control when that cookies and cream aroma starts filling the house.
My neighbor actually knocked on my door last time I had a batch in the oven because she thought something was burning. Turns out she'd never smelled cocoa and red food coloring baking together and panicked. Now she texts me whenever she sees me buying Oreos at the store, hoping she's on the cookie delivery list. These things have somehow become my social currency.
Ingredients
- All-purpose flour: The base that gives these cookies their structure, so don't skip or substitute unless you know what you're doing
- Unsweetened cocoa powder: This is what makes it red velvet instead of just red cake mix cookies, so use the good stuff
- Baking soda: Helps these beauties puff up in the oven then settle into that perfect chewy center
- Salt: Just a pinch to balance all that sugar and make the chocolate flavor pop
- Unsalted butter: Softened to room temperature so it creams properly with the sugars into that fluffy base
- Light brown sugar: The molasses in here keeps cookies soft and chewy for days
- Granulated sugar: Creates those slightly crisp edges while the brown sugar handles the center texture
- Egg and egg yolk: The extra yolk is the secret weapon for richness and chewiness
- Vanilla extract: Don't use the cheap stuff, it really does matter here
- Milk: Just enough to bring the dough together without making it too sticky
- Red food coloring: Gel coloring gives you that vibrant red without adding too much liquid
- White chocolate chips: The creamy sweetness that balances the cocoa's slight bitterness
- Oreo cookies: Roughly chopped so every bite gets that cookies and cream crunch
Instructions
- Get your oven ready:
- Preheat to 350°F and line your baking sheets with parchment paper because nobody has time to scrub burnt cookie dough off pans
- Whisk the dry stuff:
- In a medium bowl, combine the flour, cocoa powder, baking soda and salt until everything's evenly distributed
- Cream the butter and sugars:
- Beat that butter, brown sugar and granulated sugar together for about 2-3 minutes until it looks pale and fluffy
- Add the wet ingredients:
- Toss in the egg, egg yolk, vanilla, milk and red food coloring, mixing until everything's well combined and looks like a gorgeous red mess
- Combine it all:
- Gradually add those dry ingredients to your wet mixture, mixing just until you don't see flour anymore
- The best part:
- Fold in the white chocolate chips and chopped Oreos, being careful not to crush the cookie pieces too much
- Scoop and space:
- Drop rounded balls onto your prepared baking sheets, leaving about 2 inches between them because these will spread
- Bake time:
- Pop them in for 10-12 minutes until edges look set but centers still seem slightly underdone
- The hard part:
- Let them cool on the baking sheet for 5 minutes before moving them or they'll fall apart, trust me
 Save to Pinterest
 Last Christmas I made six batches of these for cookie tins and my husband caught me hiding the last three cookies for myself. We now have an understanding that one batch is strictly for household quality control purposes before any gifting happens. Some traditions are worth keeping.
Getting That Perfect Red Color
I learned the hard way that liquid food coloring turns the dough into a sticky nightmare that sticks to everything. Gel coloring is concentrated, so you need way less and it won't throw off your recipe's moisture balance. Start with a little and add more until you hit that deep red velvet color you're after.
Cookie Storage Secrets
These actually stay soft for days if you store them in an airtight container with a piece of bread. The bread absorbs excess moisture and keeps your cookies from drying out. Just swap the bread slice every couple days and you'll have fresh tasting cookies almost all week.
Mix-In Variations
Sometimes I switch up the mix-ins depending on what I have in the pantry or who I'm baking for. The basic red velvet cookie is like a blank canvas that happens to be already gorgeous.
- Try dark chocolate chips instead of white for a more intense chocolate experience
- Add crushed candy canes during December for a festive peppermint crunch
- Leave out the Oreos and press a whole one into the top of each dough ball before baking
 Save to Pinterest
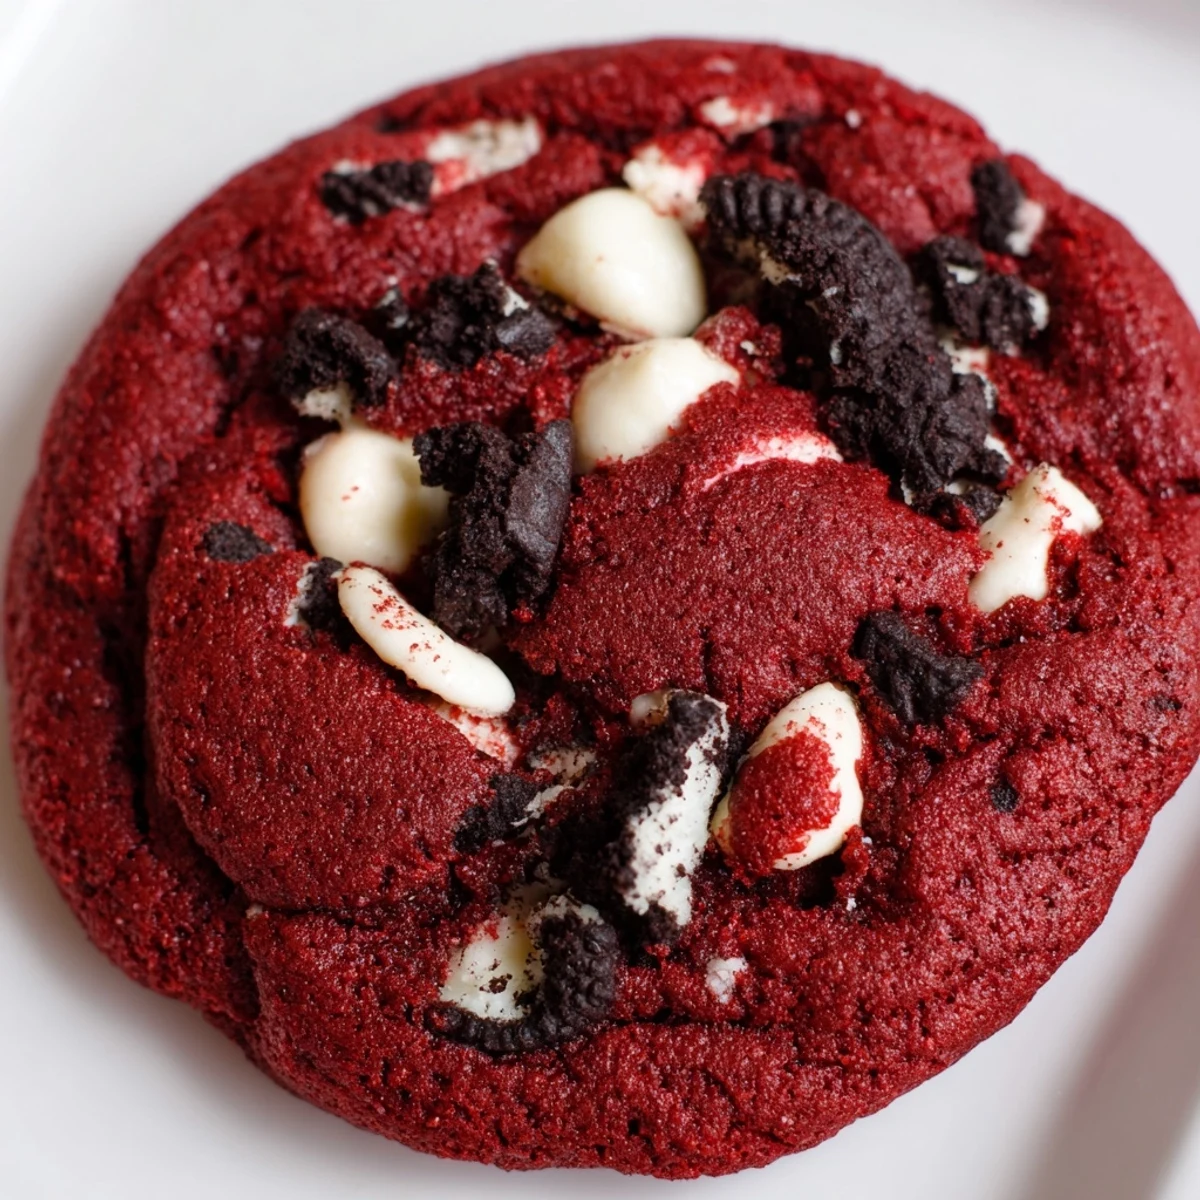
 There's something about pulling a tray of these out of the oven that makes even the worst day feel a little more manageable. Maybe it's the chocolate, maybe it's that ridiculous red color, or maybe comfort food just works.
Recipe FAQs
- → Why are my red velvet cookies flat?
-
Flat cookies usually result from softened butter that's too warm or dough that wasn't chilled. Make sure your butter is softened but not melting, and consider refrigerating the dough for 15-30 minutes before baking if your kitchen is warm. Also measure flour accurately—too little flour causes spreading.
- → Can I use liquid food coloring instead of gel?
-
Yes, but you'll need more liquid coloring to achieve the same vibrant red hue. Gel coloring is more concentrated, so start with 1 tablespoon of liquid coloring and add more as needed. Be aware that additional liquid may slightly affect the dough consistency.
- → How do I know when the cookies are done baking?
-
The cookies are ready when edges look set and slightly firm, but centers still appear soft and slightly underbaked. This usually takes 10-12 minutes at 350°F. They'll continue cooking on the hot baking sheet during the 5-minute cooling period, resulting in perfectly soft, chewy texture.
- → Can I freeze the cookie dough?
-
Absolutely! Scoop the dough into balls and freeze on a baking sheet until firm, then transfer to a freezer bag for up to 3 months. Bake frozen dough balls for 12-14 minutes, adding a couple extra minutes to the baking time. No need to thaw first.
- → What's the best way to chop Oreos for this recipe?
-
Place whole Oreo cookies in a sealed plastic bag and crush with a rolling pin, or pulse briefly in a food processor. Aim for chunks ranging from pea-sized to marble-sized rather than fine crumbs—you want noticeable pieces of cookie throughout. About 12 cookies chopped yield perfect texture.
- → Can I make these without red food coloring?
-
Yes! Without food coloring, you'll have delicious chocolate velvet cookies with the same great taste and texture. The cocoa powder provides plenty of chocolate flavor. Some bakers use beet juice as a natural alternative, though it produces a more muted reddish-brown color.
