 Save to Pinterest
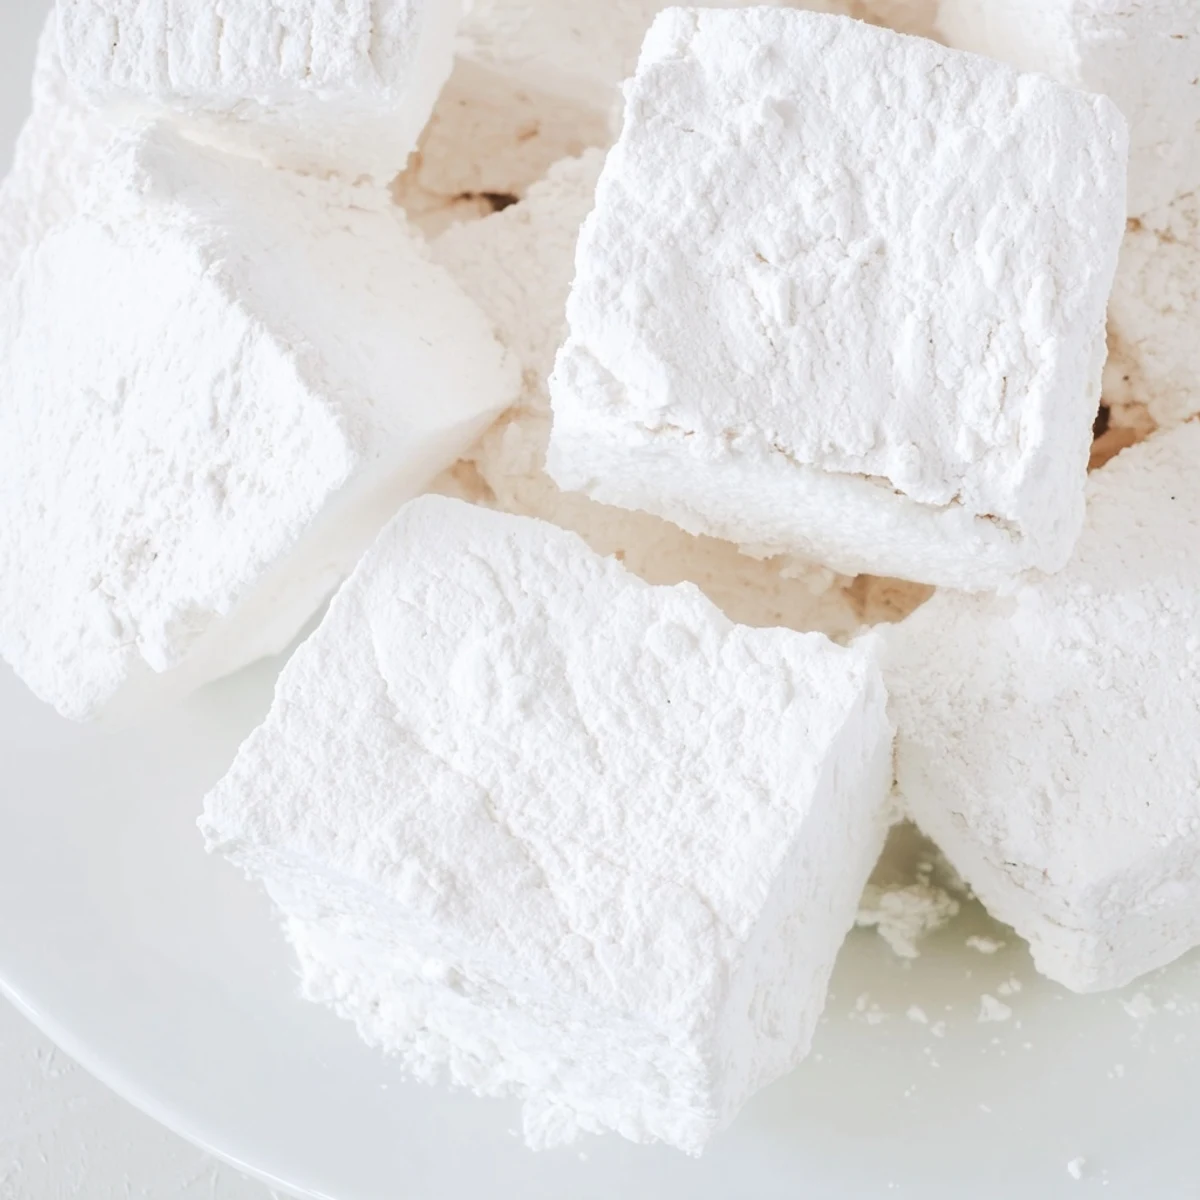
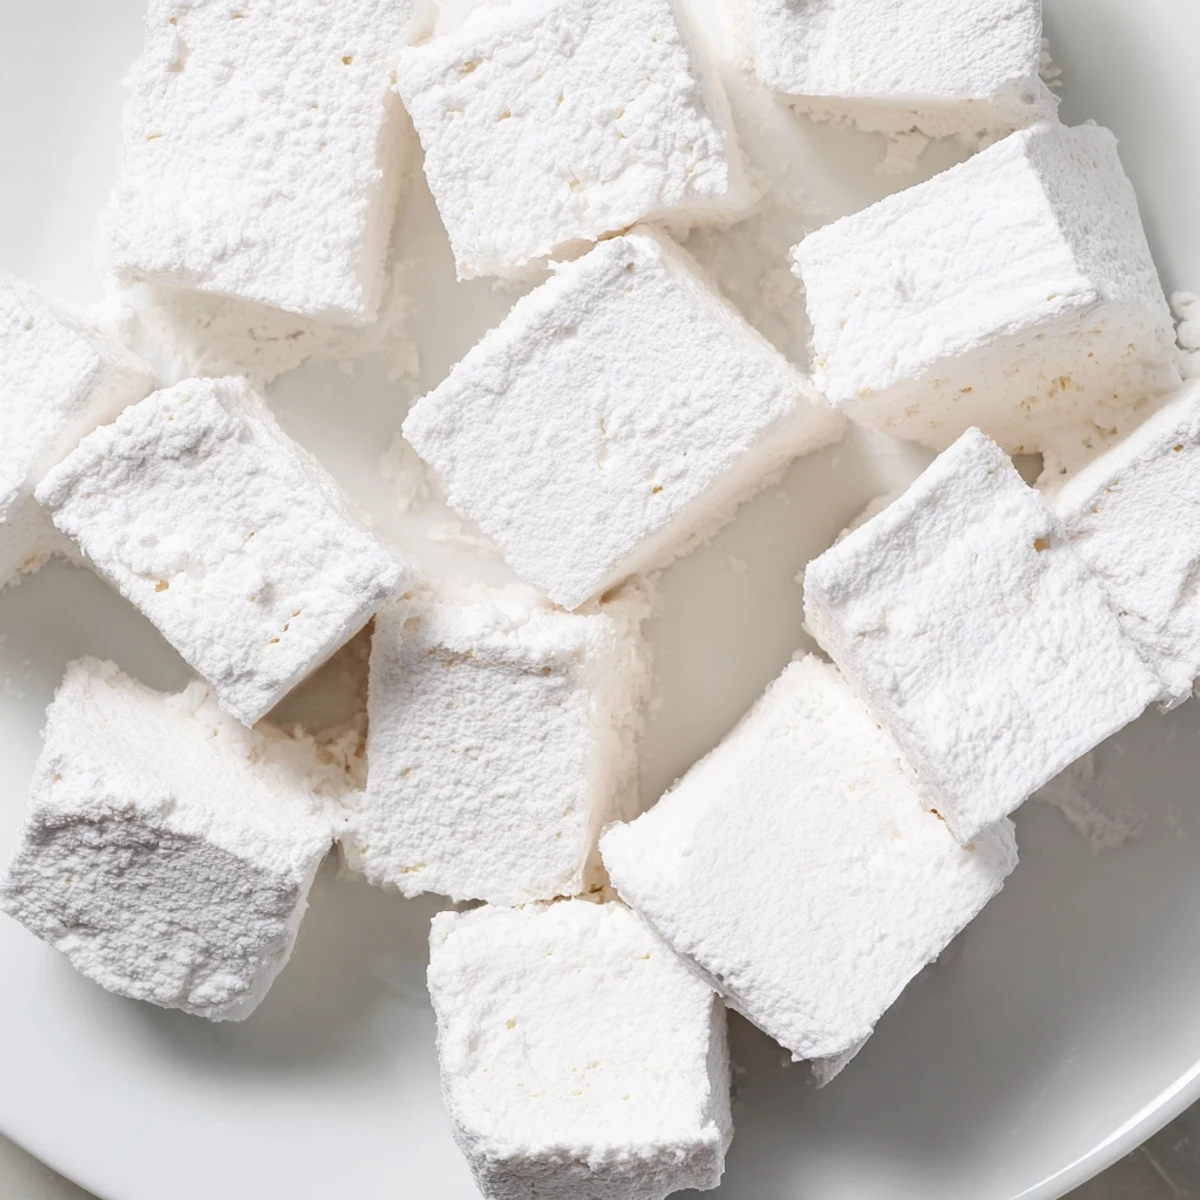
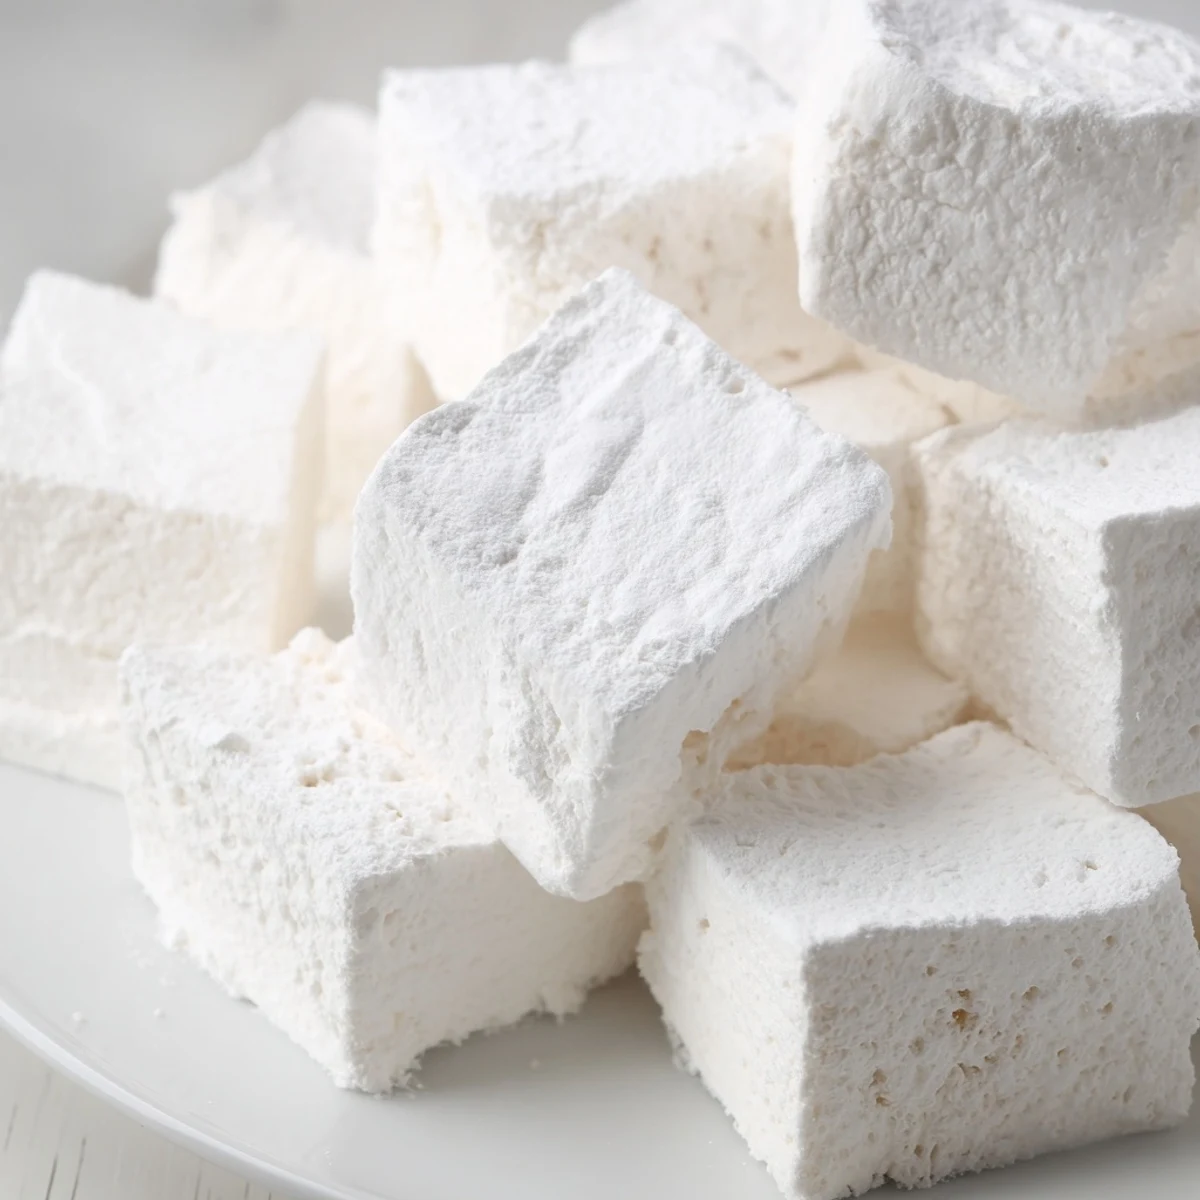
 Craft pillowy soft marshmallows using granulated sugar, corn syrup, and unflavored gelatin. The process involves blooming gelatin, cooking sugar syrup to 240°F, then whipping everything into a glossy white mound that triples in volume. After setting for four hours or overnight, cut into squares and toss with confectioners sugar and cornstarch for that classic coating. Customize with different extracts or food coloring during the final mixing minute. Store in an airtight container for up to seven days.
My kitchen experiment started with skepticism. Homemade marshmallows seemed unnecessary when the store bought ones were perfectly adequate, but curiosity won. That first batch changed everything. The texture alone made me question every marshmallow Id ever eaten from a plastic bag.
I made these during a snowed in weekend when cabin fever had set in. My apartment smelled like vanilla spun sugar for hours. Friends who dropped by couldn't stop eating them straight from the cutting board, hands dusted in confectioners sugar, leaving with wax paper bundles tucked into their coat pockets.
Ingredients
- Granulated sugar: The backbone of your syrup. Don't skimp here as sugar creates the structure that makes marshmallows pillowy rather than sticky
- Light corn syrup: Prevents crystallization and keeps the texture smooth. Dark corn syrup adds molasses notes you might not want
- Unflavored gelatin: Essential for the bounce. This is what transforms hot syrup into fluffy clouds
- Pure vanilla extract: Use the real stuff. Artificial vanillas taste flat in something this simple
- Confectioners sugar and cornstarch: This dusting mixture is non negotiable for handling and storage
Instructions
- Prep your pan first:
- Grease a 9x9 inch pan and dust it with the sugar cornstarch blend. Do this step before anything else so you are ready when the marshmallow fluff is
- Bloom the gelatin:
- Combine the gelatin with cold water in your stand mixer bowl. Let it soften while you cook the syrup. It will look like opaque discs, which is exactly right
- Cook the sugar syrup:
- Combine sugar, corn syrup, water and salt in a saucepan. Stir until dissolved, then stop stirring and let it reach 240 degrees F. Use a candy thermometer. Accuracy matters
- The magical transformation:
- With mixer on low, carefully pour the hot syrup into the gelatin. The gelatin will melt instantly. Turn mixer to high and beat for ten to twelve minutes until white and glossy and tripled in size
- Add flavor and set:
- Beat in vanilla during the final minute, then quickly scrape into your prepared pan. Work fast because it starts setting immediately. Dust the top with more sugar mixture
- The waiting game:
- Let it sit uncovered for at least four hours. Overnight is better. The texture improves as it fully sets
- Cut and coat:
- Turn the slab onto a cutting board and cut into squares. Toss each piece in the remaining sugar mixture so they don't stick together
 Save to Pinterest
 These became my go to hostess gift after showing up to a dinner party with wine yet again. Now I arrive with a clear bag of pillowy squares, and the host inevitably pulls one out before dinner even starts. They are irresistible.
Flavor Variations
Vanilla is classic, but the base recipe is a canvas. Peppermint extract makes instant hot chocolate upgrades. Almond extract creates something sophisticated and subtle. Lemon extract with yellow food coloring feels like sunshine in marshmallow form.
Texture Troubleshooting
If your marshmallows are too dense, you might not have whipped them long enough. Too sticky means your sugar syrup didn't reach temperature. Getting them right takes one or two tries, but the learning process is delicious.
Storage And Serving
Keep them in an airtight container with wax paper between layers. They last a week but rarely make it that long. Drop them into hot cocoa, toast them over a gas burner, or just eat them straight from the container.
- They freeze surprisingly well if you want to make a double batch
- A kitchen torch creates the best toasted marshmallow crust
- Cut them smaller for hot cocoa so they melt faster
 Save to Pinterest
 There is something deeply satisfying about making something from scratch that most people only know from packages. These marshmallows taste like effort and care and magic.
Recipe FAQs
- → Why do I need a candy thermometer?
-
A candy thermometer ensures the sugar syrup reaches exactly 240°F (115°C), the soft-ball stage. This temperature creates the perfect texture—too low and marshmallows won't set, too high and they become unpleasantly chewy or hard.
- → Can I make marshmallows without a stand mixer?
-
A stand mixer is highly recommended because whipping hot sugar syrup requires 10-12 minutes of continuous high-speed beating. Hand mixers often overheat, and manual whisking becomes exhausting. If you must use a hand mixer, work in brief intervals to prevent motor burnout.
- → How long do marshmallows need to set?
-
Let marshmallows set at room temperature for at least 4 hours, though overnight is ideal. This allows the gelatin structure to fully stabilize. Rushing this step results in sticky, difficult-to-cut pieces that lose their shape.
- → Why do my marshmallows stick to everything?
-
Proper dusting with confectioners sugar and cornstarch is essential. Coat your pan, knife, and hands generously with this mixture. The starch prevents the gelatin-rich surface from bonding to surfaces. Keep extra mixture nearby for re-dusting during cutting.
- → Can I use different gelatin types?
-
Stick to unflavored powdered gelatin envelopes or sheets specifically designed for cooking. Collagen supplements or flavored gelatin won't set properly. For vegetarian options, agar-agar works but produces a slightly firmer, less stretchy texture.
- → How should I store homemade marshmallows?
-
Keep in an airtight container at room temperature for up to one week. Avoid refrigeration, which makes them sticky and hard. For longer storage, freeze in single layers with parchment paper between them for up to three months.
