 Save to Pinterest
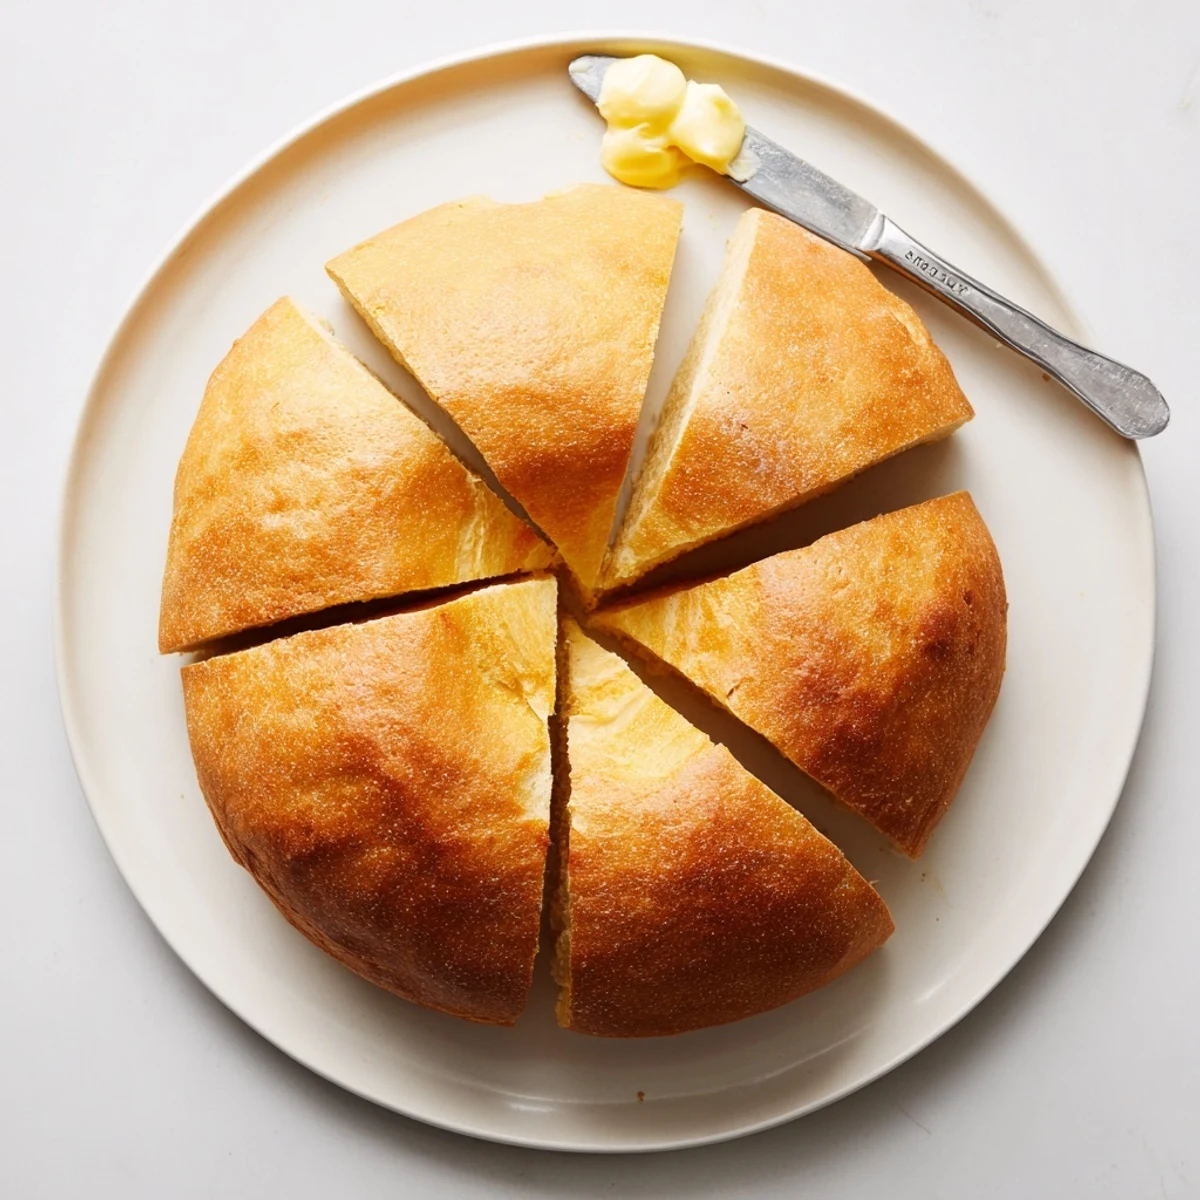
 Create bakery-style bread right on your stove with this simple technique. The dough comes together with basic pantry staples—flour, yeast, water, and olive oil. After a quick rise, cook the loaf in a covered skillet over low heat. The result is a beautifully golden, soft interior with a gently crusted exterior.
This method is ideal when you lack oven access or want fresh bread faster than traditional baking. The low-and-slow cooking ensures even heating throughout, while the lid traps steam for that perfect fluffy texture. You'll know it's done when the bread sounds hollow when tapped and both sides are golden brown.
My tiny apartment kitchen had no oven when I first moved in on my own. I missed fresh bread terribly until my grandmother mentioned cooking it on the stovetop like she did during power outages. That first loaf came out dense and slightly burned on one side, but the taste of homemade bread was there. Now this method is my go-to whenever the craving strikes.
I made this bread during a snowstorm once when the power went out completely. My gas stove still worked, so I kneaded the dough by candlelight with my roommate huddled nearby. We ate that slightly uneven loaf warm by the fireplace and it felt like the most luxurious meal wed ever had. Something about bread made this way brings people closer together.
Ingredients
- All-purpose flour: The foundation gives structure without requiring special bread flour. Measure by weight when possible for consistent results.
- Instant dry yeast: Eliminates the need for proofing and works reliably straight into the flour mixture.
- Sugar: Not for sweetness but to feed the yeast and help with browning.
- Salt: Essential for flavor and helps control the yeast activity.
- Olive oil: Keeps the dough tender and adds subtle richness to the final loaf.
- Warm water: Should feel comfortably warm on your wrist, never hot enough to kill the yeast.
Instructions
- Mix the dry foundation:
- Whisk together flour, yeast, sugar, and salt in a large bowl until evenly combined. The flour should feel aerated and light.
- Bring it together:
- Pour in warm water and olive oil, stirring with a wooden spoon until the mixture becomes shaggy and starts to pull away from the sides.
- Knead with purpose:
- Turn onto a floured surface and knead for 8 to 10 minutes until the dough transforms from sticky to smooth and springs back when pressed.
- Let it rise:
- Place in an oiled bowl, cover with a damp cloth, and leave in a warm spot for about an hour until doubled in size.
- Shape your loaf:
- Gently deflate the dough and form it into a round ball, tucking the edges underneath to create tension on the surface.
- Prepare the pan:
- Coat a heavy skillet with oil and place the dough in the center, giving it space to expand.
- The first cook:
- Cover tightly and cook over the lowest heat for 15 minutes, checking occasionally to prevent scorching.
- The final flip:
- Carefully turn the bread and cook covered for another 12 to 15 minutes until golden and hollow sounding when tapped.
- Rest before slicing:
- Cool on a wire rack for at least 15 minutes to let the crumb set properly.
 Save to Pinterest
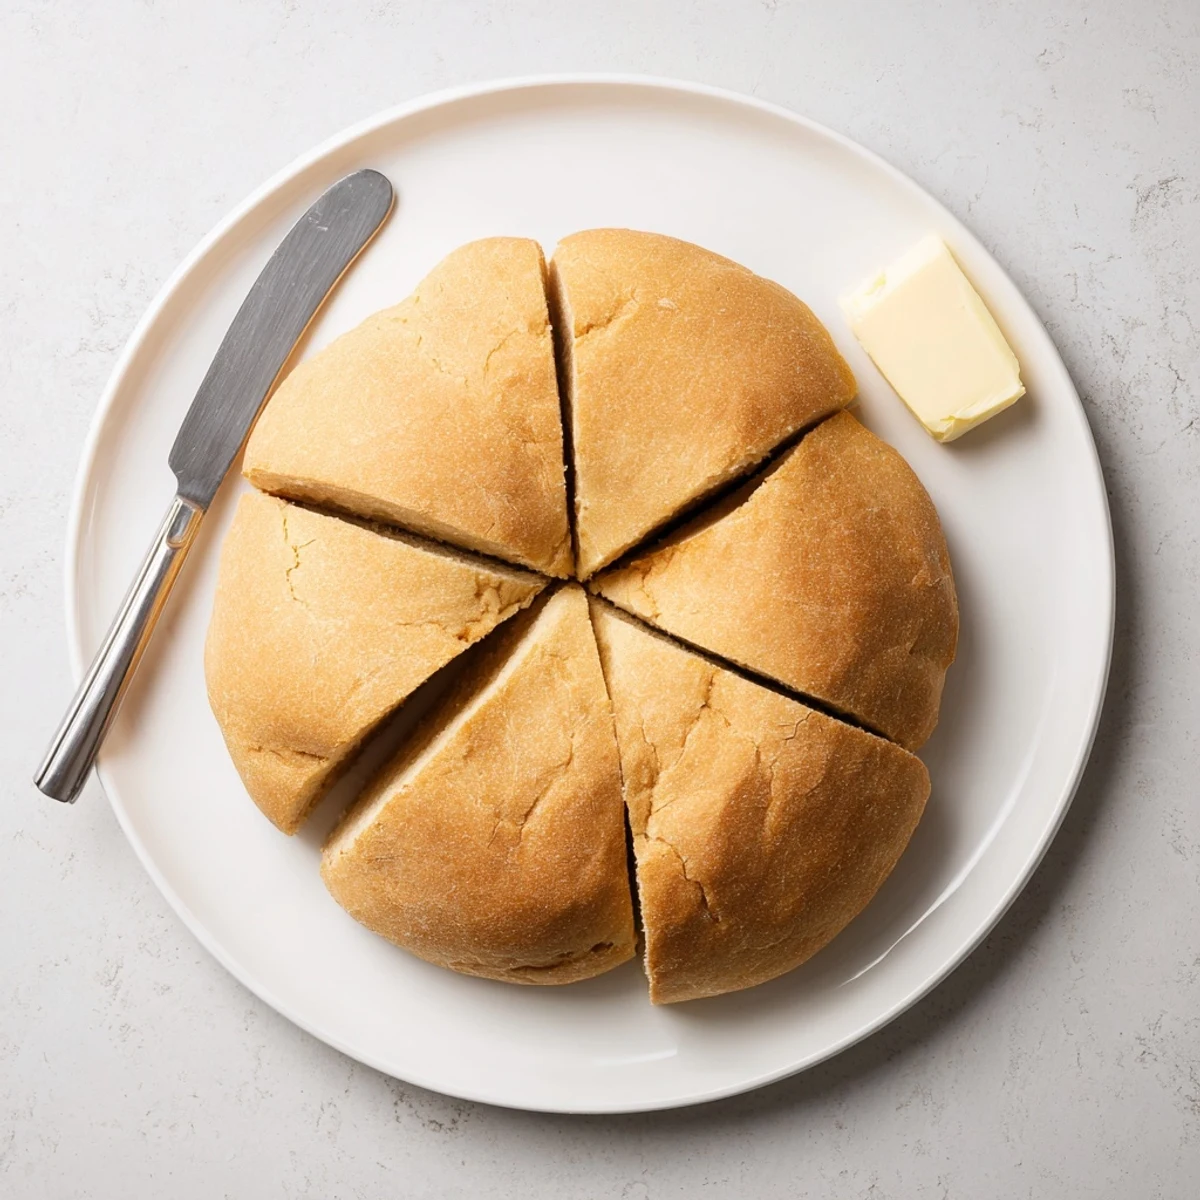
 This bread became my signature contribution to every potluck and dinner party. Friends who swore they couldnt bake started making it after tasting mine warm from the pan. Something about the simplicity makes people brave enough to try.
Getting The Heat Right
I learned through trial and error that every stove behaves differently. Gas flames are more direct while electric holds heat longer. Start as low as possible and adjust after the first 5 minutes if nothing seems to be happening. Better to wait longer than to burn.
Adding Flavor Variations
Rosemary and garlic was my first successful variation after the plain version. Try mixing dried herbs into the flour or adding grated cheese in the last minute of kneading. The stovetop method handles additions beautifully without any special adjustments.
Making It Ahead
This bread is best fresh but reheats surprisingly well in a dry skillet for a minute or two per side. The crust crisps up again while the inside stays soft. I often make it in the morning and revive it for dinner.
- Wrap leftovers in a clean kitchen towel rather than plastic
- Stale pieces make excellent croutons or breadcrumbs
- The dough can be frozen after the first rise for later use
 Save to Pinterest
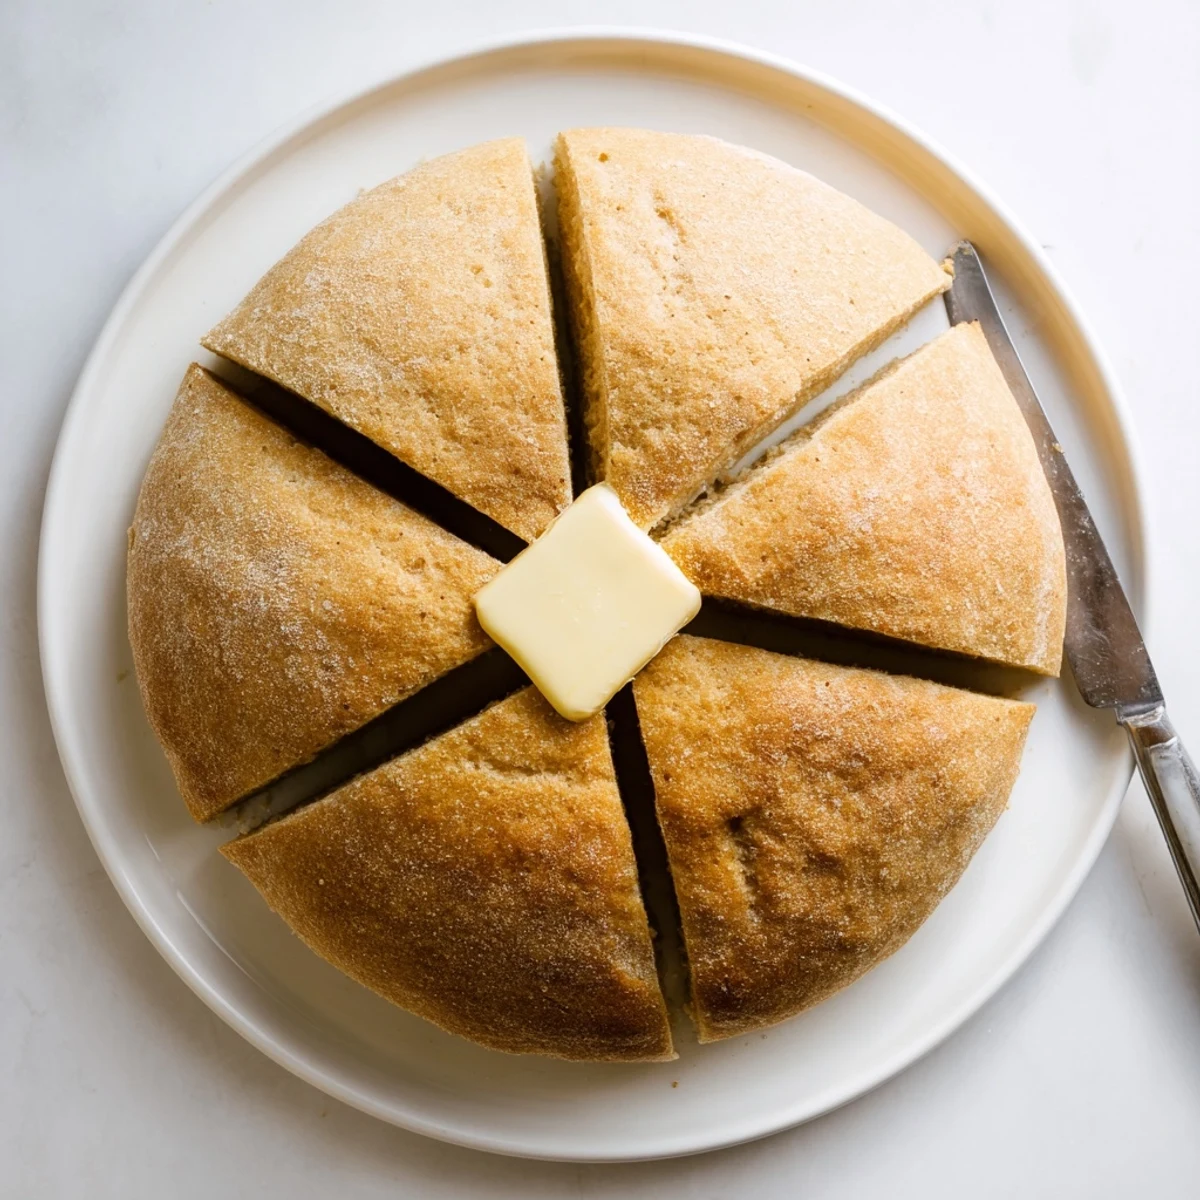
 Theres something deeply satisfying about making bread with nothing but a pan and a flame. Share it warm with people you love.
Recipe FAQs
- → Can I use whole wheat flour instead of all-purpose?
-
Yes, but expect a denser texture. Try half whole wheat and half all-purpose flour for the best results. You may need slightly more water since whole wheat absorbs more liquid.
- → What if I don't have a lid for my skillet?
-
A tight-fitting lid is essential for trapping steam and ensuring the bread cooks through. You can use aluminum foil, secured tightly around the pan edges, or a baking sheet as a makeshift cover.
- → How do I know when the bread is fully cooked?
-
The bread should sound hollow when tapped on the bottom, and both sides should be golden brown. You can also insert a toothpick into the center—if it comes out clean, it's done.
- → Can I double this recipe?
-
You can double the dough, but you'll need to cook two separate loaves or use a larger skillet. Overcrowding the pan will prevent even cooking and result in a gummy texture.
- → How should I store leftovers?
-
Wrap the cooled bread in plastic or store in an airtight bag at room temperature for up to 2 days. For longer storage, freeze slices and reheat in a toaster or pan.
