 Save to Pinterest
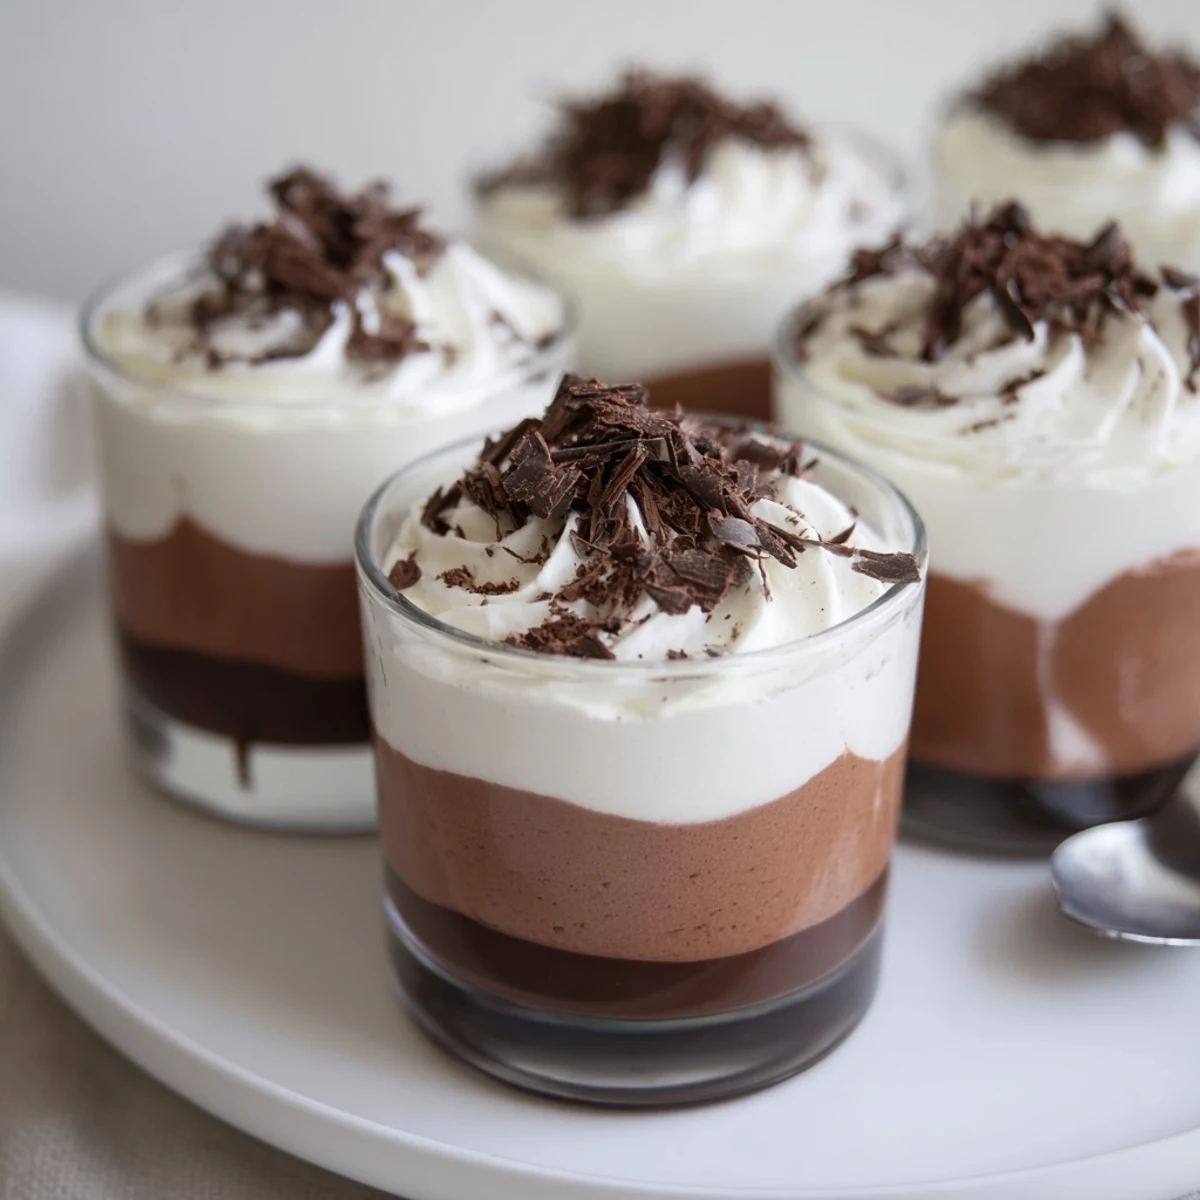
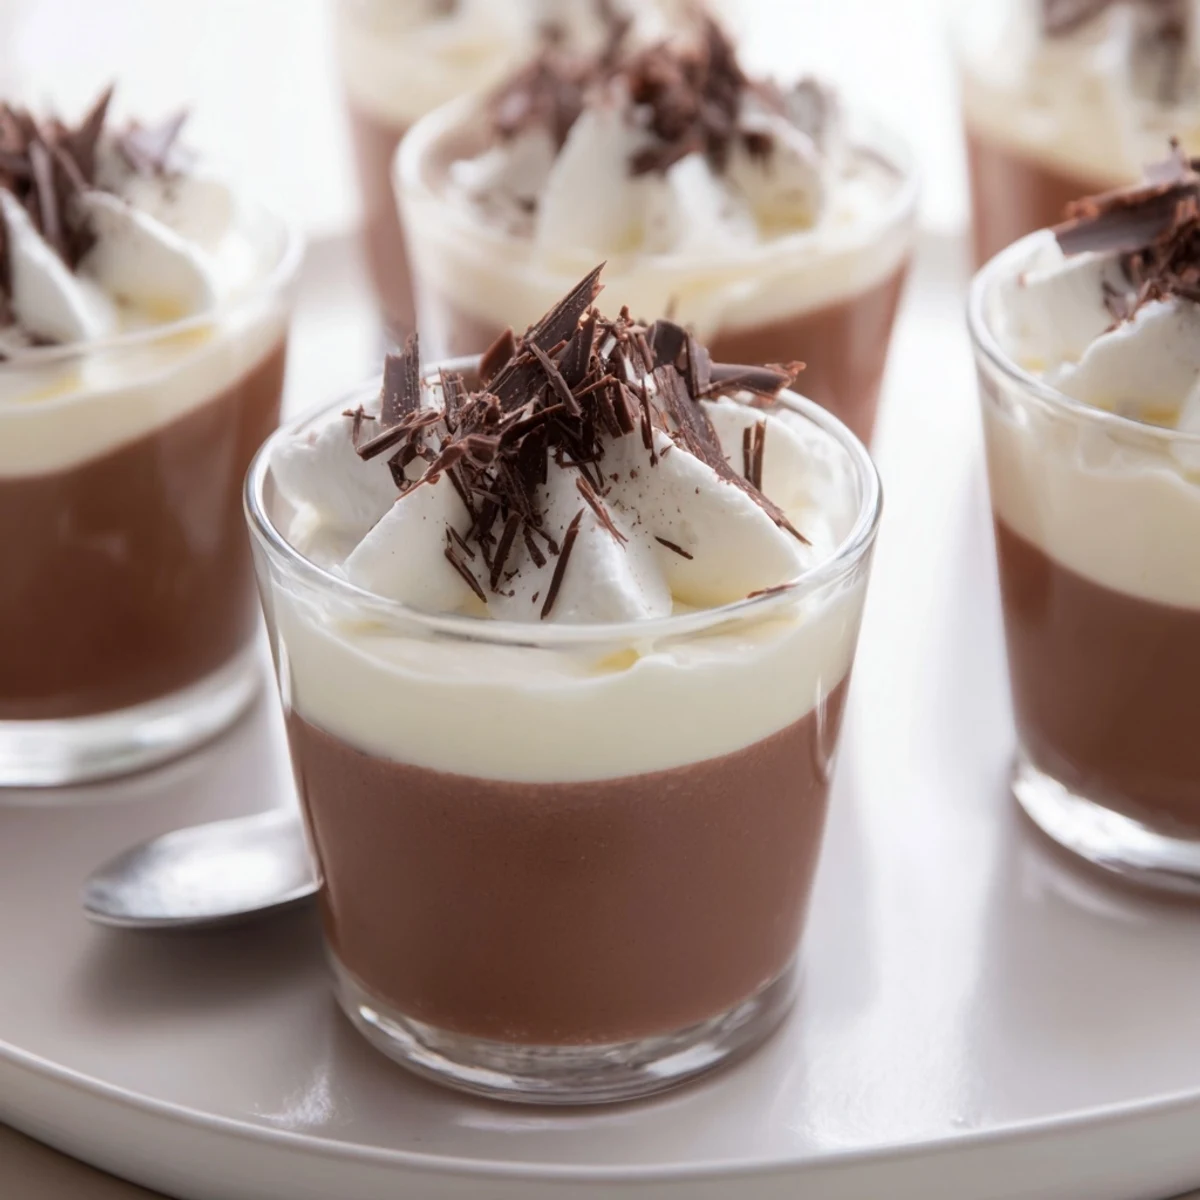
 Layer chocolate mousses in six small cups to create a trio of dark, milk and white layers that contrast in flavor and texture. Melt each chocolate gently, blend with egg yolk and sugar, then fold in whipped cream for airy mousses. Chill between layers for clean lines; finish with shaved chocolate or cocoa. Use quality chocolate and chill thoroughly for best set and glossy appearance.
The first time I made these triple chocolate mousse cups, it wasn't for a fancy gathering but for a quiet Sunday afternoon spent experimenting with textures and flavors in my tiny kitchen. I remember being surprised at how meditative it felt to melt each type of chocolate—deep, silky aromas filling the air. I ended up with a splattered counter and a sense of giddy anticipation as the cups chilled, chocolate layers peeking through the glass. Somehow, those imperfect swirls looked just right by the time we dug in.
Serving these for a friend's birthday dinner, I still remember the curious looks as the cups made their way around the table. Everyone paused their conversation to admire the stripes and debate which chocolate mouse to tackle first. It turned into a spontaneous taste-testing contest, each layer getting its moment to shine before disappearing in seconds. Laughter mixed with the gentle clink of spoons—proof that dessert really can break the ice.
Ingredients
- Dark chocolate (100 g, 60% cocoa or more): Gives the base a bold, sophisticated bite; let it cool slightly after melting so it doesn't seize your egg mixture.
- Egg yolks (1 per mousse layer): They lend richness and help set the mousse without being too heavy.
- Sugar (1 ½ tbsp per layer): Just enough to balance the bittersweet cocoa and round out the white chocolate's sweetness.
- Heavy cream (100 ml per layer, cold): Whip until just at soft peaks for a billowy consistency that's easy to fold.
- Milk chocolate (100 g): Mellow and kid-friendly, it forms the gentle center of the trio.
- White chocolate (100 g): Sweet, buttery, and a bit more delicate; I find chopping it finely helps it melt without burning.
- Shaved chocolate or cocoa powder: These are for flair—totally optional, but they make the cups feel complete.
Instructions
- Melt the Dark Chocolate:
- Chop your dark chocolate and gently melt it over a simmering bain-marie or with quick microwave bursts, stirring until smooth and glossy.
- Make the Chocolate Base:
- In a separate bowl, whisk together one egg yolk and sugar until pale and creamy—watch for that soft golden swirl.
- Combine and Lighten:
- Fold the slightly cooled chocolate into the whipped yolk mixture, blending just until combined; try not to overmix to maintain that airy texture.
- Whip the Cream:
- With a cold bowl and whisk (or mixer), beat 100 ml of heavy cream until it just holds soft peaks, then gently fold into your chocolate base for a light mousse.
- Layer and Chill:
- Spoon the dark mousse evenly into 6 small cups. Pop them in the fridge while you move on to the milk chocolate layer.
- Repeat for Milk Chocolate:
- Using the same method, prepare the milk chocolate mousse. Gently spoon it over the dark layer and chill again.
- Finish with White Chocolate:
- Repeat the process one last time with the white chocolate, then carefully spoon or pipe the final layer on top and chill the cups for at least 1 hour until fully set.
- Garnish and Serve:
- Right before serving, dust the tops with cocoa powder or shower with shaved chocolate—the finishing flourish that makes these impossible to resist.
 Save to Pinterest
 The night I realized how special these cups had become was when my partner declared them the ultimate 'comfort dessert' after a stressful week. There was that quiet moment—plenty of chocolate left to lick from the bowl, and suddenly, everything felt lighter. I think that's when I knew this recipe was a keeper for life.
Best Ways to Personalize These Mousse Cups
Sometimes I swap the middle layer for hazelnut or add a dash of espresso to the dark chocolate for a grown-up twist. Playing with different garnishes, like citrus zest or chopped nuts, keeps things exciting every single time. Once, I even tried adding a bit of sea salt to the milk chocolate, and it was an unexpected hit—definitely worth a try.
What to Do If You Mess Up a Layer
If a mousse turns a bit grainy or doesn't set quite right, don't panic. I learned that a quick whisk can sometimes save a split mixture, or worst-case, layer it imperfectly and call it 'rustic.' The flavors win everyone over either way, so embrace the mishaps as part of the fun.
Little Secrets to Make These Stand Out
I've found that assembling the mousse cups while chatting with a friend or listening to music makes the process feel effortless. Letting each layer chill well means the colors stay sharp and the texture turns out just right. And honestly, don't hold back on the garnish—that last sprinkle makes all the difference.
- Try using tempered glass cups to show off the layers beautifully.
- A piping bag or zip-top bag with the corner snipped gives a cleaner finish for the white chocolate.
- Set aside a few extra minutes to tidy the rims before chilling—those little touches always matter.
 Save to Pinterest
 As you dig through each layer, I hope these mousse cups surprise you with just how joyful a simple dessert can be. Here’s to making sweet memories—one spoonful at a time.
Recipe FAQs
- → How do I get stable, airy mousses?
-
Chill the cream before whipping and beat to soft peaks. Fold the whipped cream gently into the chocolate-egg mixture to keep airiness. Use tempered or gently melted chocolate so it blends smoothly without deflating the mousse.
- → Can I skip eggs or use a safer alternative?
-
Use pasteurized egg yolks for food safety. For an egg-free option, substitute with whipped aquafaba or stabilize cream with a small amount of dissolved gelatin (bloomed and cooled) to help the mousse set.
- → How can I achieve clean, distinct layers?
-
Chill each layer until lightly set before adding the next. Spoon or pipe the mousse gently to avoid disturbing the layer beneath. For faster setting between layers, place cups briefly in the freezer for 25–30 minutes.
- → What chocolates work best for each layer?
-
Choose good-quality chocolate: around 60% cocoa for the dark layer, a flavorful milk chocolate for the middle, and a creamy white chocolate for the top. Higher-quality chocolate melts more smoothly and yields a cleaner texture.
- → How long should the cups chill before serving and how to store them?
-
Chill the assembled cups at least 1 hour, longer for a firmer set. Store covered in the refrigerator for up to 2 days for best texture; avoid long storage to preserve whipped texture and shine.
- → Can I add liqueur or flavor variations?
-
Yes. A splash of coffee liqueur enhances the dark layer; orange or berry liqueurs pair well with milk or white layers. Keep additions small to avoid thinning the mousse — reduce other liquid components if needed.
