 Save to Pinterest
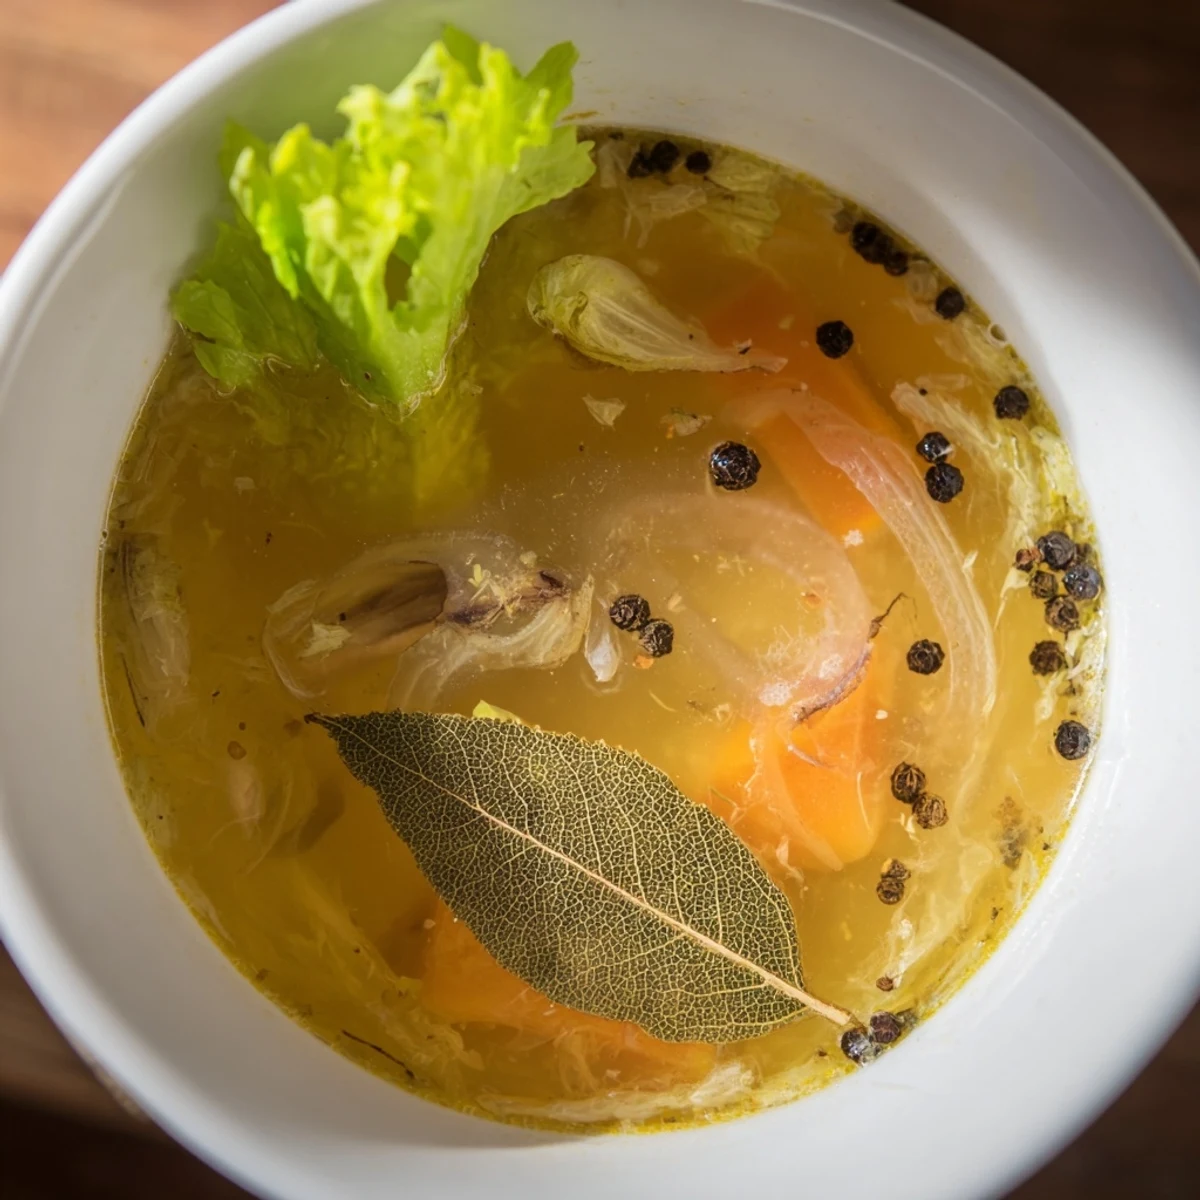
 This homemade vegetable broth utilizes leftover vegetable scraps like onion peels, carrot ends, and herbs simmered gently for one hour. It's a natural, rich, and aromatic base that adds depth to soups, stews, risottos, or sauces while reducing food waste. The broth is easy to prepare, requiring simple ingredients and minimal hands-on time. Straining removes solids, yielding a clear, flavorful liquid that stores well refrigerated or frozen. This method maximizes freshness and sustainability in the kitchen without added complexity.
I started making vegetable broth almost by accident one winter when my freezer was stuffed with veggie scraps I couldn't bring myself to throw away. A friend visiting the kitchen asked what I was doing, and when I explained my theory about turning them into something useful, she said, "You're basically brewing liquid gold." That phrase stuck with me, and it turns out she was right. Now whenever I'm about to toss carrot tops or onion skins, I pause and think about the richness hiding inside them.
I made this broth for a small dinner party last fall, using scraps that had been frozen for weeks. When the aroma filled the kitchen—this gentle, clean, almost sweet smell—my guests asked what I was cooking before they even sat down. That's when it hit me that something this simple could feel this elegant, and I realized I'd never go back to store-bought broth again.
Ingredients
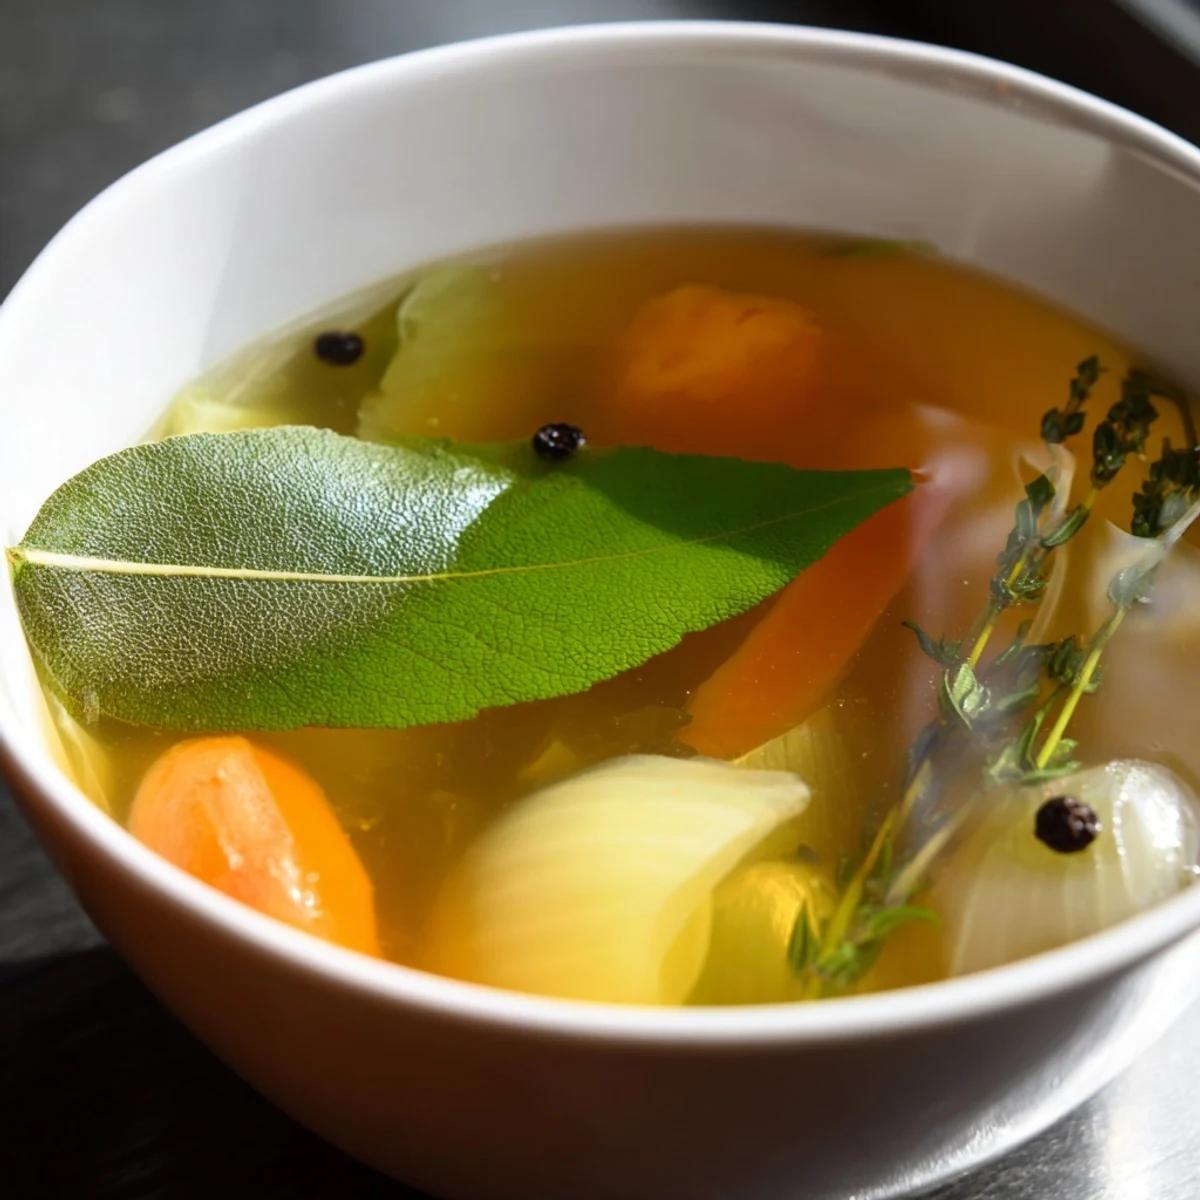
- Mixed vegetable scraps (4–5 cups): This is your foundation—onion peels (bring a slight sweetness), carrot ends (earthy and mild), celery leaves (herbaceous), mushroom stems (umami powerhouse), parsley stems (fresh brightness), leek tops (delicate onion notes), and garlic skins (pungent depth) all work beautifully together. Save these in your freezer in a bag until you have enough.
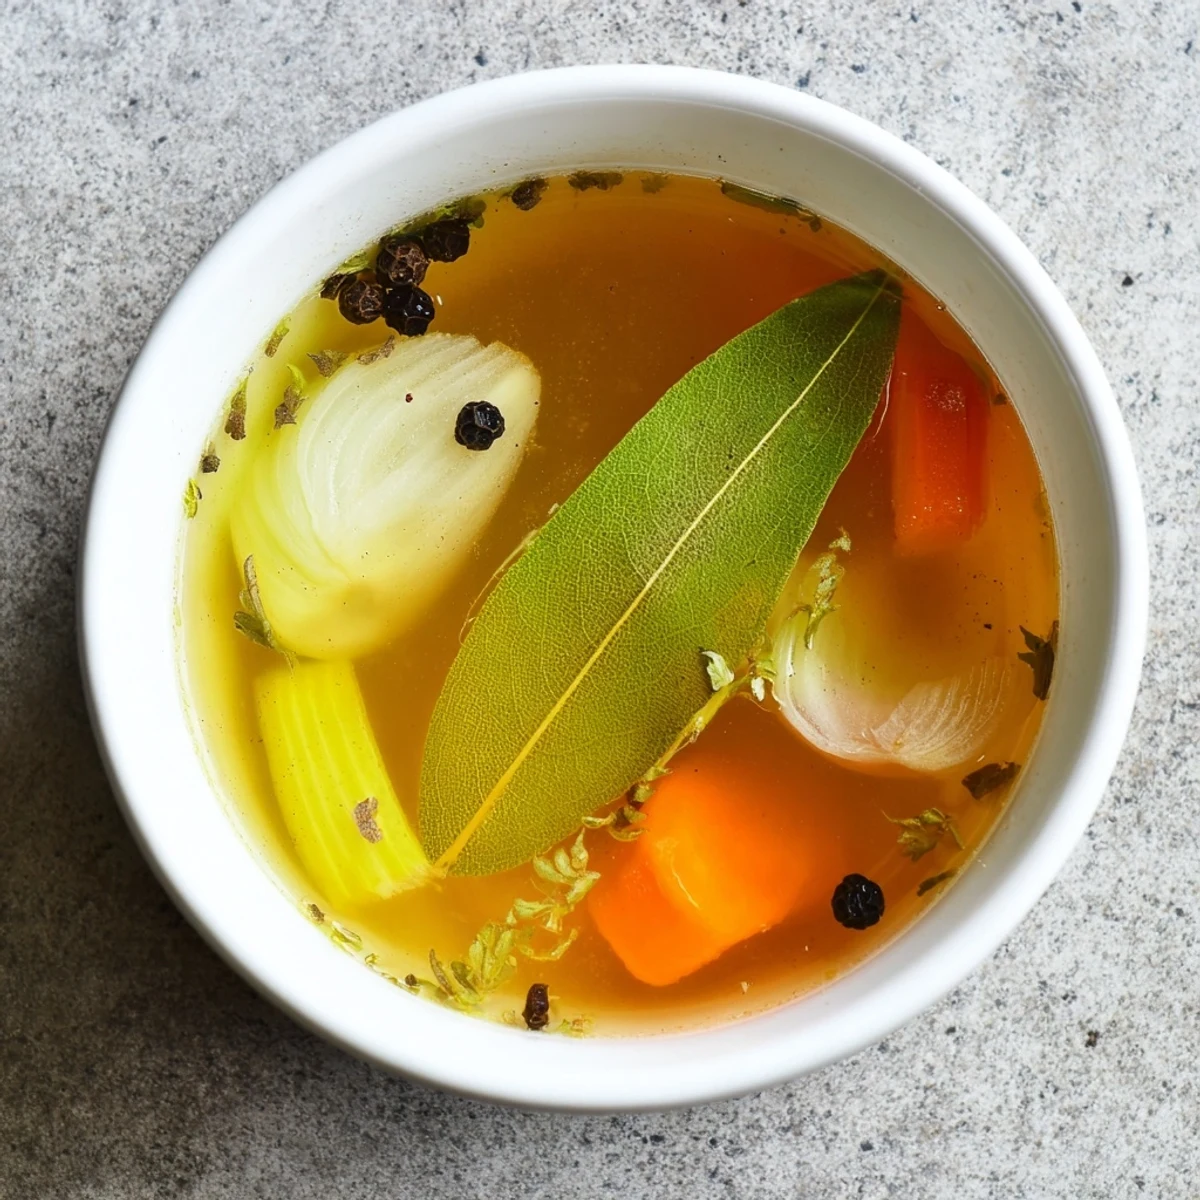
- Bay leaves (2): Non-negotiable for that subtle, sophisticated background note that makes the broth feel intentional.
- Black peppercorns (6–8): Whole peppercorns stay gentler than ground pepper and infuse rather than overpower.
- Fresh thyme (2 sprigs) or dried (1 tsp): Thyme brings an almost medicinal warmth that ties everything together.
- Fresh parsley stems (1 handful, optional): Don't discard the stems when you use parsley leaves elsewhere—they're packed with flavor and often overlooked.
- Garlic cloves (2, smashed): Smashing releases the oils without needing to peel, keeping prep time minimal.
- Salt (1 tsp, adjust to taste): This is your seasoning foundation, but hold back slightly since broth concentrates as it simmers.
- Cold water (2.5 liters): Cold water extracts flavors slowly and gently, creating a cleaner broth than starting with hot water.
Instructions
- Gather and prep your scraps:
- Pull out your frozen bag of vegetable scraps and check them over—you're looking for anything that's actually moldy or genuinely grimy, and you'll remove that. Most scraps need just a quick rinse under cold water if they've been sitting in the freezer.
- Build your pot:
- Place all the scraps into a large stockpot, then scatter the bay leaves, peppercorns, thyme, and parsley stems on top like you're creating a flavor bed. Smash your garlic cloves with the flat of a knife and add them in, then sprinkle the salt over everything.
- Add water and bring to life:
- Pour in cold water until the scraps are fully submerged with about an inch of water above them. Turn the heat to medium-high and let it come to a gentle boil—this takes about 8–10 minutes and you'll see the water gradually turn from clear to pale golden.
- Simmer gently for one hour:
- Once it reaches a boil, reduce the heat to medium or medium-low so you get a gentle, quiet simmer with just occasional bubbles breaking the surface. As the broth simmers, foam will rise to the top—skim this off with a ladle or spoon whenever you notice it, which keeps the broth clear and clean-tasting.
- Cool and strain:
- After an hour, turn off the heat and let everything sit for about 5 minutes so the solids settle slightly. Set a fine mesh sieve or lay cheesecloth over a large bowl, then carefully pour the broth through, letting gravity do the work while the solids stay behind.
- Taste and store:
- Once it's cooled enough to taste safely, take a sip and decide if it needs more salt—you can always add, but you can't remove. Pour into airtight containers and refrigerate for up to 5 days, or freeze in portions for up to 3 months.
 Save to Pinterest
 My mother once told me that good cooking is about respect—for ingredients, for time, for the people eating. Making broth from scraps feels like that philosophy in a pot. It's not wasteful, it's not rushed, and the result tastes like care.
The Magic of Umami
Mushroom stems and garlic are your secret umami sources, creating depth that makes this broth feel richer than its simple ingredients suggest. If you want to push this even further, a dried mushroom or a piece of kombu seaweed transforms the broth into something almost restaurant-quality, though it's absolutely delicious without them. I keep a small jar of dried shiitake in my pantry specifically for broth-making days.
Freezing and Using Your Broth
Freeze broth in ice cube trays so you can grab exactly what you need for a sauce or a small pot of soup, then transfer frozen cubes into labeled freezer bags. I've also had success freezing broth in muffin tins for slightly larger portions, which thaw faster and are perfect for cooking grains or finishing a risotto. The beauty of homemade broth is that you control the salt and clarity, so it becomes the foundation for almost anything.
Scraps Worth Saving
Start a freezer bag right now and toss in trimmings as you cook throughout the week. Carrot tops, celery bottoms, onion skins, garlic cloves, parsley stems, leek greens—all of these are broth-worthy, and they cost you nothing since you were already using the other parts. Building this habit transforms your kitchen from one that discards to one that creates, and you'll be surprised how quickly you accumulate enough for a full batch.
- Store scraps in a dedicated freezer bag and label it with the date so you know how long they've been sitting.
- Avoid storing broccoli, cauliflower, cabbage, or potato peels in the same bag—make a separate one if you want to experiment with them.
- Once your bag is full or nearly full, you've got everything you need to make broth on a quiet afternoon.
 Save to Pinterest
 This broth teaches you something about cooking that fancy recipes sometimes miss: the best flavors often hide in the parts we almost throw away. Once you make it once, you'll understand why making it again and again becomes less of a choice and more of a quiet pleasure.
Recipe FAQs
- → What vegetable scraps work best for this broth?
-
Use scraps like onion peels, carrot ends, celery leaves, mushroom stems, parsley stems, leek tops, and garlic skins for a balanced flavor. Avoid strong-flavored scraps like broccoli or cabbage to prevent bitterness.
- → Can I add herbs to enhance the broth?
-
Yes, fresh or dried thyme, bay leaves, peppercorns, and parsley stems add aromatic depth and complexity to the broth.
- → How long should the broth simmer?
-
Simmer the broth uncovered for about one hour to fully extract flavors without losing clarity.
- → How should I store the broth after cooking?
-
Allow the broth to cool, then store in airtight containers in the refrigerator for up to 5 days or freeze for up to 3 months.
- → Can I use this broth as a base for different dishes?
-
Absolutely, it enriches soups, stews, risottos, sauces, and can even be used to cook grains for extra flavor.
- → How can I avoid cloudy or bitter broth?
-
Exclude bitter scraps like broccoli and cauliflower, and skim off foam during simmering to maintain a clear, clean taste.
