 Save to Pinterest
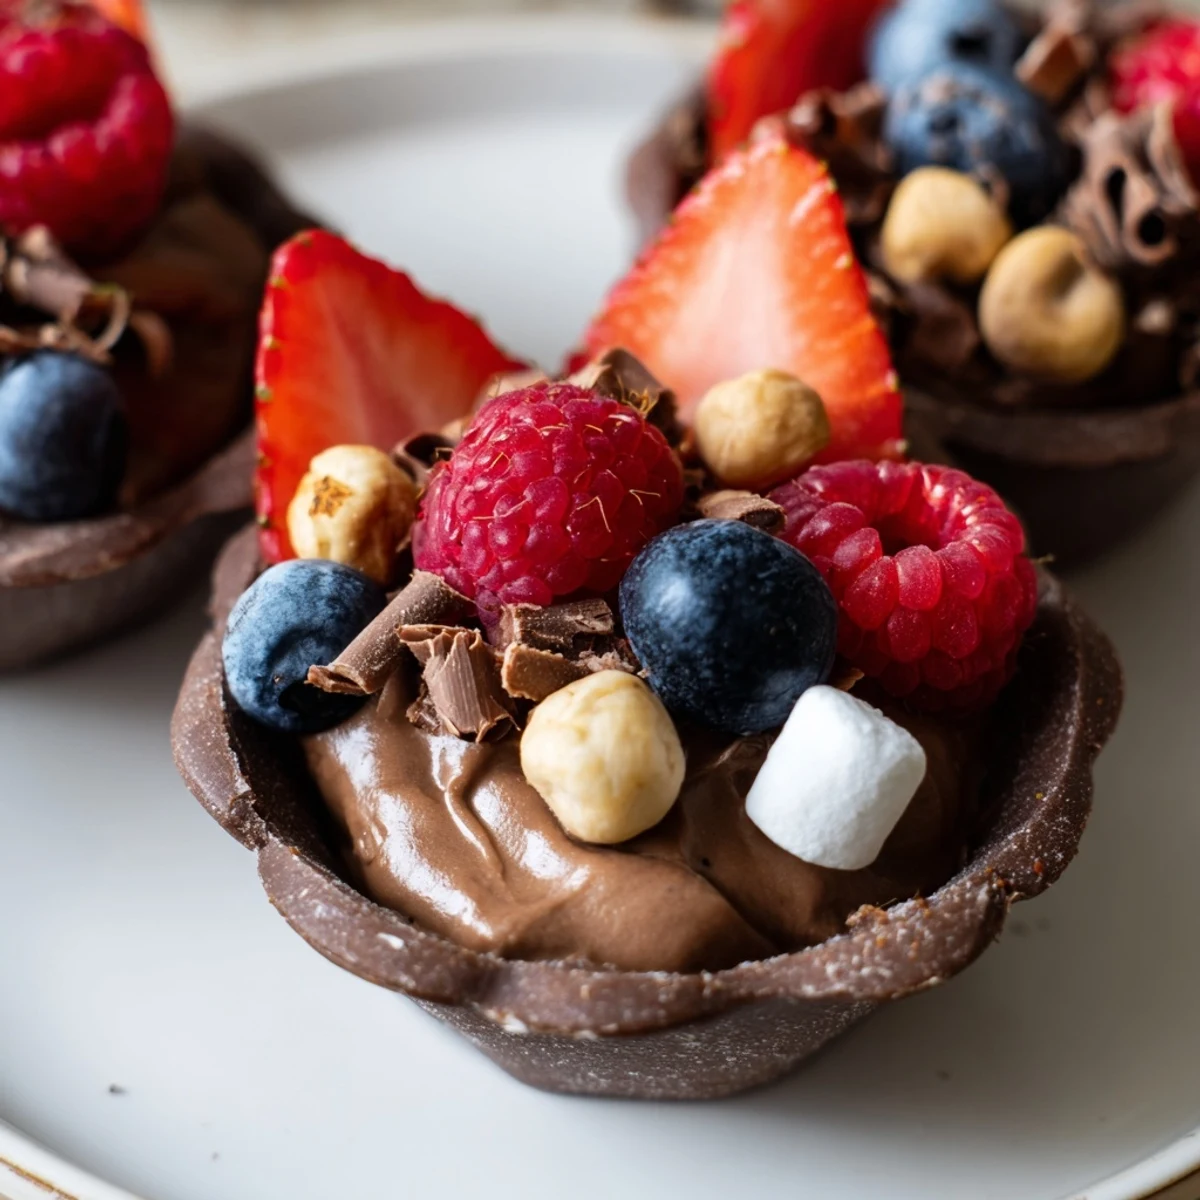
 These decadent chocolate grazing cups feature handmade dark chocolate shells filled with silky chocolate mousse. Each cup is topped with fresh mixed berries, crunchy nuts, mini marshmallows, and chocolate curls for an impressive layered presentation. The combination of creamy mousse and crisp chocolate creates luxurious textures perfect for entertaining.
The first time I made these chocolate cups, my hands were shaking trying to peel off the silicone molds without cracking them. My grandmother had just taught me the secret of patience—letting chocolate set completely changes everything. That dinner party became legendary, mostly because everyone thought I'd spent hours at a fancy pastry shop. Sometimes the most elegant desserts come from the simplest techniques and a little bit of trust.
I served these at my sister's engagement party last spring, arranged on a wooden board like edible jewels. Watching guests discover the edible chocolate cup itself was pure joy—someone actually whispered 'you can eat the bowl?' like they'd unlocked a secret level. These grazing cups turn dessert into an experience rather than just a final course. They're conversation starters that taste even better than they look.
Ingredients
- Dark chocolate (at least 60% cocoa): The higher cocoa percentage creates cups that snap beautifully and won't melt too quickly from warm hands
- Heavy cream: Cold cream whips up faster and holds its structure longer when folded into the warm melted chocolate
- Powdered sugar: Dissolves seamlessly into the mousse without leaving any gritty texture behind
- Vanilla extract: Use pure vanilla here—it marries with the dark chocolate in ways artificial never can
- Fresh mixed berries: The natural acidity cuts through the rich chocolate, making each bite perfectly balanced
- Chopped nuts: Toast them lightly beforehand to bring out their oils and add another layer of flavor
- Mini marshmallows: These aren't just cute—they add a fluffy, chewy contrast to the smooth textures
- Chocolate curls or shavings: Use a vegetable peeler on room-temperature chocolate for professional-looking garnish
- Edible gold leaf or pearls: Completely optional but transforms these into something that feels genuinely special
Instructions
- Melt and mold the chocolate cups:
- Melt the chocolate in 30-second bursts, stirring between each, until it's glossy and smooth. Coat the cupcake liners in thin, even layers—thick spots won't set properly and might crack when you remove them later. Chill for exactly 20 minutes; any longer makes the chocolate too brittle to work with.
- Whip the mousse base:
- Chill your mixing bowl and beaters for 10 minutes before starting—the cold helps the cream whip up faster and hold more volume. Beat until soft peaks just barely hold their shape, then stop immediately. Over-whipped cream will turn grainy when folded with the chocolate.
- Combine chocolate and cream:
- Let the melted chocolate cool to about body temperature before touching the cream—too hot will deflate everything. Stir a dollop of whipped cream into the chocolate first to lighten it, then gently fold the chocolate mixture back into the remaining cream. Use a spatula and fold from underneath to keep as much air as possible in that mousse.
- Assemble and chill:
- Pipe the mousse into the chocolate cups with a gentle touch—fill only two-thirds full to leave room for all those beautiful toppings. Arrange the berries, nuts, marshmallows, and chocolate curls artfully on top. Chill for at least 20 more minutes so the mousse sets up completely and the flavors meld together.
 Save to Pinterest
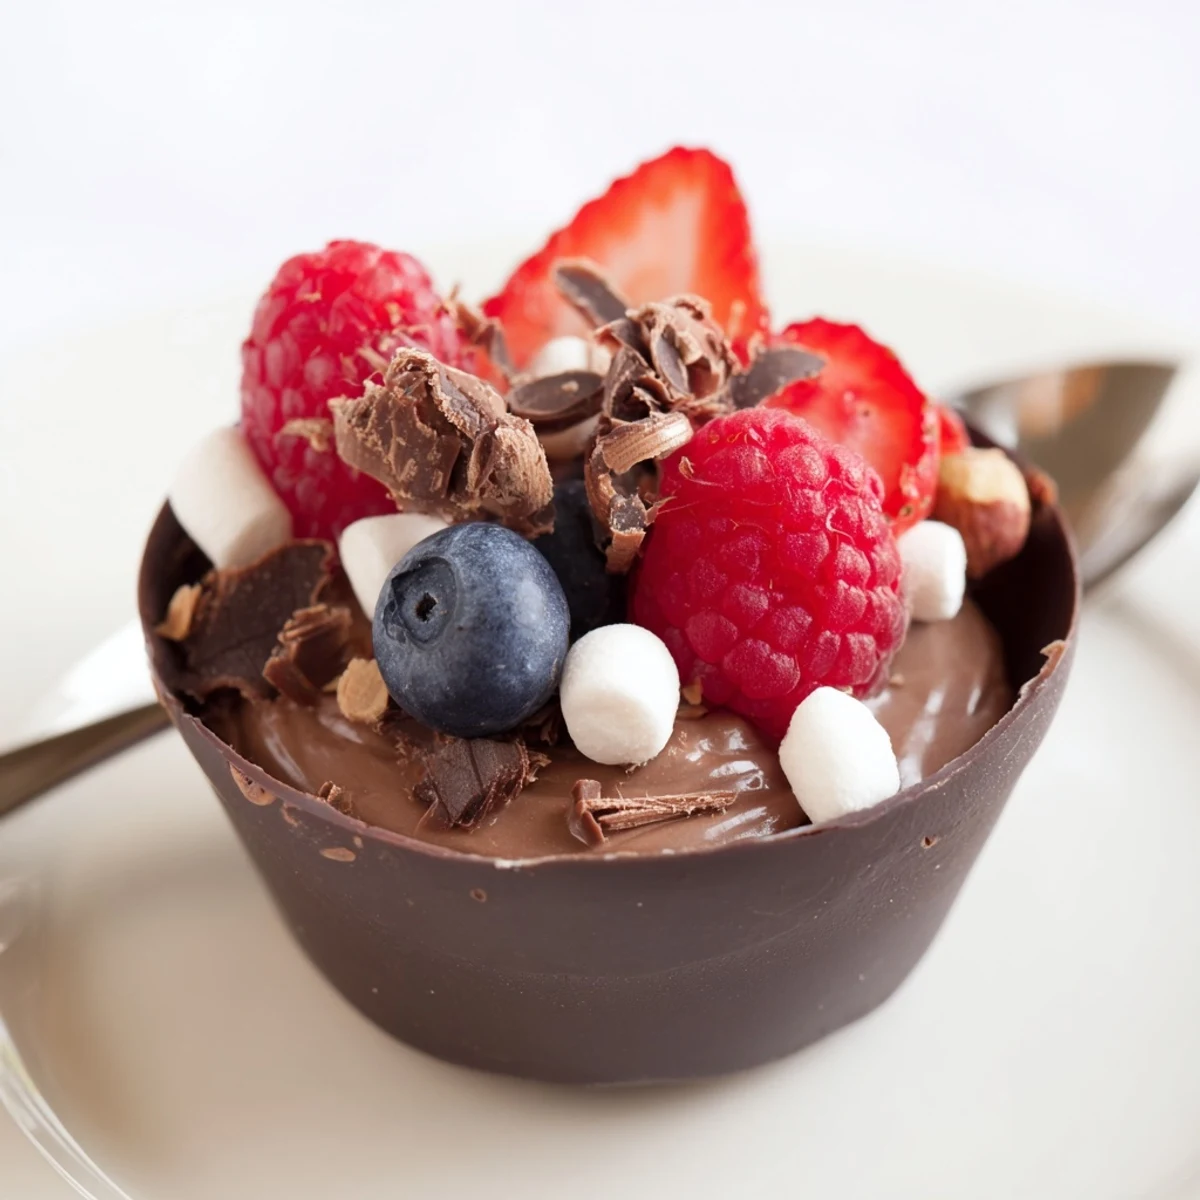
 These became my go-to for celebrations after my best friend requested them for her milestone birthday instead of a traditional cake. Seeing people pick them up, admire the details, then take that first bite of crisp chocolate yielding into creamy mousse—that moment never gets old. Sometimes food is just food, but sometimes it's how we make ordinary Tuesdays feel like special occasions.
Making Chocolate Cups Without Stress
Work in a cool room since chocolate responds poorly to warm kitchens and humid days. If the chocolate starts seizing while you're working with it, add a teaspoon of coconut oil and stir gently. The first cup might be messy, and that's completely normal—by the sixth one, you'll have found your rhythm.
Flavor Variations That Work
White chocolate cups with lemon mousse and fresh berries creates a completely different but equally stunning dessert. For coffee lovers, dissolve instant espresso in the melted chocolate before folding into the cream. A splash of orange liqueur in dark chocolate mousse tastes like something from a European café, and peppermint extract makes perfect holiday grazing cups.
Presentation Secrets
Arrange these on a wooden board or slate platter with small bunches of fresh herbs like mint between cups for visual breathing room. Use tweezers to place edible gold or pearls precisely where you want them for that professional finish.
- Make extra chocolate cups in case of breakage—they keep in the freezer for weeks
- Set up a toppings bar and let guests customize their own cups at the table
- Chocolate flavor improves over 24 hours, so the mousse actually tastes better tomorrow
 Save to Pinterest
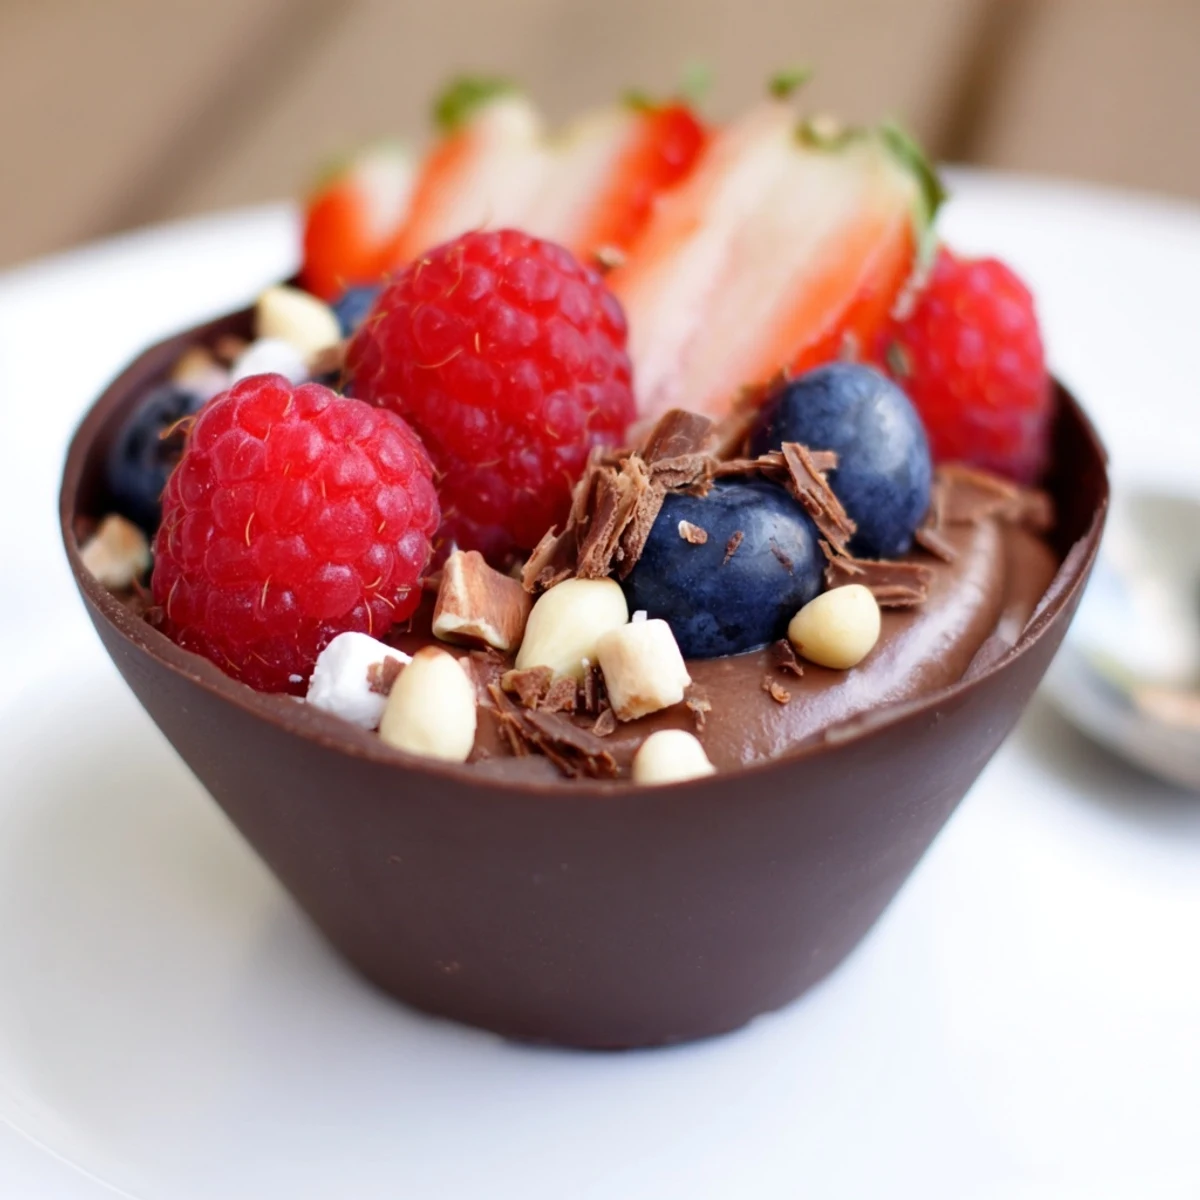
 Every time I serve these, someone asks for the recipe, and I always smile because the secret is mostly patience and good chocolate. Some desserts are worth every minute.
Recipe FAQs
- → How far in advance can I make chocolate grazing cups?
-
For best texture and freshness, prepare these cups on the day of serving. The chocolate shells can be made 1-2 days ahead and stored in an airtight container, but assemble with mousse and toppings within 4-6 hours of serving to prevent sogginess.
- → Can I use milk or white chocolate instead of dark chocolate?
-
Absolutely! Milk chocolate creates a sweeter, creamier profile while white chocolate offers a delicate vanilla sweetness. Adjust powdered sugar in the mousse accordingly—reduce slightly for milk chocolate, and possibly increase for white chocolate variations.
- → What tools do I need to create the chocolate cups?
-
You'll need silicone or paper cupcake liners as molds, a microwave or double boiler for melting chocolate, a pastry brush or small spoon for coating the liners, and a baking tray for chilling. A piping bag makes filling the cups easier but isn't essential.
- → How do I prevent the chocolate cups from cracking when removing liners?
-
Ensure the chocolate is completely set before attempting to remove liners—chill for at least 20 minutes. Gently peel liners away starting from the top edge, working slowly. If chocolate feels soft, return to the refrigerator for additional chilling time.
- → Can I make these cups nut-free for allergy concerns?
-
Simply omit the chopped nuts and replace with seeds like pumpkin or sunflower seeds for crunch, or increase the quantity of mini marshmallows and chocolate curls. Always verify that your chocolate doesn't contain nut allergens or traces from manufacturing.
- → What's the best way to serve chocolate grazing cups at a party?
-
Arrange cups on a large platter or grazing board surrounded by extra berries, cookies, and small spoons. Consider displaying at varying heights using cake stands. Keep chilled until 15 minutes before serving, then let sit briefly for optimal mousse texture.
