 Save to Pinterest
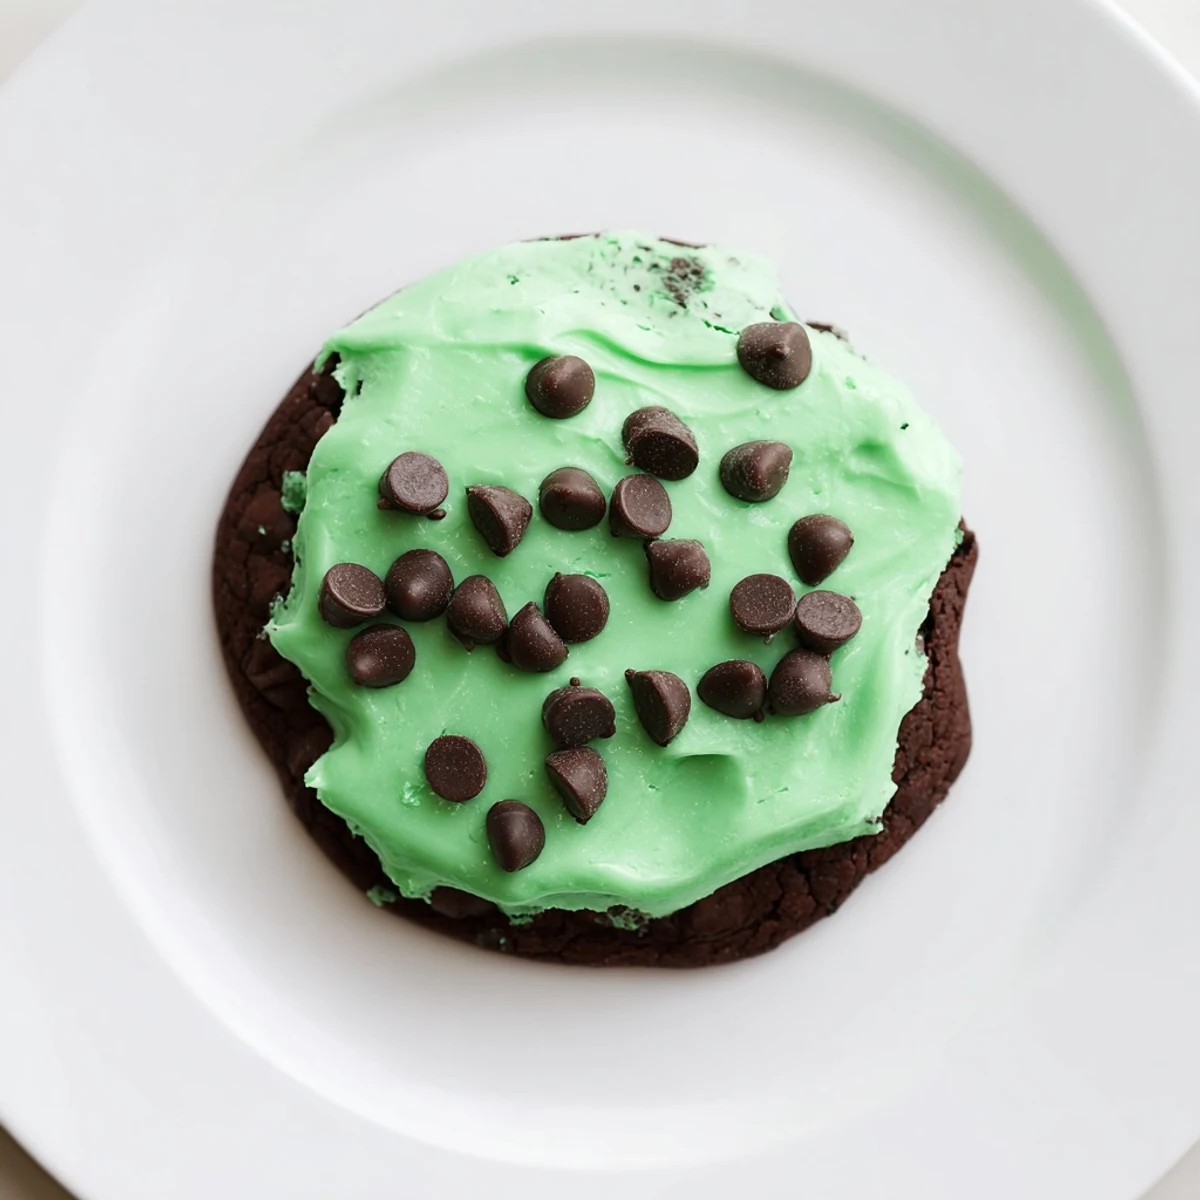
 These chocolate mint cookies offer a rich, chocolatey base enhanced by refreshing peppermint extract. The soft texture, studded with semi-sweet chocolate chips, pairs beautifully with the creamy, green-tinted frosting, flavored subtly with peppermint. Simple baking steps ensure a tender crumb and perfect edges. Ideal for festive occasions or a cozy snack, these are easy to prepare and yield 24 delightful pieces. Variations include adding chopped mint chocolates or using dairy-free alternatives.
The first time I made these chocolate mint cookies, my sister took one bite and declared them better than the famous girl scout cookies we grew up loving. That deep chocolate flavor hitting the cool mint frosting is just something magical together. I started making them for every holiday gathering after that, and now my niece actually asks for them by name. The green frosting makes them instantly festive, but honestly, I would eat these any time of year.
Last December, I brought a platter to my office cookie exchange and watched them disappear within twenty minutes. Three different coworkers asked for the recipe, and one person admitted they ate three cookies before lunch even happened. There is something about that chocolate mint combination that makes people lose all self control. Now I double the batch whenever there is any kind of gathering.
Ingredients
- Unsalted butter: I always let this sit out for at least an hour because room temperature butter incorporates so much better into the dough
- Granulated sugar: Cream this thoroughly with the butter until it looks pale and fluffy, that airiness makes for lighter cookies
- Large egg: Use it straight from the fridge, cold eggs help prevent the dough from spreading too much in the oven
- Vanilla and peppermint extracts: Do not skimp on the peppermint here, that is what gives the cookies their signature cool flavor
- All-purpose flour: Spoon and level the flour instead of scooping directly, packing it down makes cookies dense and dry
- Unsweetened cocoa powder: Dutch-processed cocoa gives the deepest color and mellow chocolate flavor that balances the mint perfectly
- Baking soda: This is what gives the cookies their slight rise and chewy edges
- Salt: A half teaspoon enhances all the chocolate flavors without making the cookies taste salty
- Semi-sweet chocolate chips: I fold these into the dough because pockets of melted chocolate take these over the top
- Butter for frosting: Again, room temperature is non-negotiable here for that silky smooth texture
- Powdered sugar: Sifting this first prevents any lumpy frosting disasters, ask me how I know
- Milk: Start with one tablespoon and add more only if needed, you want thick spreadable frosting
- Peppermint extract: This brings the minty flavor to the frosting and ties everything together
- Green food coloring: Gel coloring works best without thinning the frosting, but liquid drops work fine too
Instructions
- Get your oven ready:
- Preheat to 350 degrees and line two baking sheets with parchment paper, this saves so much cleanup later
- Cream the butter and sugar:
- Beat them together for at least three minutes until the mixture looks pale and fluffy, this step is worth the extra time
- Add the wet ingredients:
- Mix in the egg, vanilla, and peppermint extract until everything is well combined
- Whisk the dry ingredients:
- In a separate bowl, combine the flour, cocoa powder, baking soda, and salt so they distribute evenly
- Combine everything:
- Gradually mix the dry ingredients into the wet ones, stopping as soon as no flour streaks remain
- Add the chocolate chips:
- Fold them in gently with a spatula, the electric mixer can break them down too much
- Scoop the dough:
- Drop rounded tablespoons onto the baking sheets about two inches apart to give them room to spread
- Bake to perfection:
- Bake for nine to eleven minutes until the edges look set, the centers will still look slightly soft
- Cool completely:
- Let them rest on the baking sheet for five minutes, then move them to a wire rack until completely cool
- Make the frosting:
- Beat the butter until creamy, then gradually add the powdered sugar followed by the milk and peppermint extract
- Add the color:
- Mix in food coloring one drop at a time until you reach your desired shade of green
- Frost the cookies:
- Spread or pipe the frosting onto each completely cooled cookie and try not to eat them all immediately
 Save to Pinterest
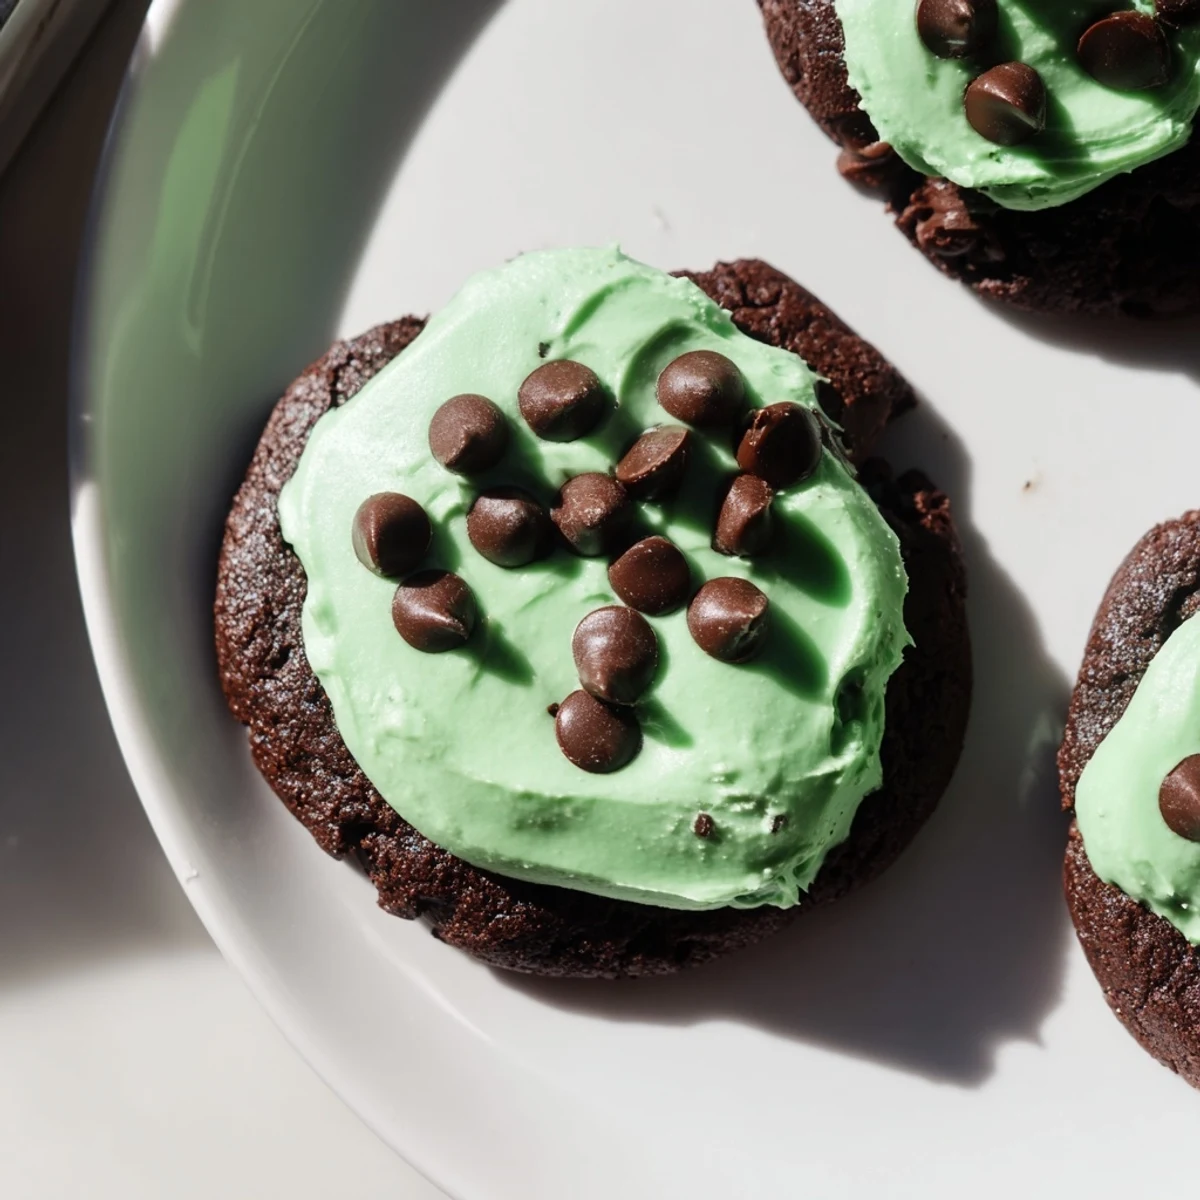
 My daughter helped me frost a batch last weekend and decided every cookie needed different green intensities, from barely mint to forest green. Those cookies looked ridiculous on the platter but honestly, watching her take such pride in each one made them taste even better. Sometimes the imperfect moments in the kitchen become the ones we talk about years later.
Getting That Perfect Green Color
I have learned that gel food coloring gives you that vibrant green without thinning the frosting like liquid drops can. Start with a tiny amount on a toothpick and gradually add more until you reach your desired shade. You can always add more color but you cannot take it back once it is too dark.
Making These Ahead
The unfrosted cookies freeze beautifully for up to three months in an airtight container with parchment paper between layers. I often bake a double batch on Sunday, freeze half, and then frost them throughout the week whenever we need a sweet treat. The frosting can also be made ahead and stored in the refrigerator for up to a week, just let it come to room temperature and give it a quick whip before using.
Serving Suggestions
These cookies shine brightest when paired with something warm to drink. The mint flavor plays so nicely with hot chocolate, peppermint tea, or even a dark roast coffee. I have found they also make an incredible base for ice cream sandwiches if you want to take them over the top.
- Stack them on a white cake stand for maximum visual impact at parties
- Wrap individually in clear bags tied with green ribbon for thoughtful homemade gifts
- Chill the frosted cookies for thirty minutes before serving for a firmer, more structured bite
 Save to Pinterest
 Whether you are making these for Christmas, Saint Patricks Day, or just a Tuesday that needs chocolate, I hope these cookies bring as much joy to your kitchen as they have to mine. Happy baking, friends.
Recipe FAQs
- → What gives the cookies their mint flavor?
-
Fresh peppermint extract is added to both the cookie dough and frosting, providing a cool, refreshing mint flavor throughout.
- → Can I make the frosting without dairy?
-
Yes, substituting plant-based butter and non-dairy milk can create a dairy-free frosting with similar texture and taste.
- → How long should I bake the cookies?
-
Bake the cookies between 9 to 11 minutes at 350°F until edges are set but centers remain soft for the best texture.
- → What tools are recommended for preparing these cookies?
-
Mixing bowls, an electric mixer or whisk, measuring cups/spoons, baking sheets lined with parchment paper, and a wire rack for cooling are commonly used.
- → Are these cookies suitable for vegetarians?
-
Yes, the cookies use no meat products and are suitable for a vegetarian diet, but contain dairy and eggs.
