 Save to Pinterest
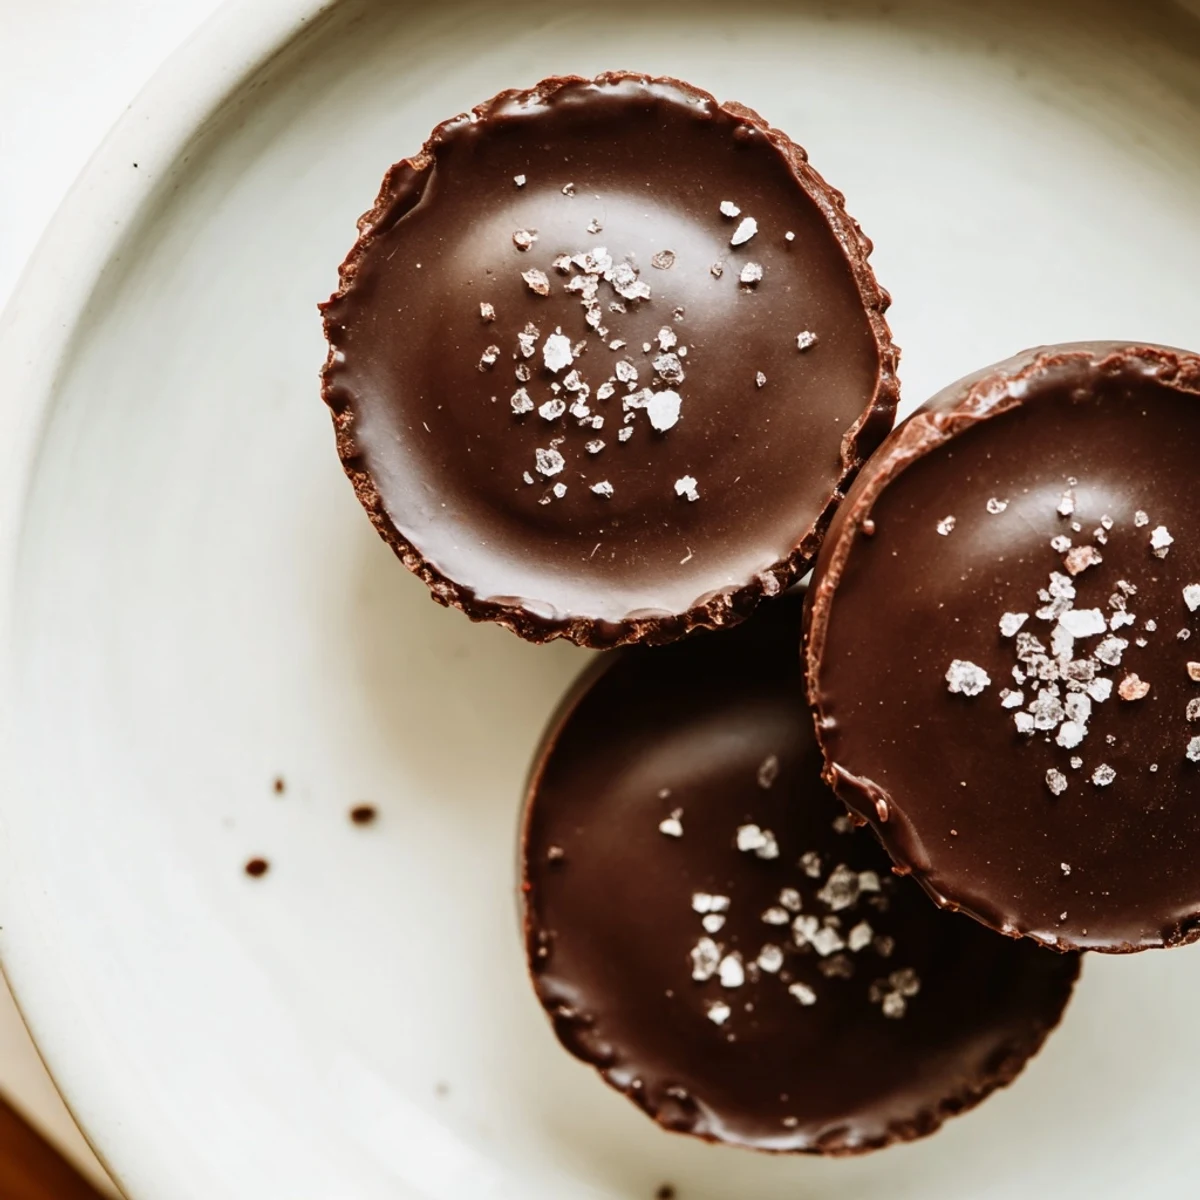
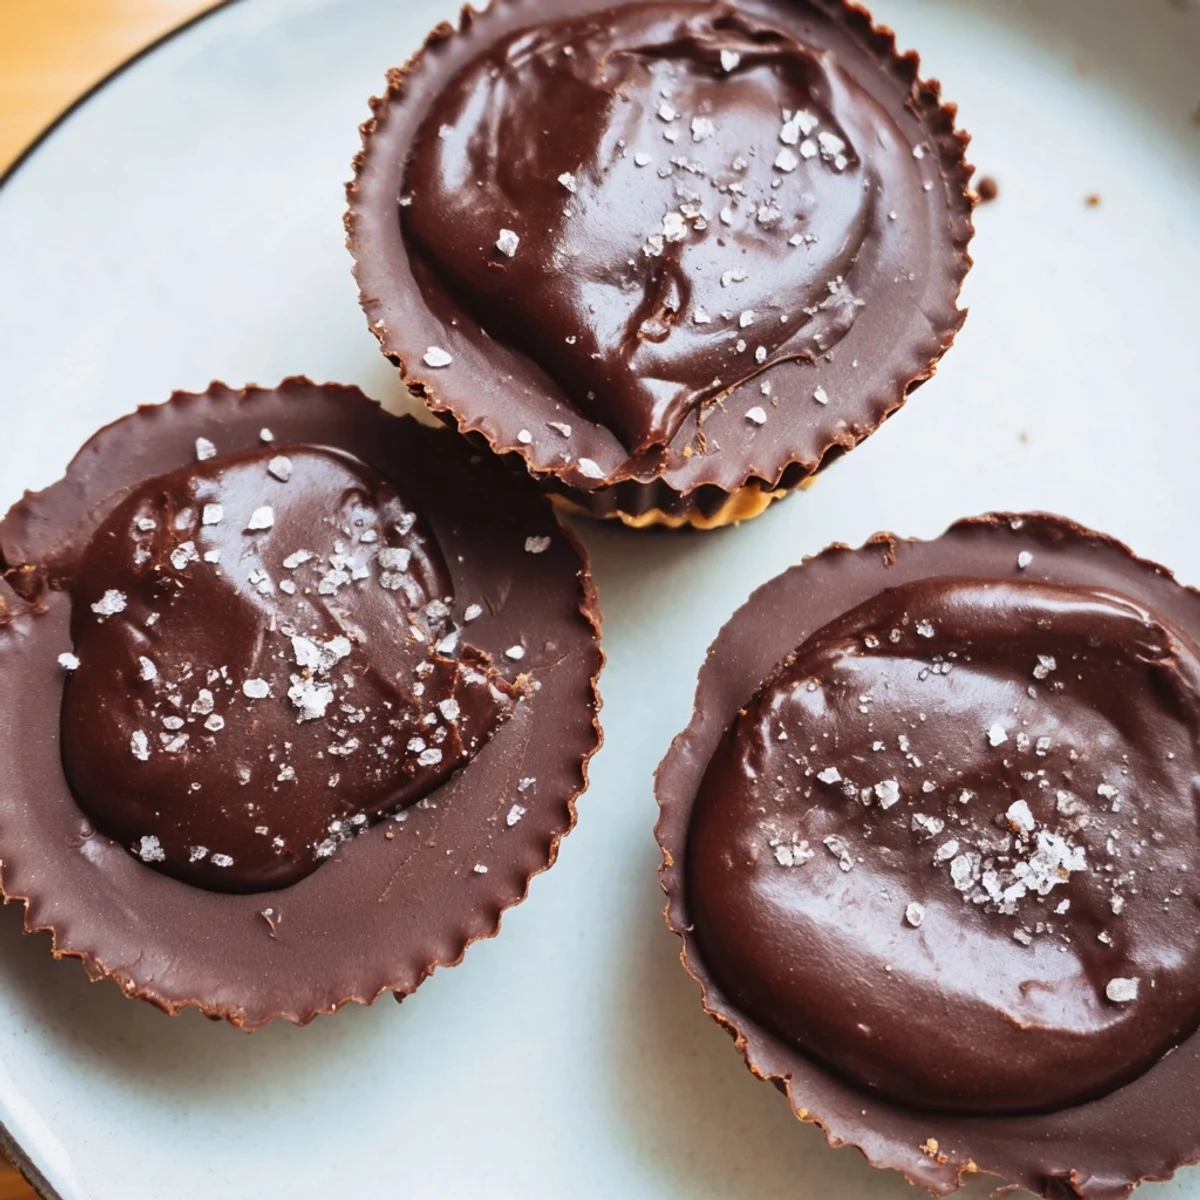
 These classic chocolate and peanut butter cups combine creamy peanut butter filling with a smooth, rich chocolate exterior. Easily prepared in about 25 minutes, they chill until perfectly set, making a delightful sweet treat suitable for gifting or enjoying anytime. Variations include vegan options and textured additions like crunchy peanut butter or sea salt finishing touches. Store chilled in airtight containers for freshness.
The smell of melting chocolate always pulls me into the kitchen, no matter what I was doing before. I started making these peanut butter cups on a whim one rainy Sunday when the grocery store run seemed like too much effort, and they have ruined store-bought versions for me forever.
My neighbor tasted one during a porch gathering last summer and immediately asked for the recipe. Now every time I make a batch, I have to set aside a few for her before they even finish setting.
Ingredients
- 225 g semi-sweet or dark chocolate: Chopping helps it melt evenly, though chocolate chips work fine in a pinch
- 1 tbsp coconut oil: This little trick makes the chocolate set beautifully and gives it a glossy finish
- 120 g creamy peanut butter: Room temperature mixes easier than cold from the fridge
- 30 g powdered sugar: Essential for achieving that classic Reese texture without being grainy
- 20 g unsalted butter: Softened butter blends into the filling like magic
- ¼ tsp vanilla extract: Deepens the peanut butter flavor in ways you do not expect
- Pinch of salt: This tiny amount makes all the difference between good and incredible
Instructions
- Prep your muffin tin:
- Line with 12 paper liners so the cups pop out easily later
- Melt the chocolate base:
- Combine chocolate and coconut oil in a heatproof bowl, using 30-second microwave bursts or a double boiler until silky smooth
- Create the chocolate shell:
- Spoon about 1 teaspoon of melted chocolate into each liner, tilting gently to coat the bottom completely
- Chill the first layer:
- Freeze for 10 minutes until the chocolate is firm to the touch
- Make the peanut butter filling:
- Mix peanut butter, powdered sugar, softened butter, vanilla, and salt until thick and smooth
- Shape the filling discs:
- Roll into 12 small balls and flatten slightly into discs that fit inside the chocolate shells
- Place the peanut butter:
- Gently press one disc onto each chocolate layer, being careful not to crack the shell
- Seal with chocolate:
- Spoon remaining melted chocolate over the peanut butter discs until completely covered
- Smooth the tops:
- Tap the tin gently on the counter to level the chocolate and remove air bubbles
- Set completely:
- Refrigerate for 30 minutes until firm throughout
- Serve and enjoy:
- Peel off the paper liners and serve chilled or let sit at room temperature for 5 minutes
 Save to Pinterest
 These became my go-to holiday gift after everyone requested them instead of cookies last year. The joy on faces when someone bites into that first one is better than any store-bought present.
Making Them Your Own
Swapping milk chocolate for dark creates a completely different experience that my chocolate-loving friend swears by. Sometimes I add a tiny pinch of cinnamon to the peanut butter filling for warmth that surprises people.
Getting the Texture Right
The secret to that perfect snap when you bite through the chocolate is patience during the chilling step. Rushing this part leaves you with soft chocolate that melts instantly in your fingers instead of your mouth.
Storage Secrets
These actually improve after a day in the fridge as flavors meld together beautifully. Store them in an airtight container layered between parchment paper so they do not stick together.
- Bring to room temperature 10 minutes before serving for the best texture
- Freeze for up to 3 months if you want to make them way ahead
- Hide the container in the back of the fridge or they will disappear suspiciously fast
 Save to Pinterest
 There is something deeply satisfying about making candy that tastes better than what you can buy. These have become such a staple in my kitchen that I keep the ingredients stocked just in case the craving strikes.
Recipe FAQs
- → What type of chocolate works best for these cups?
-
Semi-sweet or dark chocolate provides a balanced richness, but chocolate chips or chopped bars can both be used effectively.
- → Can I make a vegan version of these treats?
-
Yes, use dairy-free chocolate and plant-based butter alternatives to keep them vegan-friendly.
- → How do I prevent the chocolate from seizing when melting?
-
Melt chocolate gently over a double boiler or in short microwave bursts, stirring frequently to maintain smoothness.
- → Is it possible to add texture to the peanut butter layer?
-
Absolutely, incorporating crunchy peanut butter instead of creamy adds a pleasant contrast within.
- → How long should these be chilled before serving?
-
Chill for at least 30 minutes or until fully set to ensure the layers hold their shape and texture.
- → What are good storage tips for these sweet treats?
-
Keep them in an airtight container in the refrigerator for up to one week to maintain freshness and texture.
