 Save to Pinterest
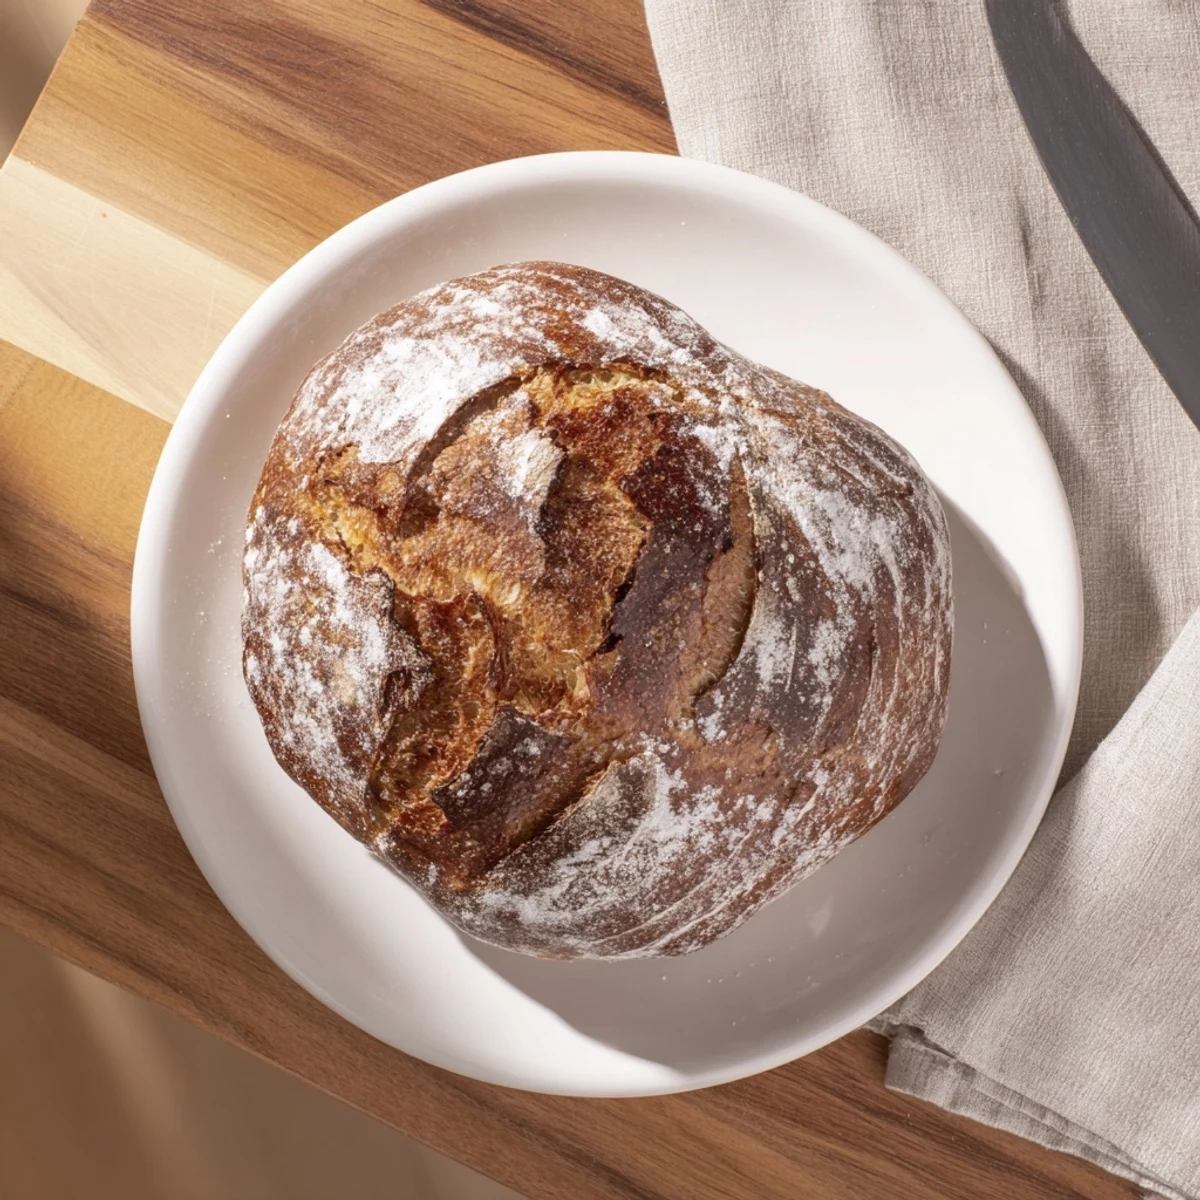
 Create bakery-worthy crusty bread in your own kitchen with this simple approach that yields professional results every time. This traditional European-style loaf develops a thick, golden crust that crackles when baked, while maintaining a soft, airy interior perfect for soaking up soups or enjoying with olive oil.
The beauty of this method lies in its simplicity—just combine flour, salt, yeast, and water, then let time work its magic. The extended fermentation develops deep, complex flavors typical of artisanal bakeries. The high-heat baking technique, especially when using a Dutch oven, creates steam that ensures an exceptional crust.
Whether you're new to bread making or an experienced home baker, this reliable technique delivers consistent results. Customize with herbs, cheese, or olives for variations. The finished loaf keeps well for days and makes excellent toast or sandwiches.
My tiny apartment kitchen smelled like heaven the first time I tried making bread from scratch. I had zero expectations since my previous baking attempts ranged from mediocre to disastrous, but something about mixing flour and water felt primal and comforting. When that golden loaf emerged from the oven with the most satisfying crackle, I honestly could not believe I had made something so beautiful with my own hands.
Last winter, my sister came over during a snowstorm and we spent the whole afternoon watching the dough rise while drinking tea and catching up. There is something almost magical about the way a simple mixture transforms into something alive and bubbling. When we finally sliced into that warm loaf, steam curling up into the air, I realized bread baking is about more than food. It is about slowing down and being present for the process.
Ingredients
- Bread flour: The higher protein content creates that satisfying chewy texture we all love in artisan loaves
- Salt: Do not underestimate this tiny amount because it enhances flavor and helps control yeast activity
- Instant yeast: No proofing needed, just mix it right in with the flour
- Lukewarm water: Think bathwater temperature, about 100°F, to wake up the yeast without killing it
Instructions
- Mix the dough:
- Combine flour, salt, and yeast in a large bowl, then pour in the water and stir until you have a shaggy, sticky mess that looks completely wrong
- Let it rise:
- Cover your bowl and walk away for 1 to 2 hours until the dough has puffed up beautifully and bubbles appear on the surface
- Shape the loaf:
- Turn the dough onto a floured surface and fold the edges underneath until you have a rough ball, then place it seam-side down on parchment paper
- Rest again:
- Let your shaped dough relax for 30 minutes while the oven heats up to 450°F
- Bake to perfection:
- Score the top with a sharp knife, then bake for 25 minutes covered and 15 minutes uncovered until the crust is deep golden
 Save to Pinterest
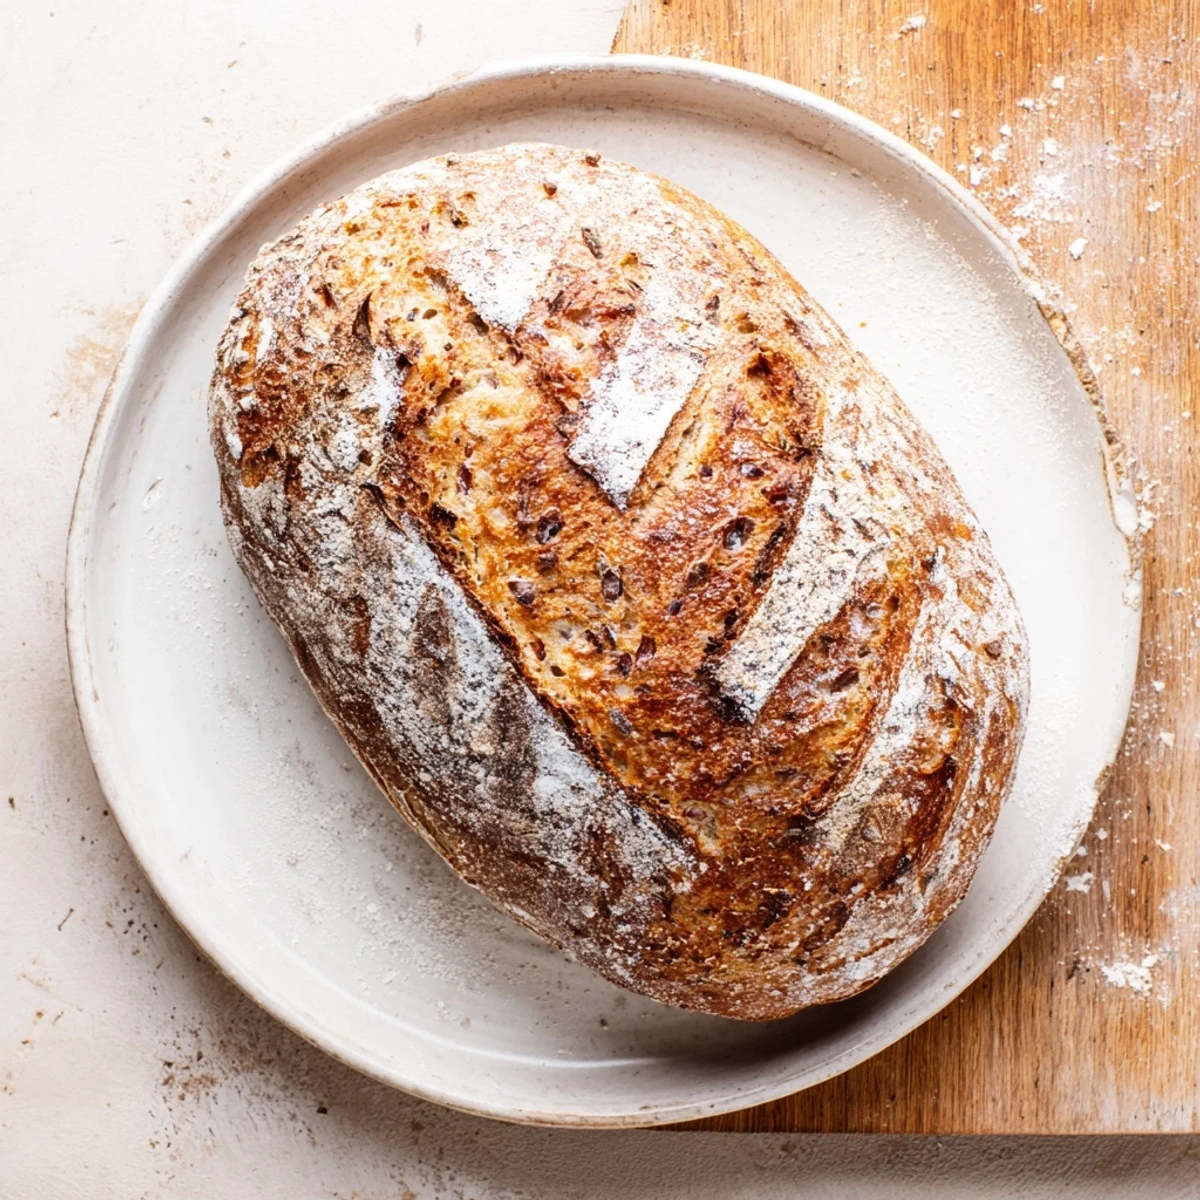
 Now I make this bread at least once a week, and my friends have started requesting it for every dinner party. The ritual of mixing, waiting, and baking has become a comforting constant in my routine. Sometimes the simplest recipes are the ones that become the most meaningful.
Getting the Best Crust
The Dutch oven method is a game changer because it traps steam during baking, which keeps the crust soft initially while the bread expands. Once you remove the lid, that steam escapes and the crust develops its signature crunch and golden color. If you do not have a Dutch oven, try placing a metal pan on the bottom rack of your oven and tossing in a few ice cubes when you put the bread in to create steam.
Customizing Your Loaf
This basic dough is incredibly forgiving and welcomes additions. Try mixing in chopped rosemary, grated garlic, or even some shredded cheese before the first rise. You can also swap a quarter cup of the bread flour for whole wheat or rye flour for added flavor and nutrition. I once added sun dried tomatoes and it was absolute perfection.
Storage and Serving Suggestions
Homemade bread is best enjoyed the same day it is baked, but you can store it in a paper bag for up to two days. Avoid plastic bags unless you want the crust to soften significantly. If you need to keep it longer, slice and freeze the bread, then toast individual slices as needed.
- Toast leftover slices and rub with raw garlic for instant garlic bread
- Use slightly stale bread to make the most incredible croutons or bread pudding
- Never cut into hot bread or you will ruin the texture inside
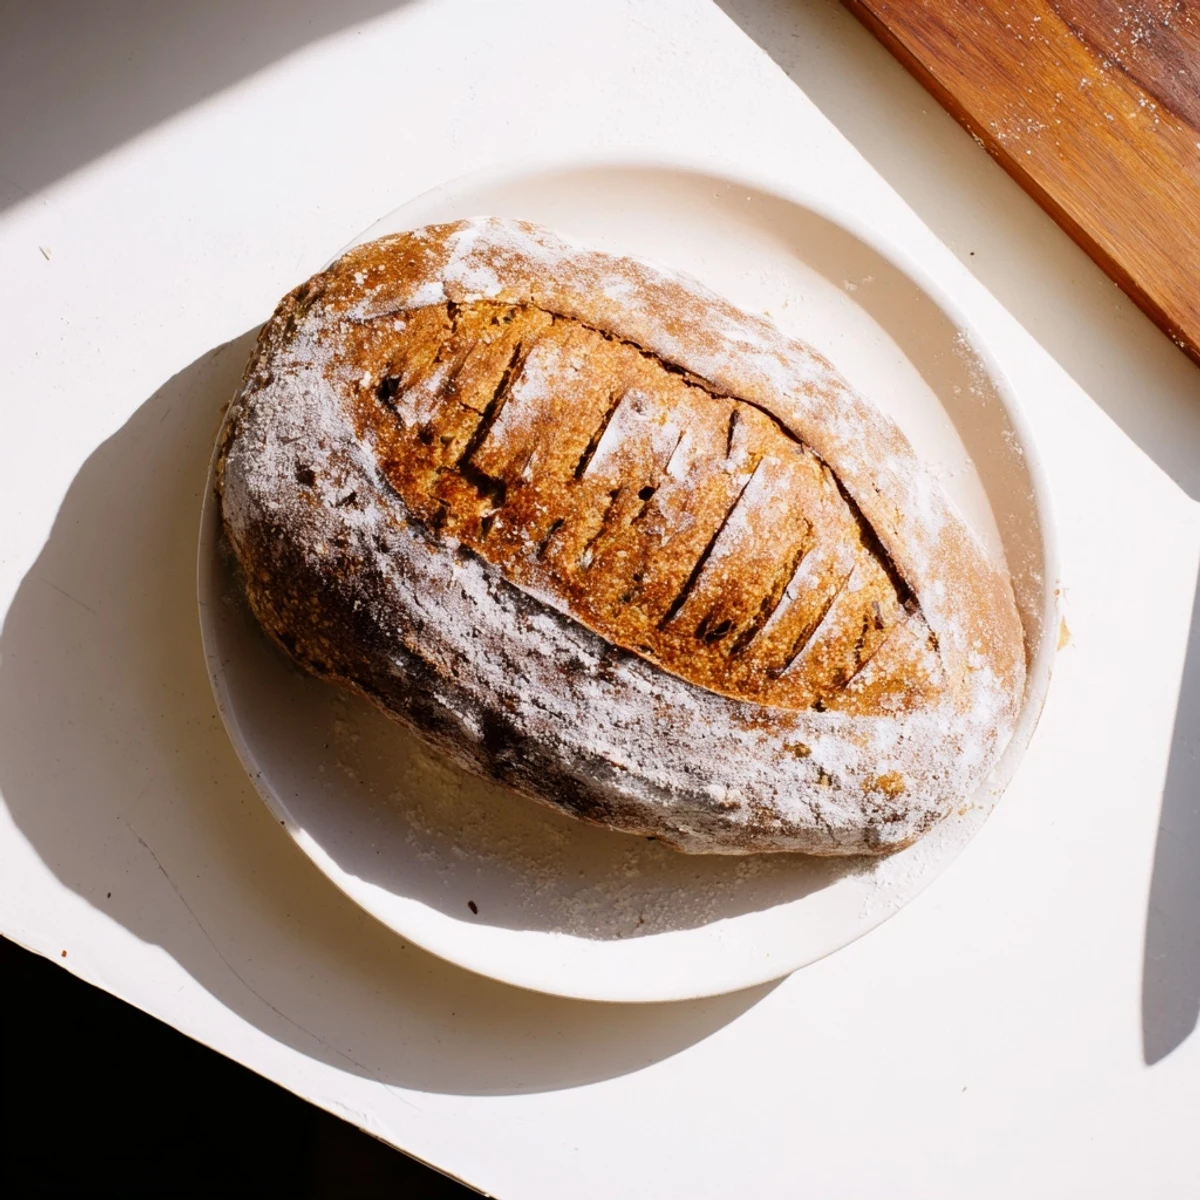 Save to Pinterest
 There is something deeply satisfying about pulling a warm loaf from the oven, knowing you created something so wonderful from humble ingredients. Happy baking.
Recipe FAQs
- → What makes this bread crusty and chewy?
-
The high oven temperature of 450°F (230°C) combined with steam from the dough creates a thick, crispy crust. Baking in a preheated Dutch oven traps moisture, allowing the crust to develop properly while the interior remains soft and chewy with an open crumb structure.
- → Can I make this without a Dutch oven?
-
Absolutely. While a Dutch oven creates ideal conditions, you can achieve excellent results on a heavy baking sheet or pizza stone. Place a metal pan of water on the lower oven rack to generate steam, which helps develop a crispy crust similar to Dutch oven baking.
- → How do I know when the bread is fully baked?
-
The crust should be deep golden brown with some darker caramelized spots. The most reliable test is tapping the bottom of the loaf—it should sound hollow when thumped. An instant thermometer inserted into the center should read 200-205°F (93-96°C).
- → Can I add mix-ins like herbs or cheese?
-
Yes, this dough accommodates additions beautifully. Fold in fresh rosemary, thyme, or dried Italian herbs during the initial mixing. For cheese, cubes of cheddar or parmesan work well. Add 1-2 tablespoons of any ingredient and adjust water slightly if the mix-ins are moist.
- → How should I store the finished loaf?
-
Store at room temperature in a paper bag or wrapped in a clean kitchen towel for up to 3 days. Avoid plastic bags, which trap moisture and make the crust soft. For longer storage, slice and freeze in a freezer bag—thaw individual slices as needed and refresh in a toaster.
- → Why is there no kneading required?
-
The long fermentation period allows gluten strands to develop naturally through time rather than mechanical manipulation. This no-knead technique creates a relaxed dough structure, resulting in the characteristic irregular holes and tender crumb of artisan-style bread.
