 Save to Pinterest
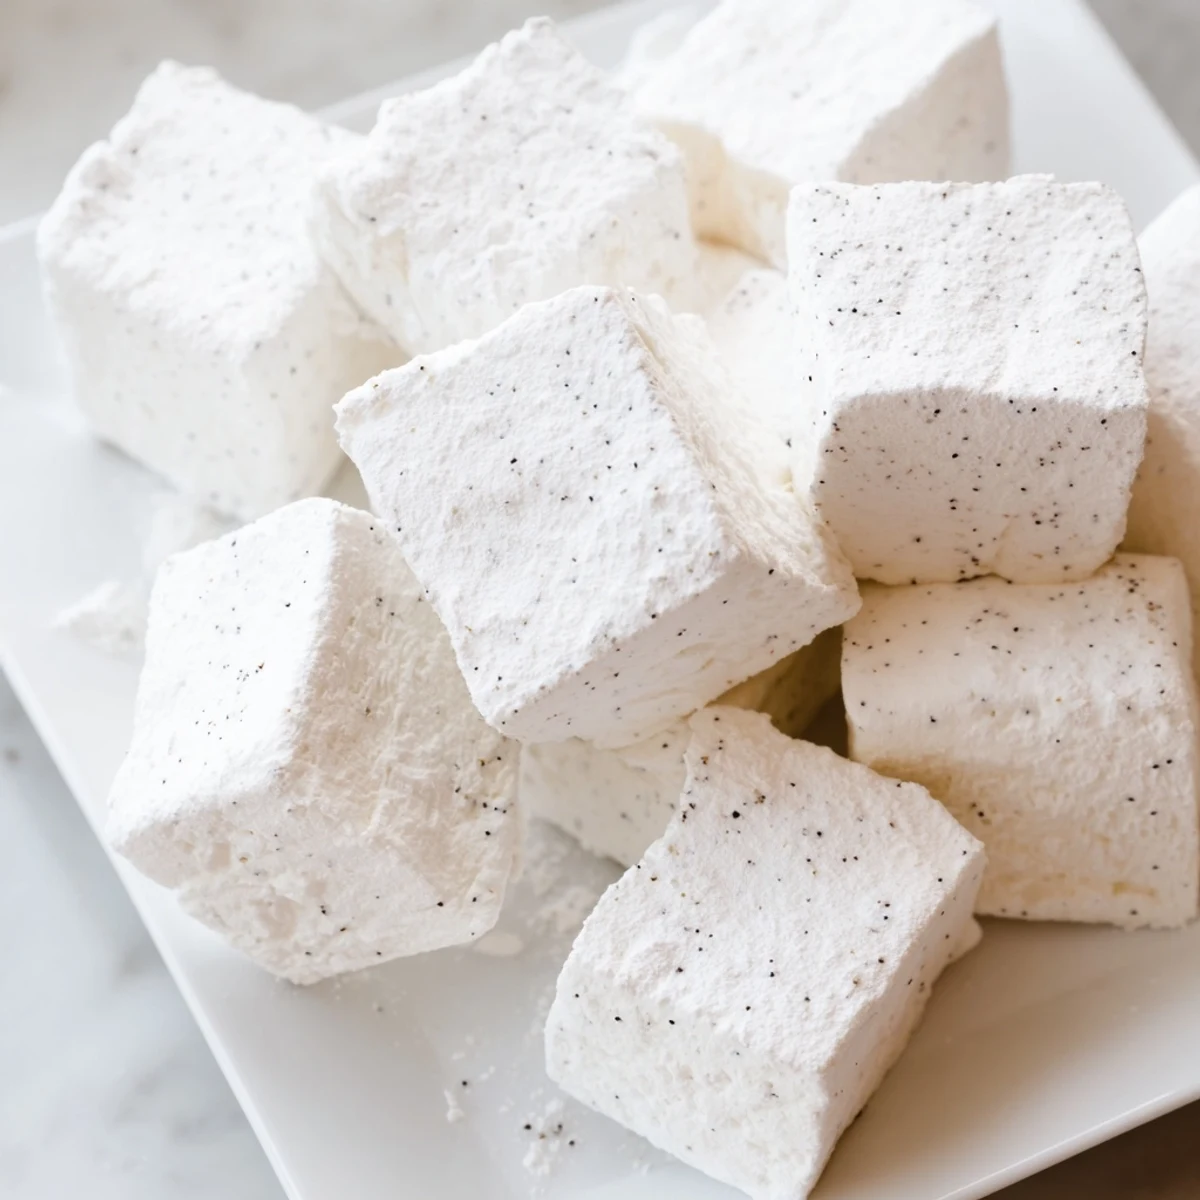
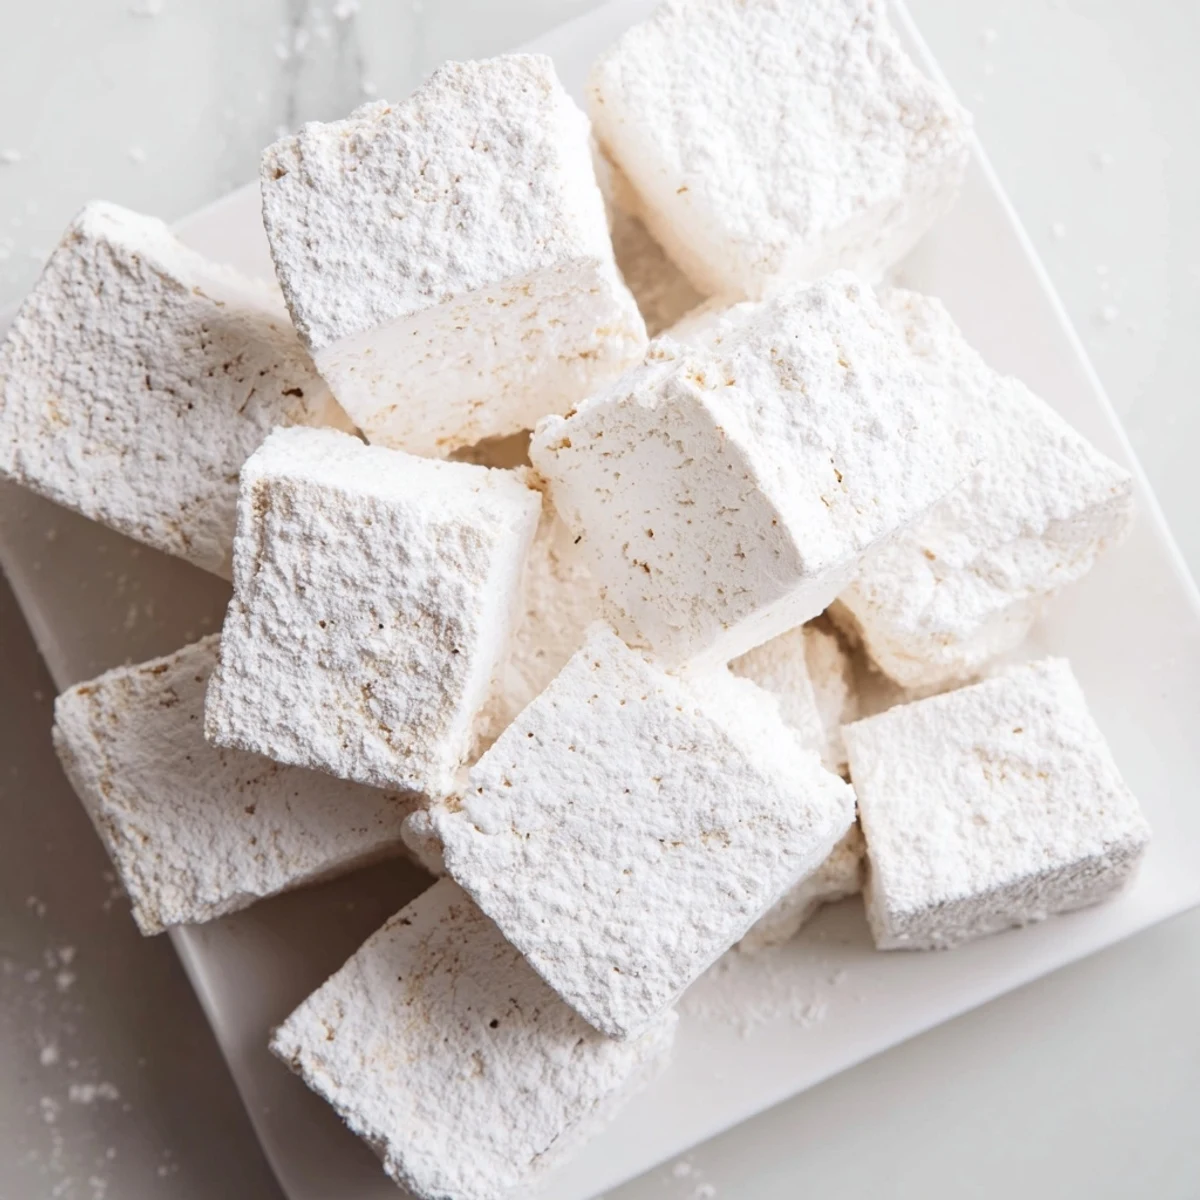
 Delight in these fluffy vanilla bean marshmallows, made with unflavored gelatin and a smooth sugar syrup heated to the perfect temperature. The mixture is whipped until thick and glossy, then infused with fragrant vanilla bean seeds before setting for several hours. Dusting with a powdered sugar and cornstarch blend prevents sticking and creates a delicate finish. Ideal for adding a handmade touch to hot chocolate, roasting, or gifting, these marshmallows combine simple ingredients with classic techniques for a soft, melt-in-your-mouth treat.
I still remember the first time I made homemade marshmallows from scratch. It was a cold December evening, and I'd promised my niece we'd create something special for hot chocolate. The moment I pulled that fluffy cloud of vanilla-infused marshmallow from the mixer, watching it transform from liquid gold into pillowy perfection, I knew I'd stumbled onto something magical. That batch became a family tradition, and now whenever someone asks for my secret weapon for elevating a simple mug of cocoa, I smile knowing it all started with a candy thermometer and a leap of faith.
The real turning point came when I served these at a s'mores gathering with friends. As everyone toasted their marshmallows and watched them get golden and gooey, the conversations shifted entirely. Suddenly, homemade marshmallows became the star of the evening, not just a supporting player. People were asking for recipes, talking about making batches for their own holiday parties. That's when I realized this wasn't just a dessert—it was a moment creator.
Ingredients
- Unflavored Powdered Gelatin (3 envelopes, 21 g): This is what creates that signature marshmallow texture—it's the structure that holds everything light and airy. Don't skip blooming it in cold water first, because this step ensures smooth, lump-free mixing when the hot syrup hits it.
- Granulated Sugar (2 cups, 400 g): The foundation of your syrup and the sweetness that carries the vanilla. This needs to reach exactly 240°F, so invest in a reliable candy thermometer—it's the difference between fluffy and gummy.
- Light Corn Syrup (½ cup, 120 ml): This prevents crystallization and gives marshmallows their silky texture. It's the ingredient that makes homemade versions taste different from anything you've had before.
- Water (½ cup, 120 ml for syrup): Simply the vehicle for dissolving sugar and creating the syrup base. Temperature matters here, so use filtered water if your tap water is heavily chlorinated.
- Fine Sea Salt (¼ teaspoon): A tiny pinch that somehow makes the vanilla flavor pop without tasting salty. This is the secret nobody talks about, but it's absolutely essential.
- Vanilla Bean (1 whole, split and seeds scraped): Real vanilla bean creates those gorgeous black speckles and an authentic flavor that extract alone can't match. If using extract instead, add it right at the end so the heat doesn't cook away the delicate flavor.
- Confectioners Sugar (½ cup, 60 g): Part of your dusting mixture that prevents sticking. The powdered texture dissolves slightly on your tongue, creating a pleasant contrast to the marshmallow interior.
- Cornstarch (½ cup, 60 g): Paired with confectioners sugar for dusting, cornstarch stays crisp longer and prevents the moisture from making everything sticky during storage.
Instructions
- Prepare Your Pan Like You Mean It:
- Line that 9x9-inch baking pan with parchment paper, letting it hang over the edges slightly. Lightly grease it and dust generously with the confectioners sugar and cornstarch mixture. This setup means you'll be able to lift the entire marshmallow slab out cleanly later, and the coating prevents sticking from the very beginning.
- Bloom Your Gelatin:
- Pour ½ cup of cold water into your stand mixer bowl and sprinkle the gelatin over it like snow. Don't stir yet—just let it sit. This blooming period, usually just a few minutes, is when the gelatin absorbs the water and becomes ready to whip. This step is what separates fluffy marshmallows from dense ones.
- Cook Your Sugar Syrup to Perfection:
- In a medium saucepan, combine the granulated sugar, corn syrup, ½ cup water, and salt. Stir over medium heat until the sugar fully dissolves and the mixture looks clear. Once it's smooth, increase the heat to high and bring it to a boil. Here's the key: stop stirring now. Let it bubble undisturbed and attach your candy thermometer to the pan's side. Watch until it reaches exactly 240°F. This temperature is crucial—too low and your marshmallows will be soft and sticky, too high and they'll be tough.
- The Crucial Pour:
- Watch Your Mixer Work Magic:
- With the mixer on high speed, begin beating. This is where the transformation happens. The thick, hot syrup will gradually turn into glossy, pale ribbons. Keep beating for 10 to 12 minutes, watching as the mixture nearly triples in volume. Around the last minute of beating, add your vanilla bean seeds or extract. The mixture should look like shiny, thick mousse when you're done.
- Shape Your Fluffy Cloud:
- Working as quickly as you can (this mixture sets fast), pour everything into your prepared pan and use a greased spatula to smooth the top. The faster you work, the better the texture will be. Don't worry about perfection—any bumps will disappear into the dust coating.
- The Waiting Game:
- Dust the top generously with more of your sugar and cornstarch mixture. This is your cue to walk away. Let it sit uncovered at room temperature for at least 3 hours, ideally overnight. You're waiting for it to firm up completely so you can cut clean squares.
- Cut and Coat:
- Turn the entire marshmallow slab onto a cutting board and peel away the parchment. Using a sharp knife dipped in water or a pizza wheel (seriously, a pizza wheel works beautifully), cut into 1-inch squares. Toss every piece immediately into a bowl of the sugar and cornstarch mixture, coating all sides. This final coating is what keeps them from clumping together in storage.
 Save to Pinterest
 I'll never forget the expression on my friend Sarah's face when she bit into one of these marshmallows for the first time. Her eyes actually widened. She said, 'Wait, you made these? Like, actually made them?' From that moment, these marshmallows stopped being just a recipe and became proof that sometimes the simplest, most elegant things are worth the effort.
Flavor Variations That Work Beautifully
Once you've mastered the vanilla version, the world opens up. I've experimented with so many variations over the years, and I've learned which ones actually work and which ones are just gimmicks. For colorful marshmallows, add a few drops of food coloring right when you add the vanilla—the food coloring won't affect the texture if you time it right. I've made a peppermint batch by replacing the vanilla with 1 teaspoon of peppermint extract and a tiny pinch of red food coloring; they were absolutely incredible toasted over a fire. Coffee marshmallows came next—dissolve 1 tablespoon of instant espresso powder in the water before blooming the gelatin. The coffee flavor is subtle but adds a sophisticated edge that makes hot chocolate feel like a grown-up treat. The key to any variation is not changing the structure, just playing with the flavoring at the very end.
Storing and Gifting Your Marshmallows
Storage is straightforward but important. Once completely cooled and cut, layer them in an airtight container with parchment paper between each layer. They'll keep for up to two weeks, though honestly, they rarely last that long. For gifting, I've learned to arrange them in clear cellophane bags tied with twine, dusted in that final coating of sugar and cornstarch. People love receiving homemade marshmallows way more than any store-bought treat. Last year, I made batches for everyone on my holiday list, and I got more genuine thank-you messages for those marshmallows than for anything else I gave. That's when you know you've created something special.
Perfect Pairings and Serving Ideas
The beauty of these marshmallows is their versatility. Obviously, they transform a simple mug of hot chocolate into something worthy of a cozy afternoon, but they go so far beyond that. Toast them over a fire and watch the outside caramelize while the inside gets gooey—this is where they truly shine. I've learned that the key to perfect toasting is patience; hold them just far enough from the flame that they're warming through, not charring. They're absolutely essential for s'mores, but try using them for something unexpected, like dipping them in melted dark chocolate and sprinkling with sea salt. For a more elegant dessert, crumble them into a parfait with whipped cream and fresh berries. One friend even tossed them into a rice crispy treat situation, and it elevated the whole thing. Here are three quick ideas that have worked beautifully for me:
- Dip the ends in melted white chocolate mixed with crushed freeze-dried raspberries for an elegant treat
- Thread them on wooden skewers with fresh fruit to create a beautiful dessert skewer for parties
- Crumble and layer into a trifle with chocolate cake and chocolate mousse for an impressive dessert that requires minimal actual cooking
 Save to Pinterest
 Making marshmallows from scratch might seem intimidating, but once you see that first batch succeed, you'll understand why this recipe becomes a favorite. These pillowy clouds are proof that sometimes the best things are homemade, and they're easier than you think.
Recipe FAQs
- → What is the best way to prevent marshmallows from sticking?
-
Coating the marshmallows with a mixture of confectioners sugar and cornstarch helps prevent sticking. Dust the pan before pouring in the mixture and toss cut pieces in the same blend.
- → Can I use vanilla extract instead of vanilla bean?
-
Yes, 2 teaspoons of pure vanilla extract can replace the scraped seeds from one vanilla bean without compromising flavor significantly.
- → How long should the marshmallows set before cutting?
-
Allow the marshmallows to set uncovered at room temperature for at least 3 hours or until firm enough to cut into squares.
- → What tools are essential to make these marshmallows?
-
A stand mixer with a whisk attachment, candy thermometer, 9x9-inch baking pan, parchment paper, spatula, and a sharp knife or pizza wheel are required.
- → Are these marshmallows gluten-free and nut-free?
-
Yes, the ingredients used ensure the marshmallows are both gluten-free and nut-free, safe for those with those dietary restrictions.
- → Can food coloring be added to these marshmallows?
-
Yes, a few drops of food coloring can be added along with the vanilla to customize the marshmallows’ appearance.
