 Save to Pinterest
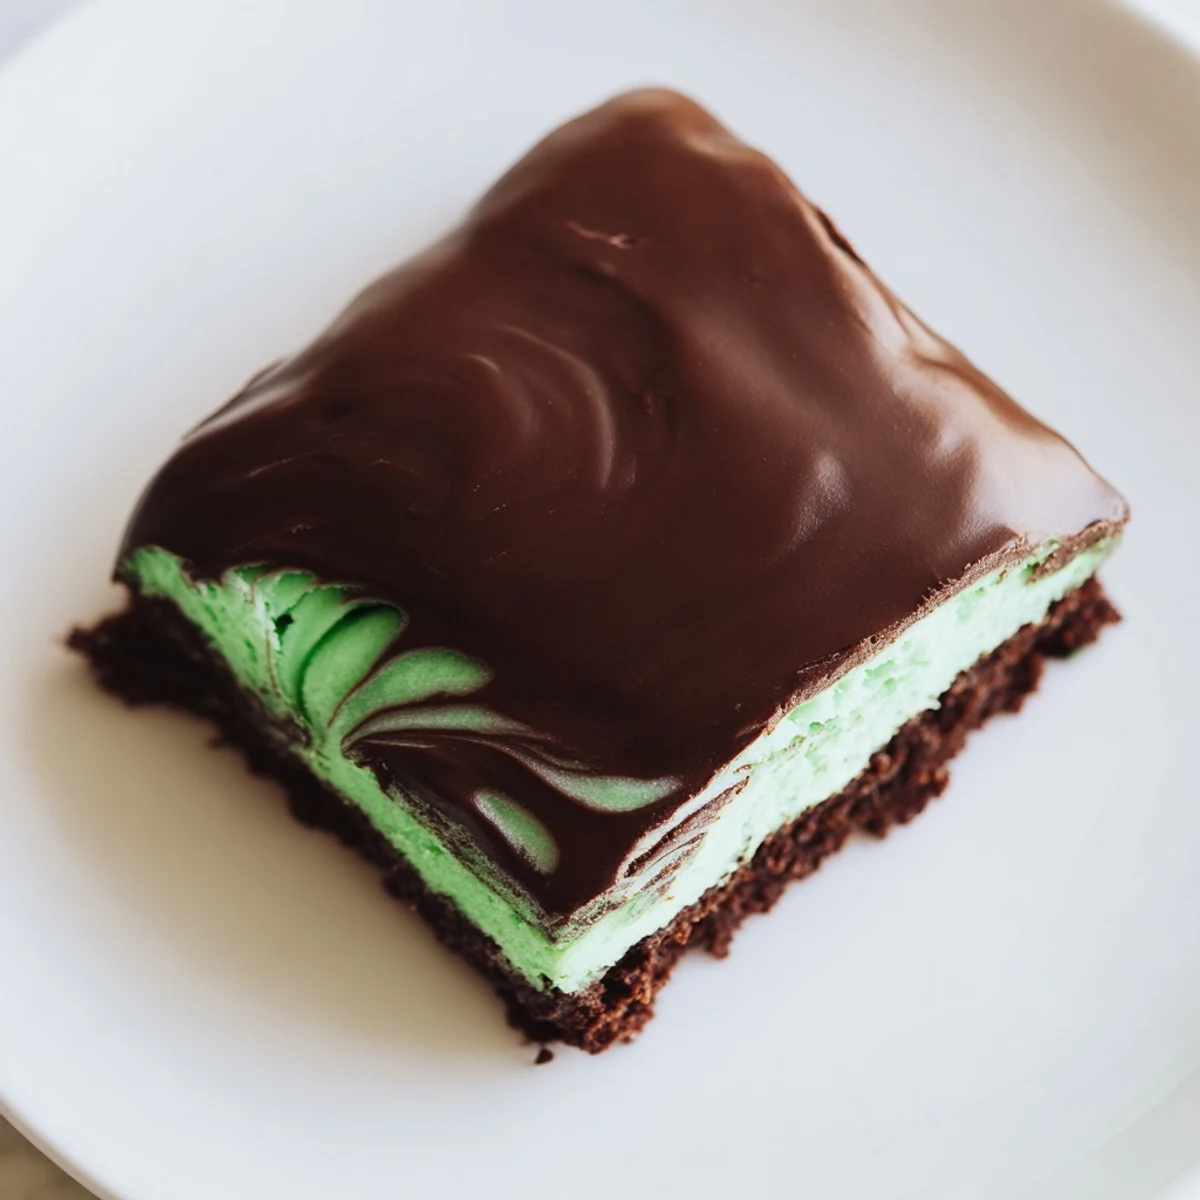
 These brownies combine a rich, fudgy chocolate base with a vibrant mint cream layer, topped by a luscious chocolate glaze. The preparation involves baking the chocolate batter until moist and tender, chilling it with a creamy peppermint frosting, and finishing with a smooth semisweet glaze. Ideal for those who appreciate the balance of rich chocolate and fresh mint flavors, this dessert offers a multi-textured indulgence perfect for sharing or enjoying with coffee or dessert wine.
Preparation includes melting butter and mixing ingredients carefully, ensuring a moist brownie layer. The mint cream is light and subtly flavored with peppermint extract and green coloring, adding a refreshing contrast. The final chocolate glaze seals in the flavors and creates an elegant finish. Chilling between steps allows the layers to set properly, resulting in neat squares that hold their shape well.
The first time I made mint brownies, my kitchen smelled like a chocolate factory had crashed into a garden. That mint chocolate combination hits something primal in the brain. My roommate kept wandering in every five minutes to see if they were done yet. These have been my go-to for chocolate mint lovers ever since.
I brought these to a potluck last winter and watched them disappear in record time. The green layer peeking through the chocolate makes people smile before they even take a bite. Someone asked me for the recipe before finishing their first square. That is when you know a recipe is a keeper.
Ingredients
- Unsalted butter: Using room temperature butter for the mint layer makes all the difference between creamy and curdled
- Granulated sugar: Whisking this thoroughly with melted butter creates that shiny crackly top on brownies
- Large eggs: Room temperature eggs incorporate better and prevent that weird greasy layer that sometimes separates
- Vanilla extract: Do not skip this even with the mint flavor. It makes the chocolate taste deeper.
- All-purpose flour: Measuring by weight if possible prevents dense cakey brownies
- Unsweetened cocoa powder: Dutch process gives a smoother chocolate flavor but regular works fine too
- Salt: This tiny amount wakes up the chocolate flavor like nothing else
- Powdered sugar: Sifting this prevents lumps in your mint layer that look like tiny green rocks
- Peppermint extract: Start with less than you think. It gets stronger as the brownies sit
- Green food coloring: Gel coloring works better than liquid for not thinning out the frosting
- Semisweet chocolate chips: High quality chocolate for the glaze makes these taste professionally made
Instructions
- Get your oven ready:
- Preheat to 175°C (350°F) and line your pan with parchment. Let that paper hang over the sides like little handles. You will thank yourself later when lifting the whole slab out.
- Mix the brownie batter:
- Melt butter and whisk with sugar until it looks glossy and smooth. Add eggs and vanilla. Sift in your dry ingredients and fold gently until combined. Over mixing makes tough brownies.
- Bake the base:
- Spread batter evenly and bake 22 to 25 minutes. You want moist crumbs on a toothpick not clean. Let cool completely before adding the mint layer or it will melt into a weird soup.
- Make the mint cream:
- Beat softened butter until creamy then gradually add powdered sugar milk peppermint extract and food coloring. Keep beating until it is smooth and spreadable. Taste and add more mint if you want that fresh kick.
- Layer and chill:
- Spread mint cream over cooled brownies. Pop in the fridge for 15 minutes to firm up. This keeps the glaze from mixing into the mint.
- Prepare the glaze:
- Melt chocolate chips with butter until smooth and glossy. Let it cool slightly so it pours easily but does not melt the mint layer underneath.
- Finish and set:
- Pour glaze over mint layer and spread gently to the edges. Refrigerate at least 30 minutes until set. Cut with a warm knife for clean slices.
 Save to Pinterest
 My aunt claimed she did not even like mint chocolate until she tried these at a family gathering. Now she requests them for every birthday. There is something about the homemade version that tastes completely different from those thin mint cookies everyone knows.
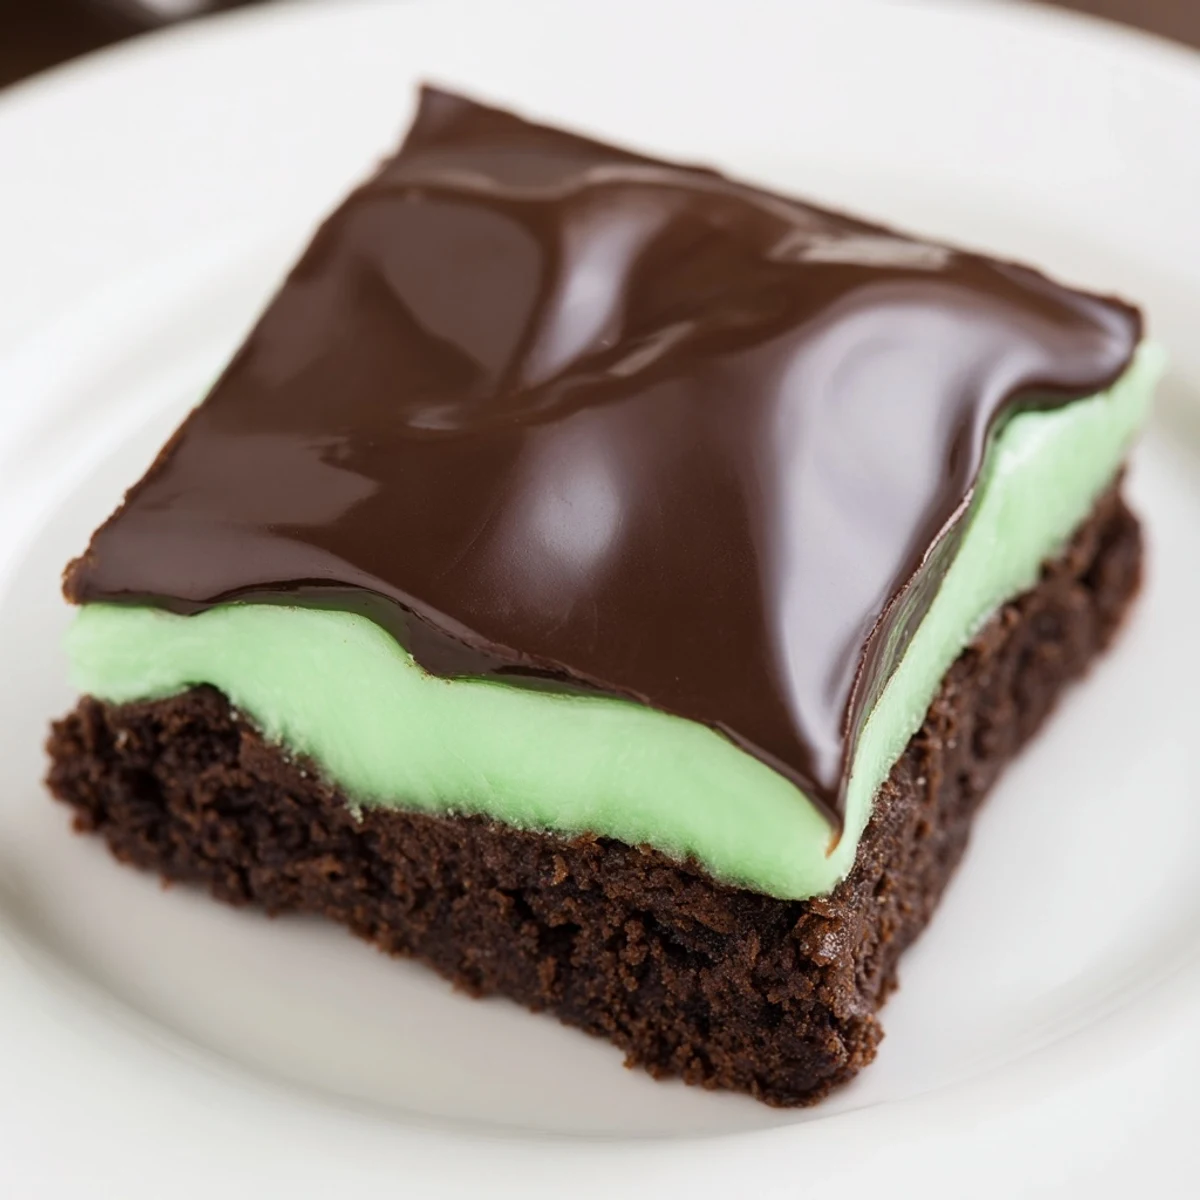
Getting That Clean Mint Layer
I spent years fighting with my mint layer sliding around or getting absorbed into the brownie. The trick is letting the brownies cool completely and giving the mint layer its own chill time before adding chocolate. It creates distinct layers instead of a muddy mess.
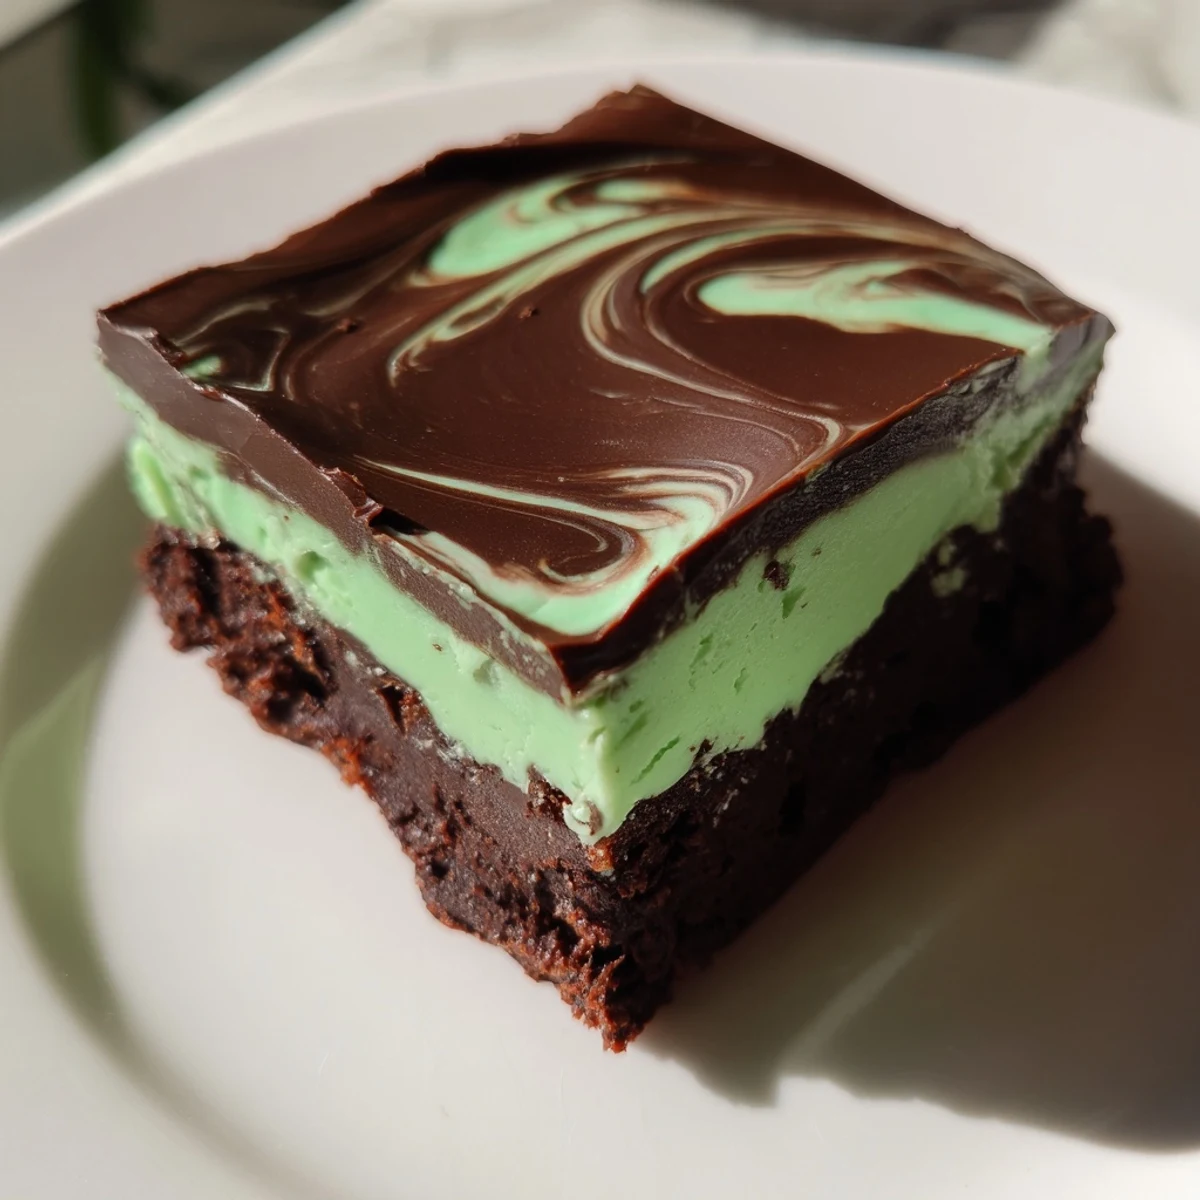
Making The Glaze Silky Smooth
A dull gray glaze ruins the whole effect. Do not overheat your chocolate or it will seize and look terrible. Melt it gently and let it cool slightly so it pours like liquid velvet. Patient pouring gives you that professional bakery finish.
Storage Secrets
These actually improve after a day in the fridge as flavors meld together. Cut them before storing for easier grabbing.
- Store in an airtight container in the refrigerator for up to five days
- Place parchment between layers if you stack them to prevent sticking
- Let them sit at room temperature for 15 minutes before serving for the best texture
 Save to Pinterest
 Watch these become the most requested dessert in your house. There is something magical about that mint chocolate combination that keeps people coming back for just one more square.
Recipe FAQs
- → What makes these brownies fudgy?
-
The high butter content combined with the balanced sugar and cocoa powder creates a dense, moist texture that stays fudgy after baking.
- → How is the mint layer prepared?
-
The mint layer is a smooth cream made by beating softened butter with powdered sugar, milk, peppermint extract, and green food coloring for a refreshing flavor and appealing color.
- → How can I check if the brownies are done baking?
-
Insert a toothpick into the center; it should come out with moist crumbs but not wet batter to ensure perfect fudginess.
- → Can I add nuts to the brownies?
-
Yes, folding chopped walnuts into the batter before baking adds texture and complements the chocolate-mint combination.
- → What is the best way to melt chocolate for the glaze?
-
Melt the chocolate chips with butter using a microwave in short bursts or carefully over a double boiler to avoid burning and ensure smooth glaze.
