 Save to Pinterest
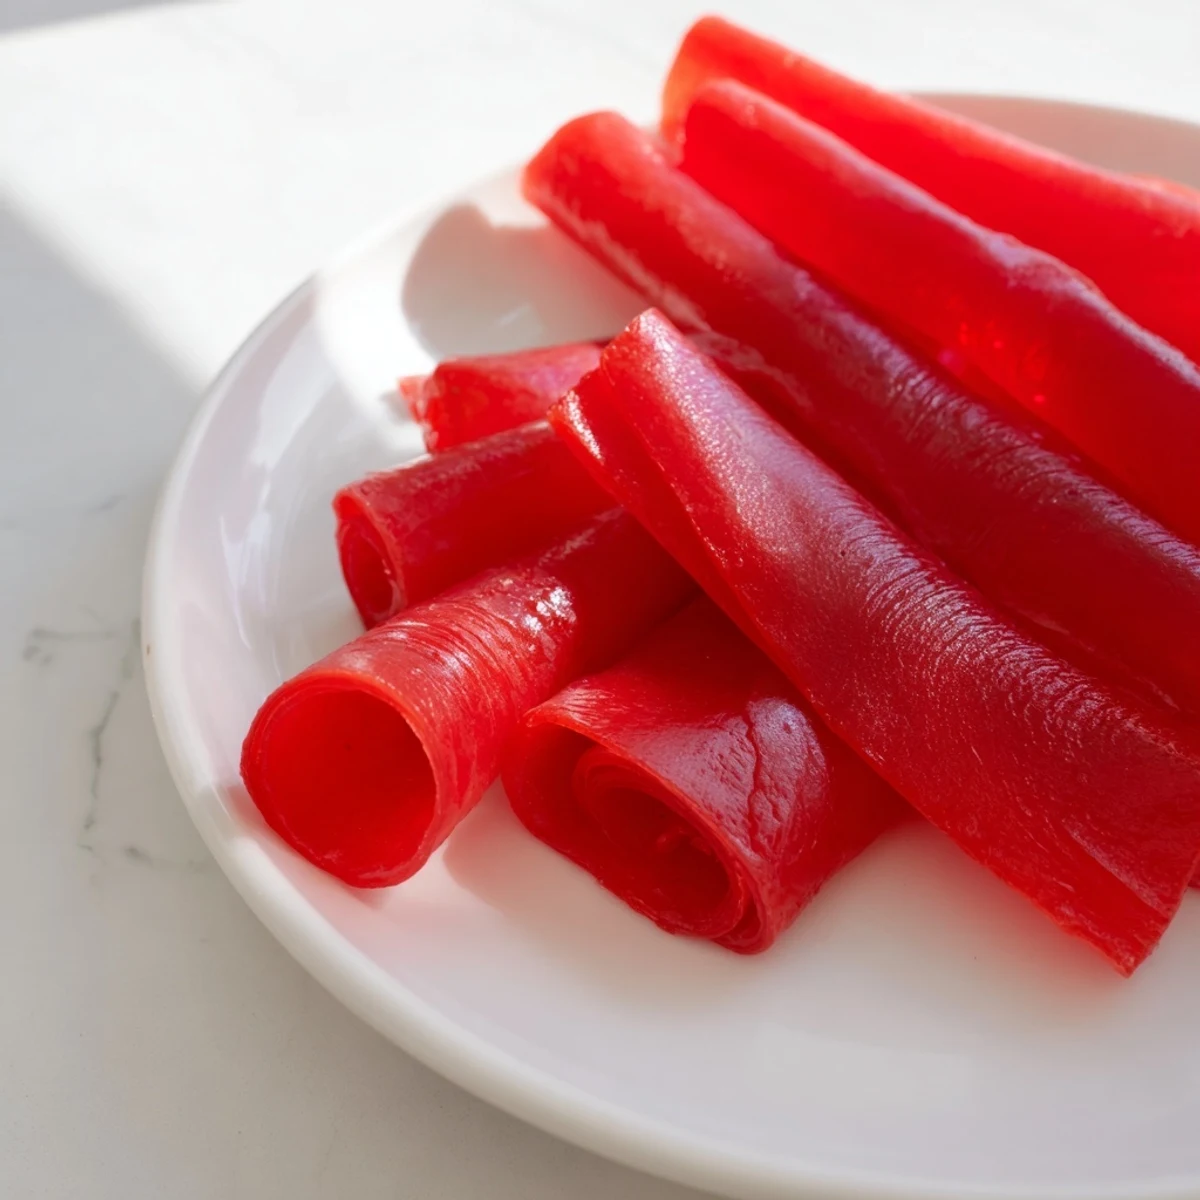
 Create sweet, chewy fruit leather at home with just three simple ingredients. Fresh fruit blends into a smooth puree, then slowly dries into pliable strips perfect for rolling. Choose strawberries, mangoes, raspberries, blueberries, or peaches—or mix several varieties for custom flavor combinations. The low-and-slow drying process concentrates natural sugars, producing an intensely fruity snack without any additives. Each batch yields 10–12 roll ups that stay fresh for a week when stored properly.
Last summer my daughter kept asking for those bright neon fruit snacks from the grocery store and I finally thought why not just make the real thing? We turned it into a weekend project, picking berries at a nearby farm and coming home with stained fingers and big plans. The first batch disappeared faster than I could cut them, and I realized Id never go back to store bought again.
I started bringing these to playdates instead of cookies and watched other kids eyes light up when they realized fruit could taste like candy. One mom asked for the recipe after her picky toddler ate three in a row, something she said never happened with any snack before. Now theyre my go to for school lunches and road trips.
Ingredients
- 3 cups fresh or frozen fruit: Strawberries give the classic red color but mangoes and peaches make incredible variations, mixed berries create that complex flavor profile that reminds me of summer
- 2 to 3 tbsp honey or maple syrup: I skip this when using really ripe sweet fruit but add it gradually for tart fruits like raspberries
- 1 tbsp lemon juice: This brightens everything and helps preserve the color, I learned this after my first batch turned an unappetizing brownish hue
Instructions
- Get your setup ready:
- Preheat that oven to its lowest setting around 170°F and line a rimmed baking sheet with parchment paper or a silicone mat, trust me the parchment saves so much cleanup later
- Blend everything smooth:
- Toss your fruit sweetener if using and lemon juice into a blender and let it run until completely smooth, stopping to scrape down the sides a couple times
- Spread it thin:
- Pour that beautiful puree onto your prepared sheet and use an offset spatula to spread it into the most even layer you can manage, about one eighth inch thick
- Patience is key:
- Slide it into the oven and let it dry for 4 to 6 hours, checking after 4 hours to see if it peels away cleanly from the paper without leaving sticky spots
- Cool and roll:
- Let it cool completely on the sheet then peel it off in one big piece, cut into strips and roll each one up like a tiny fruit carpet
- Store them right:
- Keep them in an airtight container for up to a week though in my house they barely last two days
 Save to Pinterest
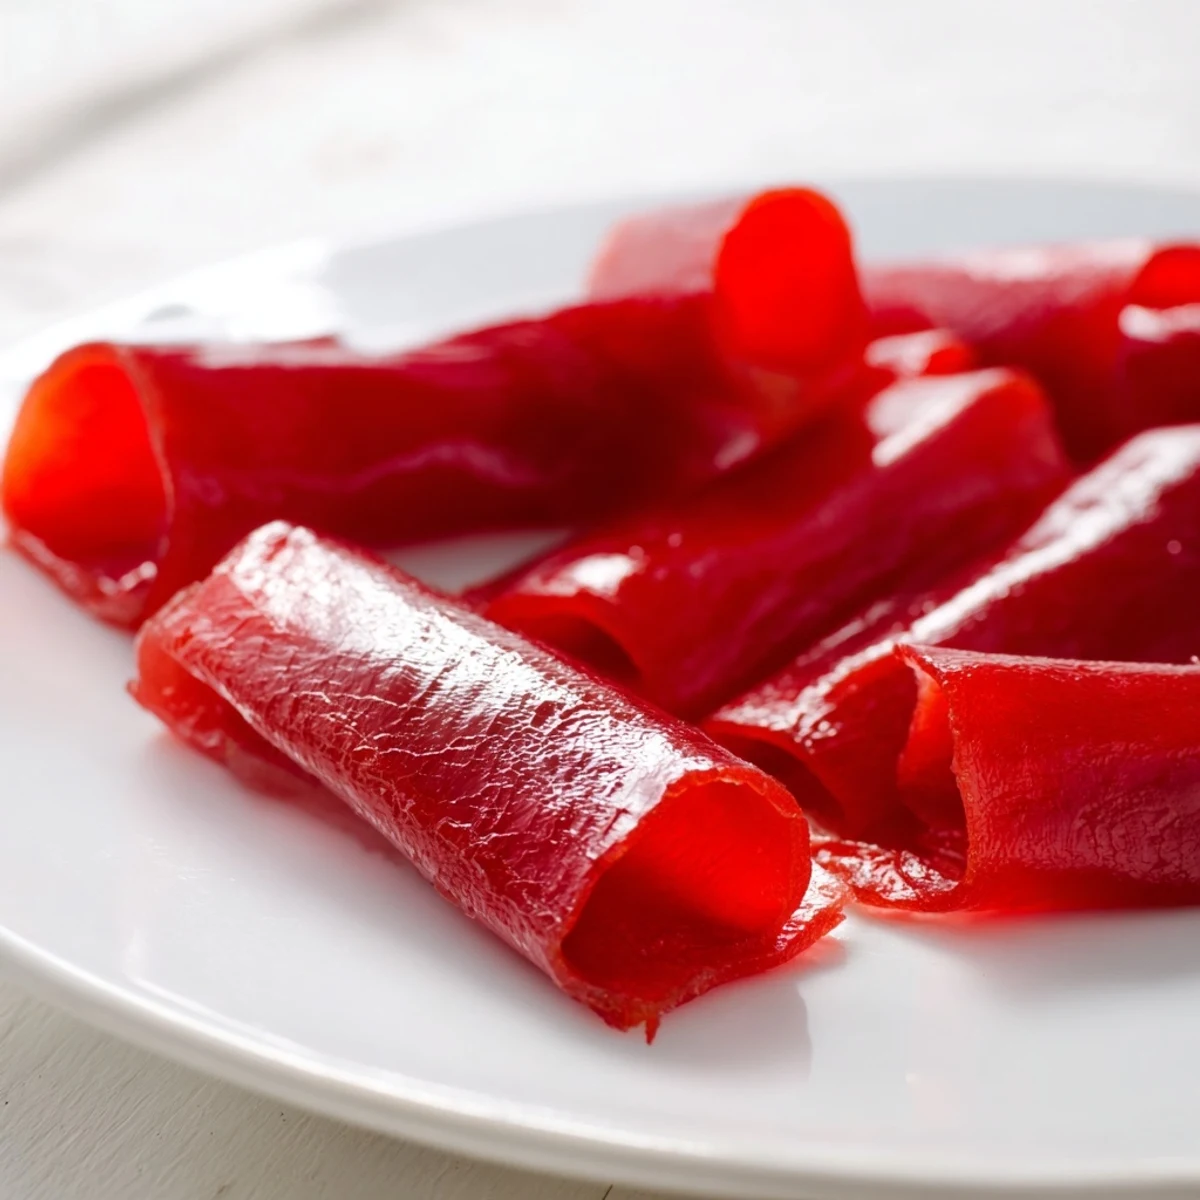
 My grandmother used to make fruit leather in her backyard solar oven and while I dont have her setup or her patience, I think of her every time I smell strawberries warming in the oven. These simple treats connect me to that slower way of cooking even with my modern shortcuts.
Fruit Combinations to Try
Mixed berries create that deep purple color kids find fascinating while peach mango tastes like sunshine. I once did strawberry banana and it tasted suspiciously like my favorite childhood smoothie frozen in time.
Storage Secrets
Individual pieces of parchment between each rolled strip prevent them from sticking together in the container. During humid months I sometimes add a small silica packet to keep them chewy instead of sticky.
Making It Fun
Let kids use cookie cutters to make shapes before rolling, my daughter insists on hearts for school snacks. Use different fruits to create patterns or swirls before spreading.
- Add a sprinkle of cinnamon for apple based roll ups
- Mix in a spoonful of applesauce to help softer fruits set properly
- Try coconut sugar for a caramel note in tropical fruit versions
 Save to Pinterest
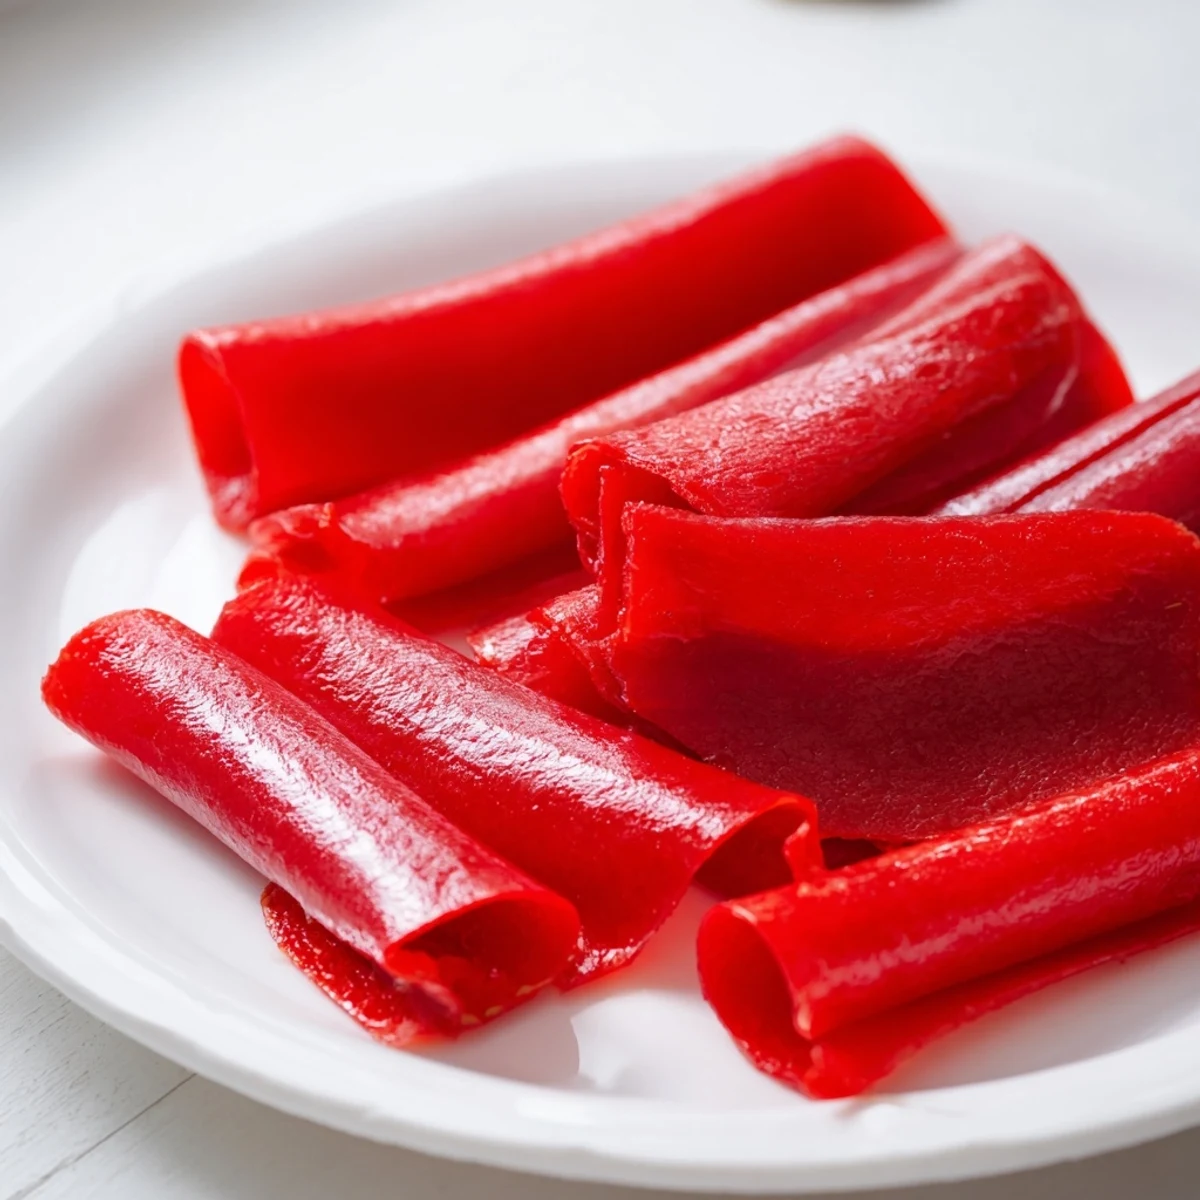
 Theres something deeply satisfying about turning a giant box of farmers market strawberries into neat little rolls that disappear too quickly. Happy fruit rolling friends.
Recipe FAQs
- → What fruits work best for homemade fruit leather?
-
Berries like strawberries, raspberries, and blueberries excel due to their natural pectin content. Mangoes, peaches, and apricots also produce excellent results. Softer fruits benefit from mixing with applesauce for better setting.
- → Can I make these without sweetener?
-
Absolutely. If using naturally sweet fruits like ripe mangoes, strawberries, or peaches, omit the sweetener entirely. The dehydration process intensifies the fruit's inherent sweetness.
- → How do I know when the fruit leather is done?
-
The leather should feel dry and smooth, not sticky to the touch. It should peel away easily from the liner without tearing. If it's still tacky, continue drying in 30-minute increments.
- → What's the difference between using an oven versus a dehydrator?
-
Dehydrators typically run at 135°F and offer more even drying with better airflow. Ovens work well at the lowest setting (around 170°F) but may require longer drying times and occasional rotation of the pan.
- → How should I store the finished roll ups?
-
Roll each strip in parchment paper to prevent sticking, then store in an airtight container at room temperature. They keep well for up to one week. For longer storage, refrigerate for up to three weeks.
- → Can I use frozen fruit instead of fresh?
-
Yes, frozen fruit works perfectly. Thaw completely before blending, and drain any excess liquid if the fruit seems particularly watery. The results are just as delicious as fresh fruit.
