 Save to Pinterest
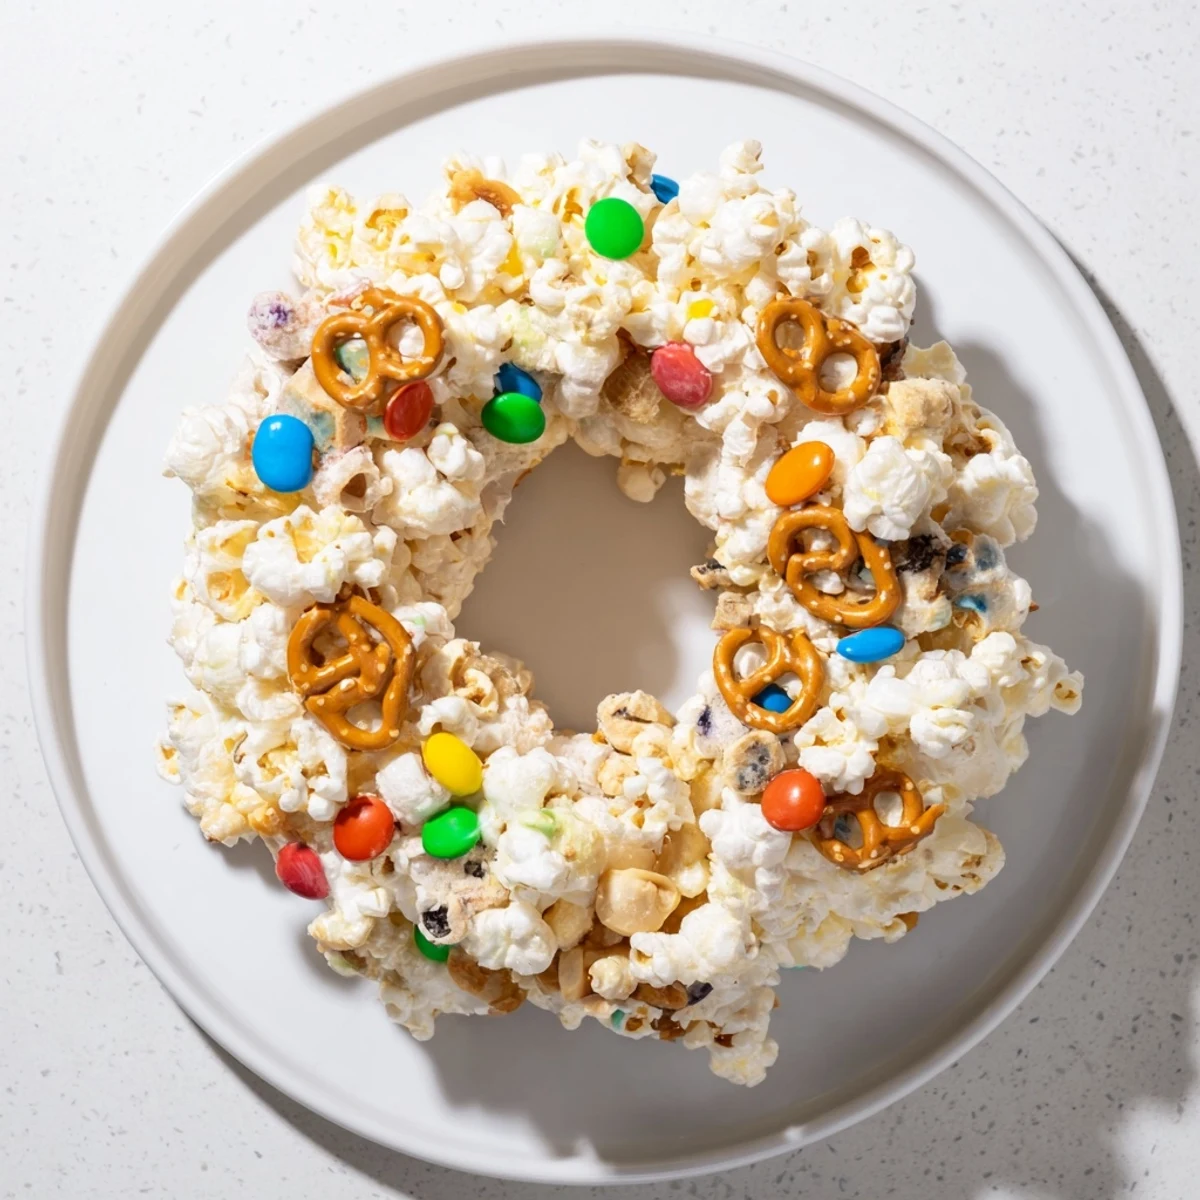
 This whimsical dessert transforms classic popcorn into a sliceable cake by binding fluffy kernels with melted marshmallows and butter. The mixture gets pressed into a Bundt pan, creating a beautiful ring shape that's easy to serve at gatherings.
Customize with your favorite candies, pretzels for crunch, or nuts for extra protein. The result balances sweet and salty flavors while offering a delightful texture contrast between crispy popcorn and chewy marshmallow coating.
Ready in just 25 minutes, this crowd-pleasing treat stays fresh for days and works beautifully for birthday parties, holiday celebrations, or casual movie nights.
The first time my niece brought home this recipe from school, I thought it was the most ridiculous thing I'd ever heard of. Who puts popcorn in a cake? But then I took that first salty-sweet-crunchy bite, and suddenly it all made perfect sense. Now whenever there's a birthday or classroom celebration, this is the first thing people ask for. It's basically a rice crispy treat that went to culinary school and discovered its true potential.
I made this for my daughter's eighth birthday party, thinking it would be a cute side dessert. The kids mostly ignored the fancy decorated cupcakes I'd spent hours on and went straight for the popcorn cake. One mom asked for the recipe, and when I explained it, she looked at me like I was sharing state secrets. Sometimes the simplest ideas are the ones that become legends.
Ingredients
- 12 cups plain popped popcorn: Freshly popped works best, but a bag of plain popcorn will do in a pinch. Just make sure to pick out any unpopped kernels, unless you want an unexpected dental surprise.
- 1/2 cup unsalted butter: Salted butter works too, but then dial back the salty add-ins. I learned this the hard way when my first batch was essentially a salt lick.
- 1 bag mini marshmallows: The mini ones melt faster and more evenly than regular marshmallows. Trust me, trying to melt full-sized marshmallows is an exercise in frustration and burnt sugar.
- 1 cup candy-coated chocolate pieces: M&Ms are classic, but seasonal colors make this extra fun for holidays. The pastel ones for Easter were a huge hit.
- 1 cup mini pretzels, broken: These add the most perfect salty crunch. Don't skip them, even if you think pretzels don't belong in dessert. They absolutely do.
- 1/2 cup roasted salted peanuts: Optional, but highly recommended if you're not serving anyone with allergies. The salt factor is what makes this pop.
Instructions
- Prep your pan like you mean it:
- Grease a 10-inch Bundt pan or tube pan thoroughly with butter or nonstick spray. This marshmallow mixture sticks to everything, so be generous. I once had to chisel my cake out of the pan with a butter knife, and nobody wants that kind of stress in their life.
- Get your popcorn ready:
- Place the popped popcorn in your largest mixing bowl and pick through it for any unpopped kernels. Nothing ruins the joy of a bite like cracking a tooth on a hidden rock-hard kernel.
- Melt the marshmallow magic:
- In a saucepan over medium heat, melt the butter, then add the marshmallows and stir constantly until completely smooth. This takes about 5 minutes, and you need to stay with it. Wander off to check your phone, and you'll come back to a bubbling sugar catastrophe.
- Coat everything quickly:
- Pour the melted marshmallow mixture over the popcorn and work fast. Using buttered hands or a spatula, mix until every piece is evenly coated. The mixture starts setting up faster than you'd think, so this is not the time to be leisurely.
- Add the fun stuff:
- Gently fold in the candy-coated chocolates, broken pretzel pieces, and peanuts if using. Save a handful of candies to press into the top later because presentation matters, even for a dessert this whimsical.
- Press it into the pan:
- Firmly press the mixture into your prepared pan, smoothing the top. Press harder than you think you need to, or your cake will fall apart when you try to slice it. I learned this through multiple crumbly disasters.
- Let it set:
- Let the cake cool at room temperature for about an hour. It needs this time to firm up into something sliceable. The hardest part is not picking at it during this waiting period.
- Release and serve:
- Invert the pan onto a plate and watch the magic happen. Slice into wedges and serve immediately, because this doesn't need anything else to be perfect.
 Save to Pinterest
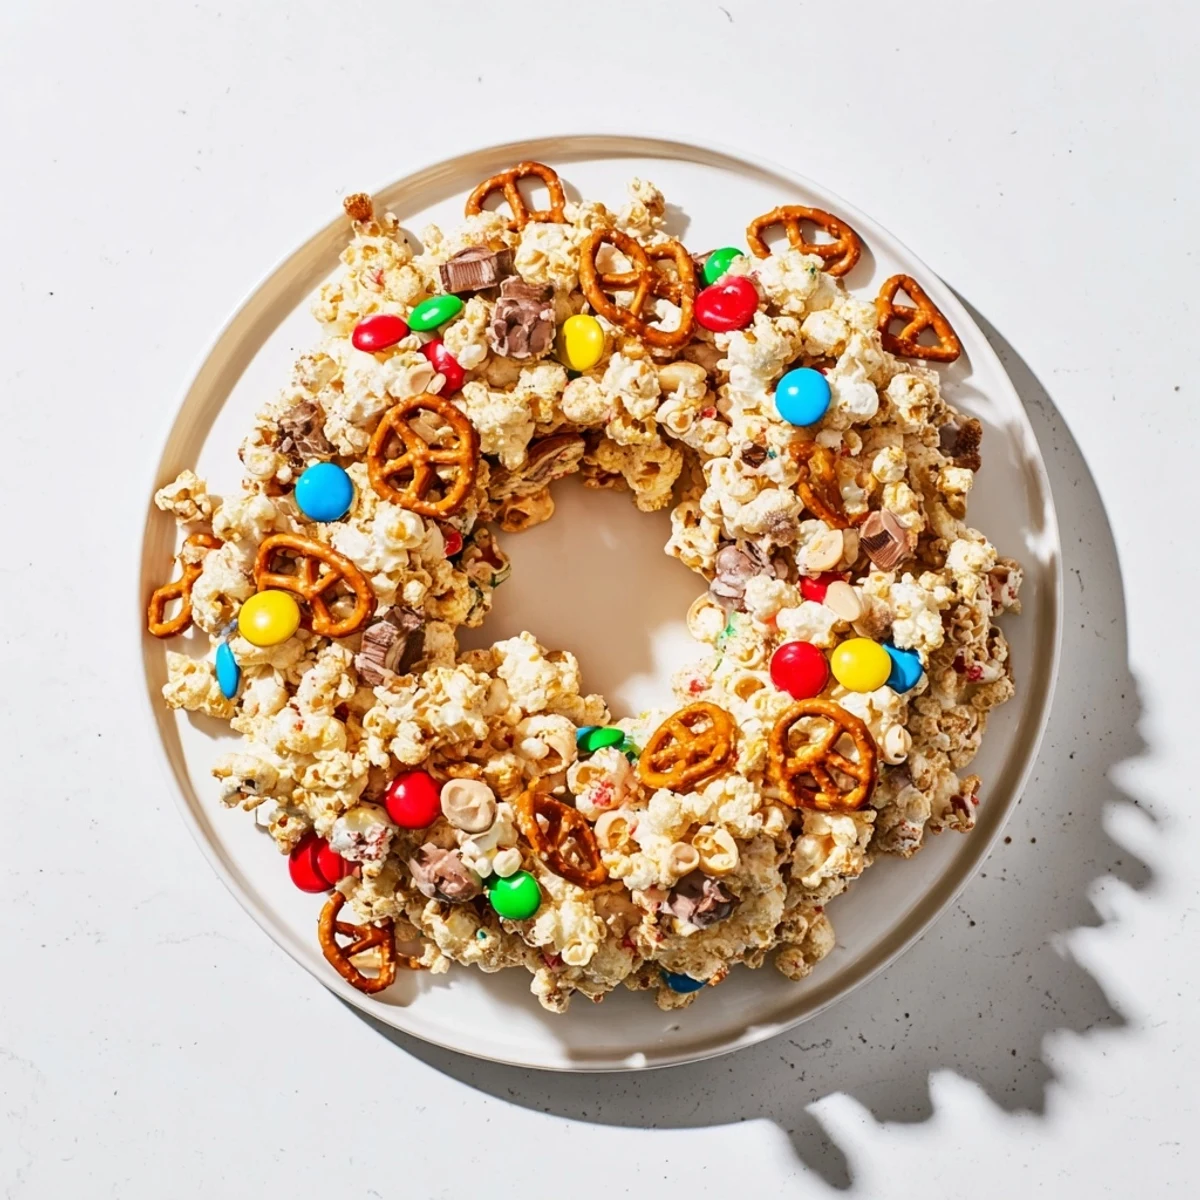
 My grandmother took one bite of this and declared it the most ridiculous dessert she'd ever tasted. Then she proceeded to eat two slices and asked me to make it for her bridge club. Sometimes the recipes that sound the weirdest on paper end up being the ones people remember most fondly.
Mix and Match Your Add-ins
The beauty of this recipe is how adaptable it is to whatever you have in your pantry. I've made versions with gummy bears, dried cranberries, and even crushed candy canes for Christmas. The key is keeping that sweet-salty-crunchy balance intact. Once you make the basic version, you'll start seeing possibilities everywhere.
Getting the Perfect Slice
The biggest mistake people make is not pressing the mixture firmly enough into the pan. You really need to pack it in there, using the back of a buttered spoon or your hands. This compresses everything into a cohesive cake that holds its shape when sliced. A loosely packed pan gives you a beautiful but frustrating crumble situation. Also, run your knife under hot water between slices for cleaner cuts.
Make It Your Own
This recipe is basically a canvas for whatever flavors you're craving. Drizzle melted chocolate over the top for extra indulgence, or mix in some sprinkles for a confetti effect. I've even added a teaspoon of vanilla extract to the marshmallow mixture for a subtle flavor boost. The possibilities are endless.
- Try different nut butters stirred into the marshmallow mixture for a flavor twist
- Press extra candies into the top before it sets for a jeweled appearance
- Wrap individual slices in parchment for easy party grabbing
 Save to Pinterest
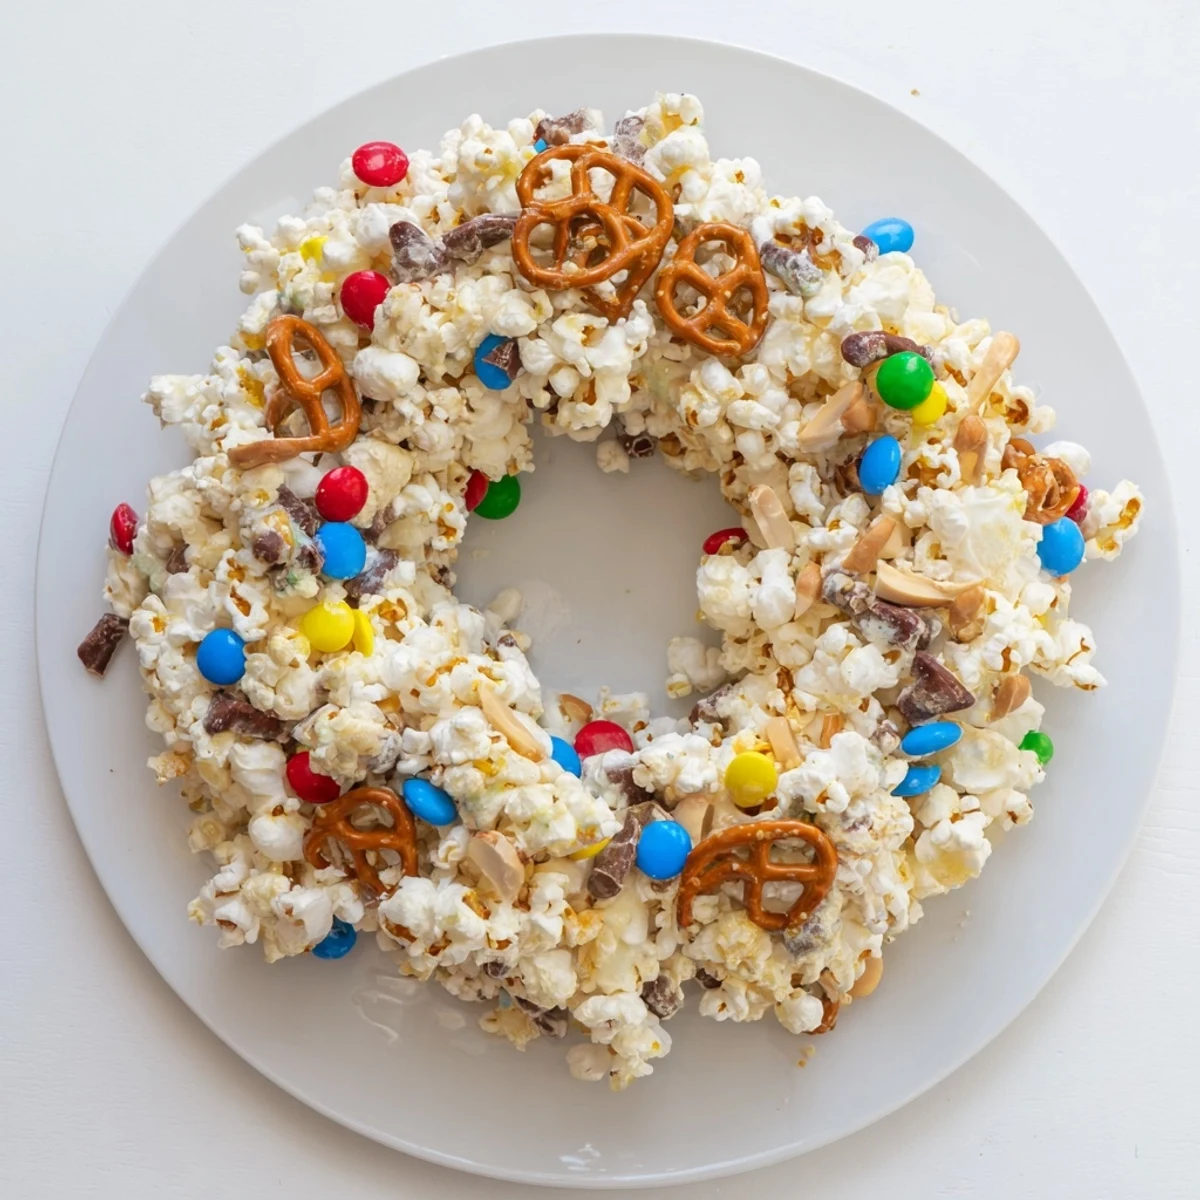
 This is the kind of dessert that makes people smile before they even take a bite. There's something so joyful about popcorn pretending to be cake. Make it for your next gathering and watch it disappear.
Recipe FAQs
- → How do I prevent the popcorn from getting soggy?
-
Work quickly once the marshmallow mixture is ready. The hot coating starts setting immediately, so folding in add-ins and pressing into the pan should be done promptly. This keeps the popcorn texture light and crispy rather than mushy.
- → Can I make this ahead of time?
-
Absolutely. This treat stores exceptionally well in an airtight container for up to 3 days at room temperature. The marshmallow coating actually helps preserve the popcorn's freshness, making it perfect for preparing a day before your event.
- → What other candies work well in this mixture?
-
Feel free to experiment with gummy bears, jellybeans, crushed candy bars, or seasonal sprinkles. Just avoid anything too hard that might make slicing difficult. Soft or semi-soft candies create the best texture contrast.
- → Why use a Bundt pan instead of a regular cake pan?
-
The tube shape allows for even setting and creates an attractive presentation. The hole in the center also helps the mixture cool and set more evenly. Plus, the ridged design adds visual appeal when inverted onto a serving plate.
- → How do I get clean slices without the cake falling apart?
-
Let the cake cool completely for at least one hour before removing from the pan. Use a sharp knife that's been lightly buttered or sprayed with nonstick coating. Wipe the knife clean between slices for the cleanest cuts.
- → Is this suitable for kids to help make?
-
Yes, this is an excellent project for young helpers. Children can measure ingredients, mix the popcorn coating, and add their favorite candies. Adult supervision is needed for melting the marshmallows and working with hot mixtures.
