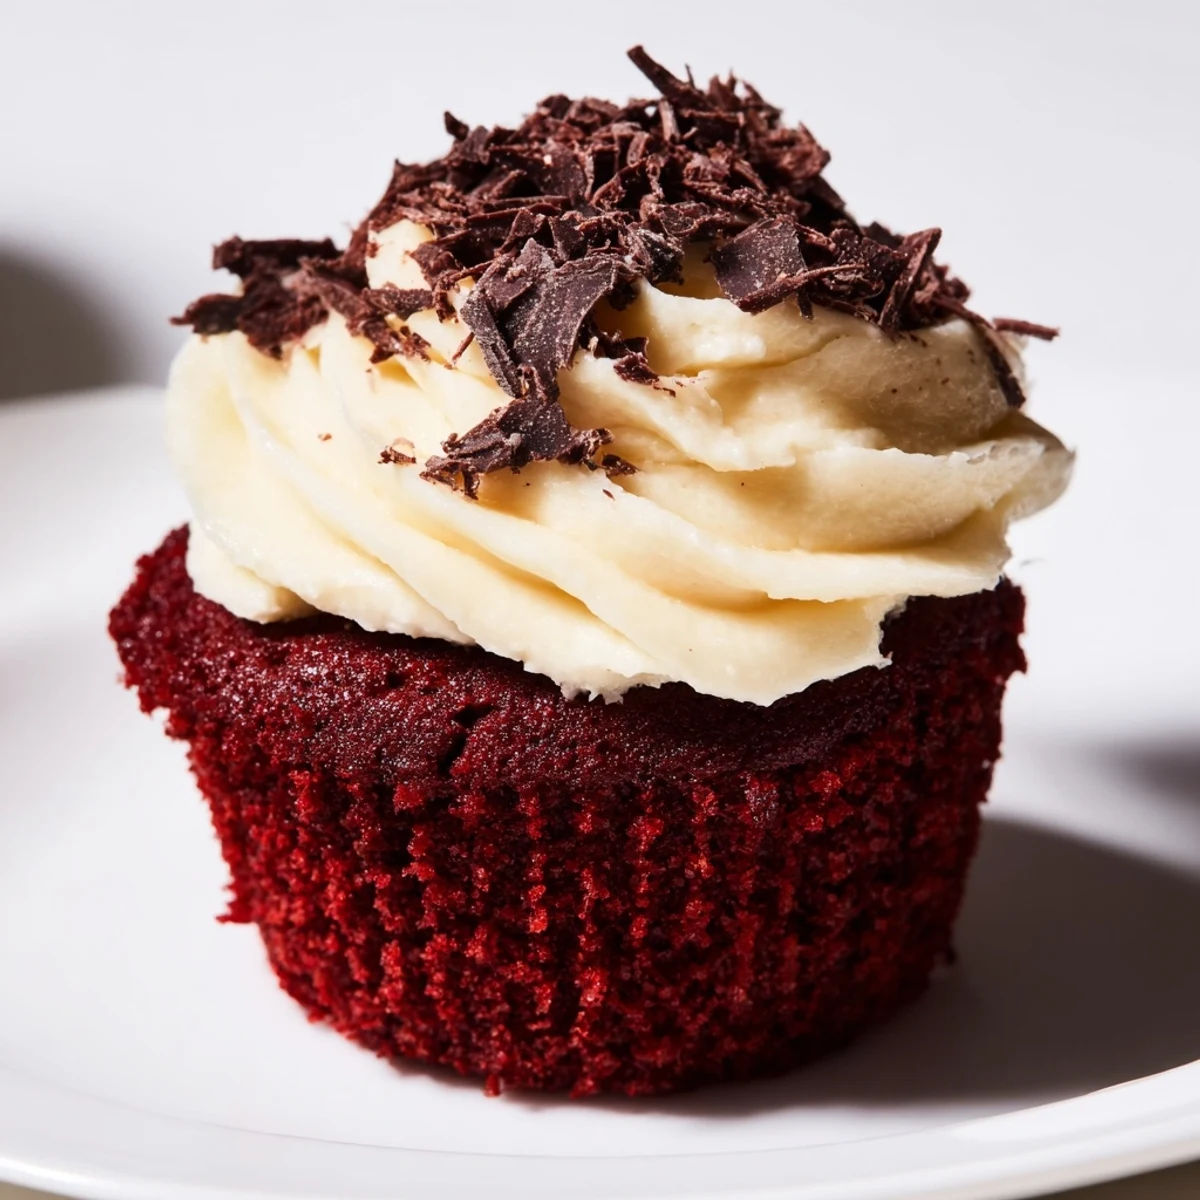
 Save to Pinterest
 These red velvet cupcakes feature a moist, tender crumb enhanced with mild cocoa and buttermilk for a balanced flavor. A smooth and tangy cream cheese frosting crowns each cupcake, adding luscious creaminess that complements the subtle chocolate notes. Preparation is straightforward, requiring simple mixing and baking steps, ideal for both beginners and seasoned bakers. Perfect for celebrations or casual indulgence, these treats showcase classic American dessert elements with a vibrant red hue.
My grandmother kept a worn recipe card for red velvet cupcakes tucked behind her flour canister, and I didn't understand why until the first time I bit into one she'd made—that subtle cocoa note, the tangy cream cheese frosting, the way the deep red color made them look almost jewel-like on her kitchen counter. Years later, I finally made them myself on a random Tuesday afternoon, and suddenly the kitchen smelled like her house used to, all warmth and butter and a hint of vanilla. Now these are the ones I reach for whenever I need something that feels both celebratory and comforting, without any fuss.
I made these for my daughter's office potluck last spring, and she texted me from work saying people kept asking who brought them and whether she'd made them herself—I loved that she let them guess. There's something special about watching someone's face light up when they taste something you've made with your own hands, especially when it's as simple and satisfying as these.
Ingredients
- All-purpose flour (1¼ cups): This is your structure; don't sift unless you're being fussy, but do measure by spooning and leveling off for accuracy.
- Granulated sugar (1 cup): It dissolves into the batter and keeps these cupcakes tender and moist long after they've cooled.
- Unsweetened cocoa powder (1 tablespoon): Just a whisper of chocolate flavor that makes the red velvet taste like itself—use good quality cocoa if you have it.
- Baking soda (½ teaspoon): This reacts with the vinegar and buttermilk to create lift and that characteristic crumb.
- Salt (¼ teaspoon): A pinch that wakes up all the other flavors without making them taste salty.
- Vegetable oil (½ cup): Oil keeps these impossibly moist compared to butter-based cakes; don't skip it or substitute.
- Buttermilk (½ cup): Bring it to room temperature so it mixes smoothly; if you don't have buttermilk, add a tablespoon of lemon juice to regular milk and let it sit for five minutes.
- Egg (1 large): Room temperature eggs incorporate better and create a tender structure.
- Vanilla extract (1 teaspoon for cupcakes): This rounds out the flavor in a way you can't quite put your finger on.
- White vinegar (1 teaspoon): Don't skip this; it's part of the magic that activates the baking soda and adds subtle tang.
- Red food coloring (1 tablespoon): Gel coloring gives a deeper, more gorgeous red than liquid, and you use less of it.
- Cream cheese (8 oz, softened): Let it sit on the counter for at least an hour before making frosting—cold cream cheese won't whip properly.
- Unsalted butter (¼ cup, softened): The butter adds richness to the frosting and helps it hold its shape.
- Powdered sugar (2 cups, sifted): Sifting removes lumps that would make your frosting grainy.
- Vanilla extract (1 teaspoon for frosting): A second vanilla note here makes the frosting taste almost creamy and homemade.
- Salt (pinch for frosting): This tiny bit balances the sweetness and makes the cream cheese flavor shine through.
Instructions
- Heat your oven and prepare:
- Set the oven to 350°F and line your muffin tin with paper liners—this prevents sticking and makes serving easier. Let everything come to room temperature while you gather your ingredients.
- Mix the dry ingredients:
- In a medium bowl, whisk together flour, sugar, cocoa powder, baking soda, and salt until combined. This distributes the leavening evenly so your cupcakes rise uniformly.
- Combine the wet mixture:
- In a large bowl, whisk oil, buttermilk, egg, vanilla, vinegar, and red food coloring together until the color is even and the mixture looks smooth. The red should be a rich, deep crimson.
- Bring it together:
- Pour the wet ingredients into the dry and stir gently with a spatula until just combined—you want to see a few streaks of flour still visible. Overmixing develops gluten and makes tough cupcakes.
- Fill the liners:
- Divide batter evenly among the liners, filling each about two-thirds full. Use an ice cream scoop if you have one for consistent sizing.
- Bake until done:
- Bake for 18 to 20 minutes, until a toothpick inserted in the center comes out clean or with just a few moist crumbs. The tops should look set but still feel slightly soft to a light touch.
- Cool gradually:
- Let cupcakes rest in the pan for 5 minutes—this helps them set without splitting. Transfer to a wire rack and cool completely before frosting, or they'll melt.
- Make the frosting:
- Beat softened cream cheese and butter together until smooth and creamy, then add sifted powdered sugar, vanilla, and a pinch of salt. Start on low speed to avoid clouds of sugar, then beat on medium-high until fluffy and light.
- Frost generously:
- Once cupcakes are completely cool, pipe or spread frosting on top with abandon. These deserve a generous, swooping layer.
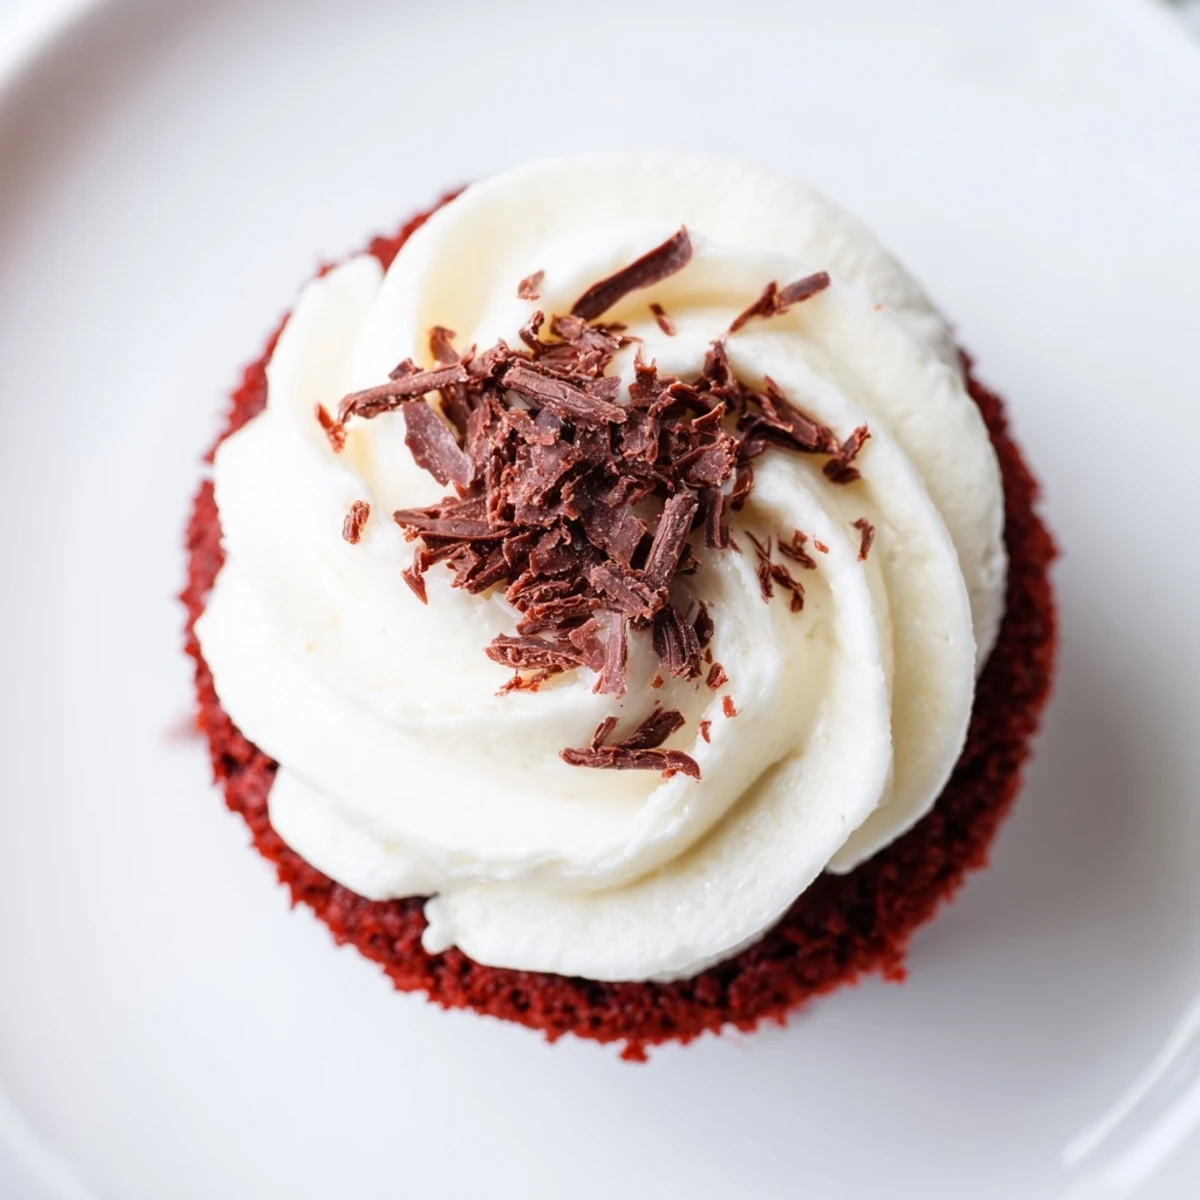 Save to Pinterest
 There was a moment, watching my nephew take a bite of one of these at his birthday party, when he closed his eyes and just sat with it for a second—that's when I knew they were more than just cupcakes. Something about their richness and softness and that surprising cream cheese frosting made them feel like a small celebration in themselves.
The Red Velvet Difference
Red velvet isn't chocolate, even though it has cocoa powder in it—it's subtler, almost mysterious, with that tangy vinegar-and-buttermilk note running underneath. The color is what catches your eye first, but the flavor is what makes people ask for the recipe. It's the kind of cake that feels fancy but tastes humble, which is exactly why it never goes out of style.
Frosting Confidence
The cream cheese frosting is where this recipe earns its reputation; it's not overly sweet, not too heavy, and it stays stable at room temperature for a few hours. If your frosting seems too soft, pop it in the refrigerator for ten minutes and it'll firm right up. If it's too stiff, beat it for another minute and it'll loosen.
Storage and Make-Ahead Magic
These cupcakes stay moist for days and actually taste better the next day when the flavors have had time to settle. Frosting them ahead takes the stress out of last-minute entertaining, and you can store them covered at room temperature for up to two days.
- Unfrosted cupcakes keep in an airtight container for three days, or wrapped individually in the freezer for up to three months.
- Frost them straight from the fridge if you've made them ahead, and let them come to room temperature before serving for the best texture.
- If you're adding toppings like pecans or chocolate shavings, do it right after frosting while the frosting is still tacky enough to hold them.
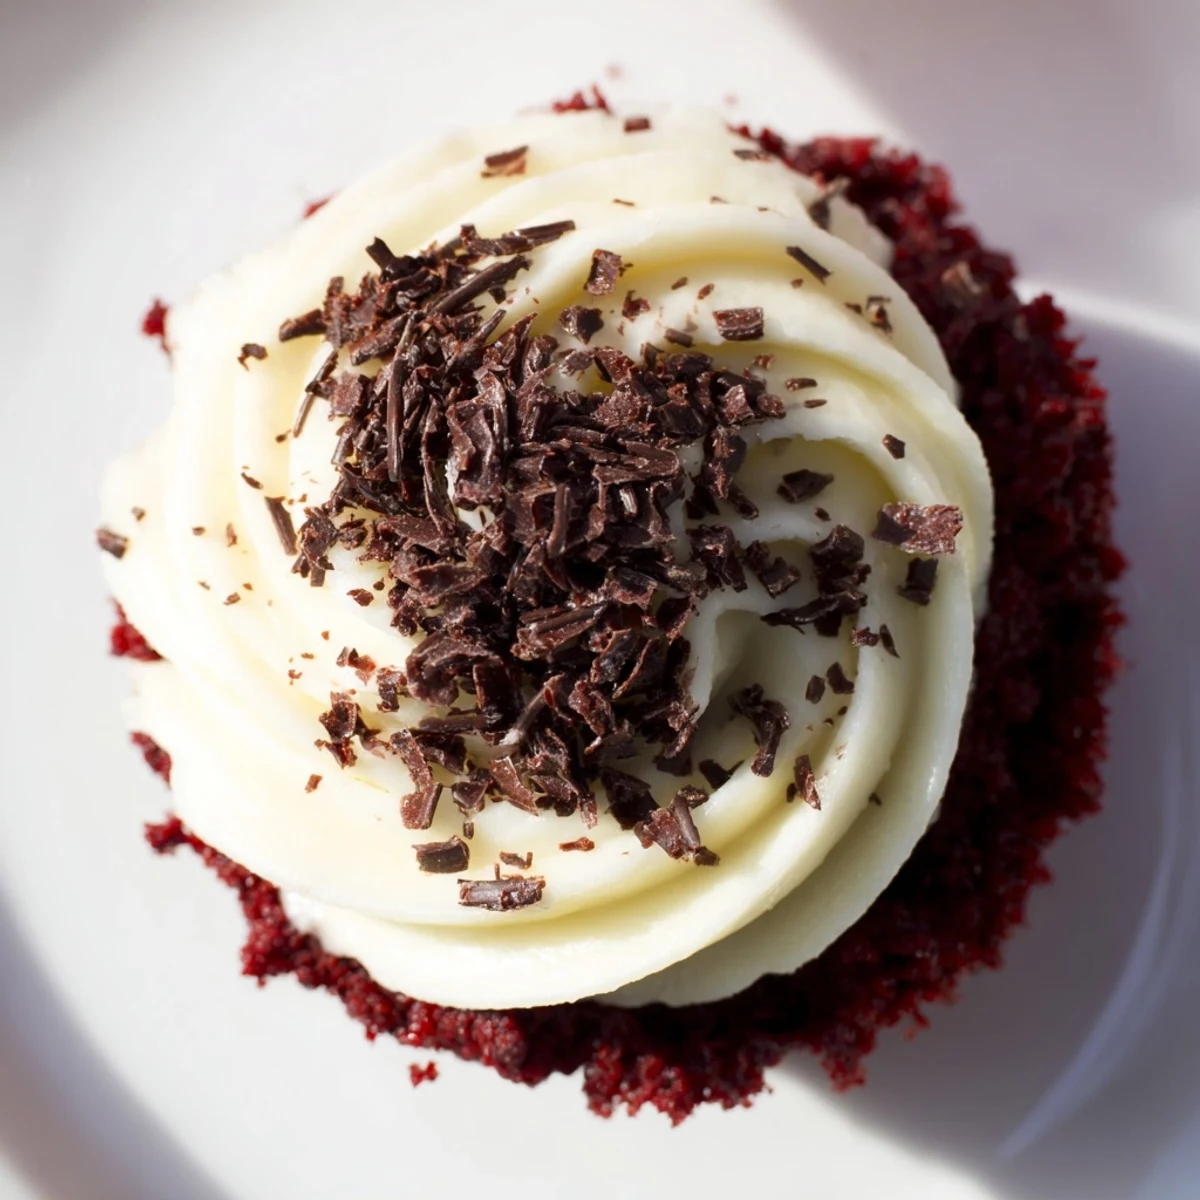 Save to Pinterest
 These cupcakes are proof that simple recipes done right are often better than complicated ones. Once you make them once, you'll find yourself reaching for them again and again.
Recipe FAQs
- → What gives red velvet cupcakes their red color?
-
Red food coloring is added to the batter, which creates the classic vibrant hue associated with red velvet desserts.
- → How do I ensure the cupcakes stay moist?
-
Using buttermilk and vegetable oil helps keep the cupcakes tender and moist throughout baking.
- → Can I substitute the cream cheese frosting?
-
While cream cheese frosting is traditional for its tanginess, buttercream or whipped cream frosting can be used as alternatives.
- → What is the best way to mix the batter?
-
Combine dry ingredients separately, mix wet ingredients until smooth, then gently fold together to avoid overmixing which can toughen the cupcakes.
- → How long should the cupcakes cool before frosting?
-
Allow cupcakes to cool completely on a wire rack, about 30 minutes, to prevent the frosting from melting.
