 Save to Pinterest
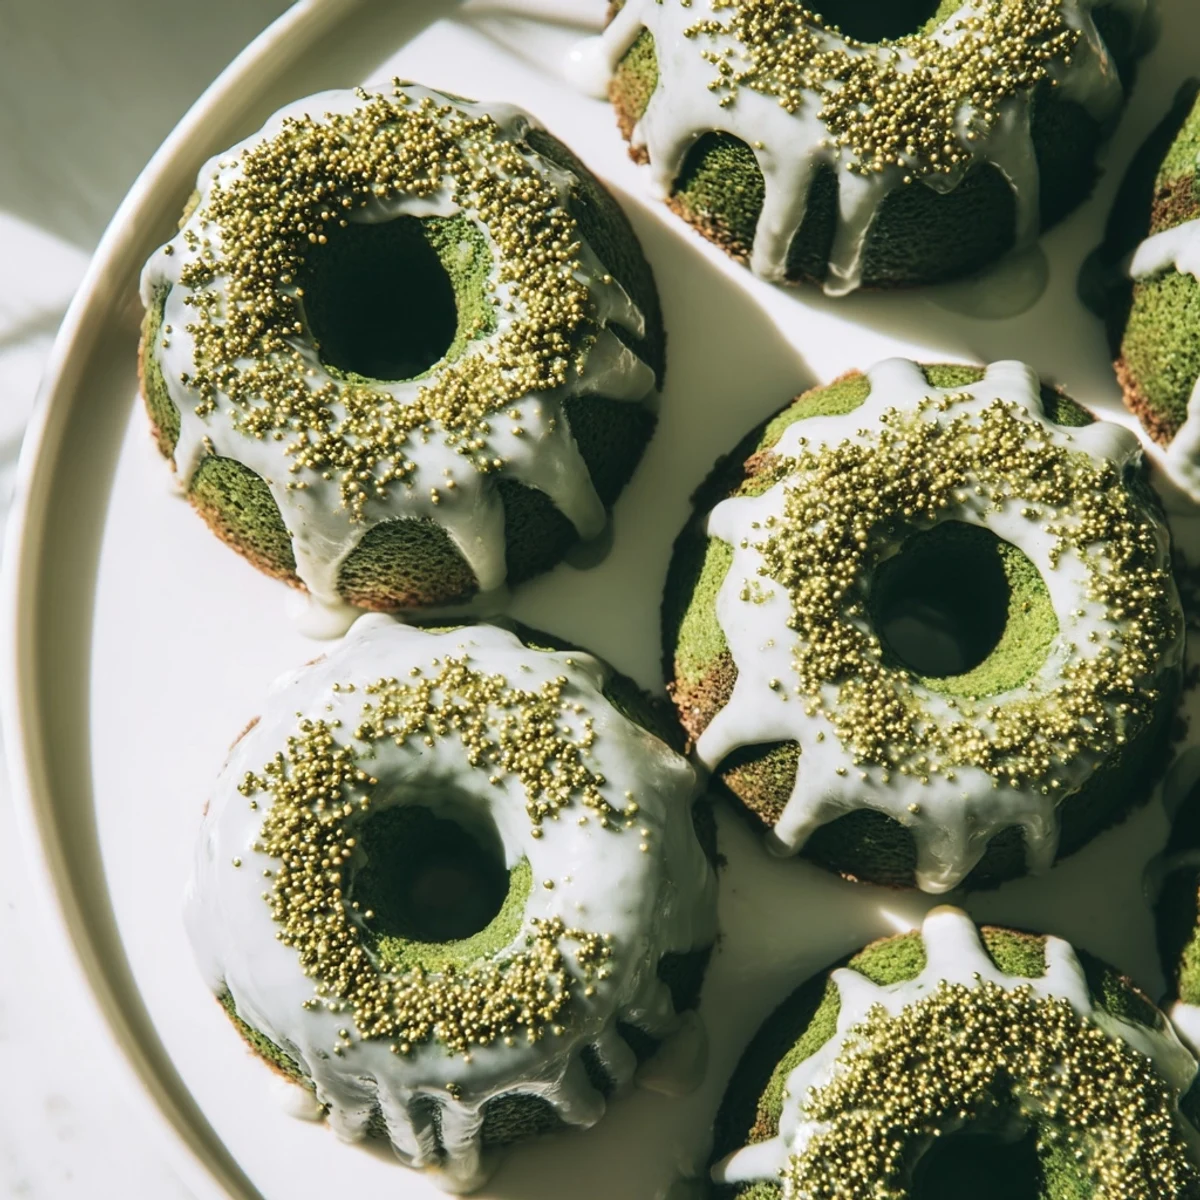
 Create stunning moist green velvet mini bundt cakes that capture the spirit of St. Patrick's Day with every bite. These individual-sized treats feature a tender, velvety crumb enriched with just the right amount of cocoa for depth, while buttermilk ensures exceptional moisture. The signature vibrant green color makes them showstoppers, while the creamy vanilla glaze adds the perfect sweet finish. Ideal for parties, gatherings, or simply treating yourself to something special during the holiday season.
My kitchen looked like a leprechaun workshop that one March afternoon when green food coloring ended up everywhere except the bowl. I was attempting red velvet for the first time, but someone had switched my bottles. That happy accident taught me everything I know about green velvet and how a little color mishap can become a St. Patricks Day tradition people actually request.
Last year I brought these to a brunch and watched three generations argue over who got the last cake with the most sprinkles. My niece told me the green cakes taste better than regular ones, and honestly at that point I was not about to correct her.
Ingredients
- All-purpose flour: The backbone that gives these cakes their tender crumb structure
- Unsweetened cocoa powder: Just enough for subtle depth without overpowering the delicate flavor
- Baking soda: Essential for that classic velvet rise and texture
- Salt: Balances the sweetness and intensifies the chocolate notes
- Unsalted butter: Room temperature butter creates the perfect fluffy base
- Granulated sugar: Sweetens while creaming adds necessary air to the batter
- Large eggs: Room temperature eggs emulsify better for consistent texture
- Buttermilk: The acid reacts with baking soda for extra tenderness
- Vanilla extract: Pure vanilla makes all the difference in the final flavor
- White vinegar: Enhances the red velvet chemistry even in green form
- Green gel food coloring: Gel coloring delivers vibrant color without thinning the batter
- Powdered sugar: Sifting prevents lumps in your silky smooth glaze
- Milk: Adjust the amount to reach your perfect drizzling consistency
- Green and gold sprinkles: The festive crown that makes everyone smile before taking a bite
Instructions
- Prep your oven and pan:
- Preheat the oven to 350°F (175°C) and grease your mini bundt pan thoroughly with butter or nonstick spray, getting into every crevice.
- Whisk the dry ingredients:
- In a medium bowl, whisk together flour, cocoa powder, baking soda, and salt until well combined, then set aside.
- Cream butter and sugar:
- Beat the softened butter and sugar together in a large bowl until light and fluffy, about 3 minutes.
- Add the eggs:
- Add eggs one at a time, mixing well after each addition until fully incorporated.
- Mix the wet ingredients:
- In a separate small bowl, combine buttermilk, vanilla extract, vinegar, and green food coloring until uniform.
- Combine everything:
- Add half of the dry ingredients to the butter mixture, mixing just until combined, then pour in the buttermilk mixture, mix briefly, and add the remaining dry ingredients.
- Fill the pans:
- Spoon the batter evenly into the prepared mini bundt pans, filling each about two-thirds full.
- Bake to perfection:
- Bake for 18 to 22 minutes, or until a toothpick inserted into the center comes out clean.
- Cool carefully:
- Cool cakes in the pan for 10 minutes, then carefully invert onto a wire rack to cool completely.
- Make the glaze:
- Whisk powdered sugar, milk, and vanilla extract until smooth and pourable.
- Finish with flair:
- Drizzle the glaze over cooled cakes and decorate with green and gold sprinkles as desired.
 Save to Pinterest
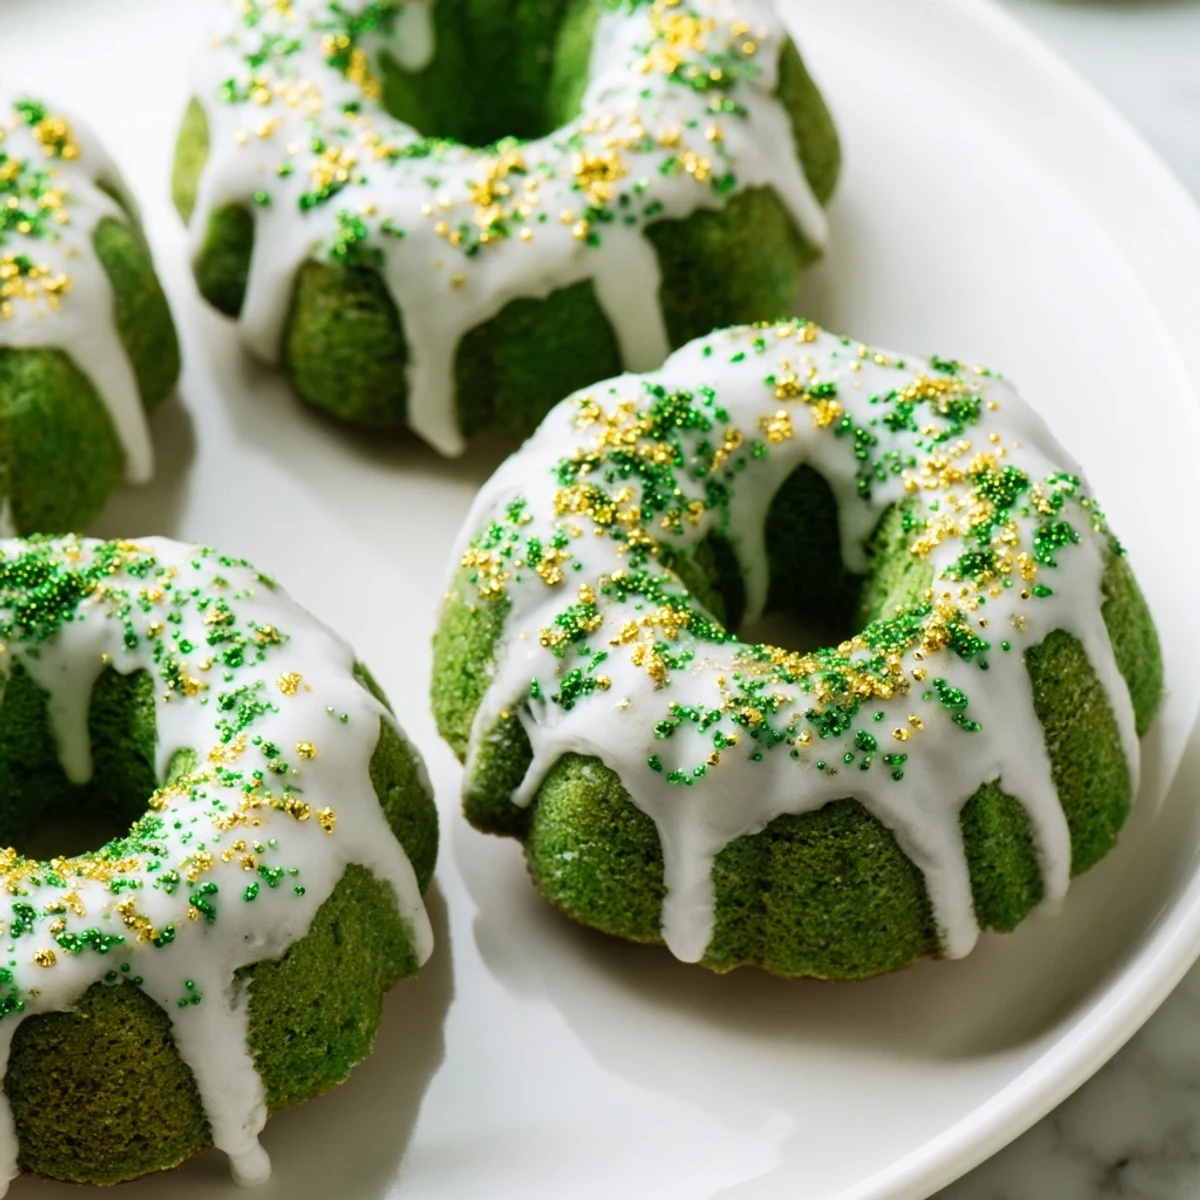
 These have become my go to when I need something festive but actually delicious, not just cute. The surprise of that subtle chocolate flavor behind the bright green exterior never gets old.
Getting The Perfect Green Shade
I have learned that green coloring behaves differently than other colors in batter. Start with half a tablespoon and add drop by drop from there, remembering that the color will deepen slightly during baking.
Making Ahead And Storage
The unfrosted cakes freeze exceptionally well for up to a month. Wrap each one individually in plastic wrap, then thaw overnight and glaze the morning you need them.
Serving Suggestions For Your Celebration
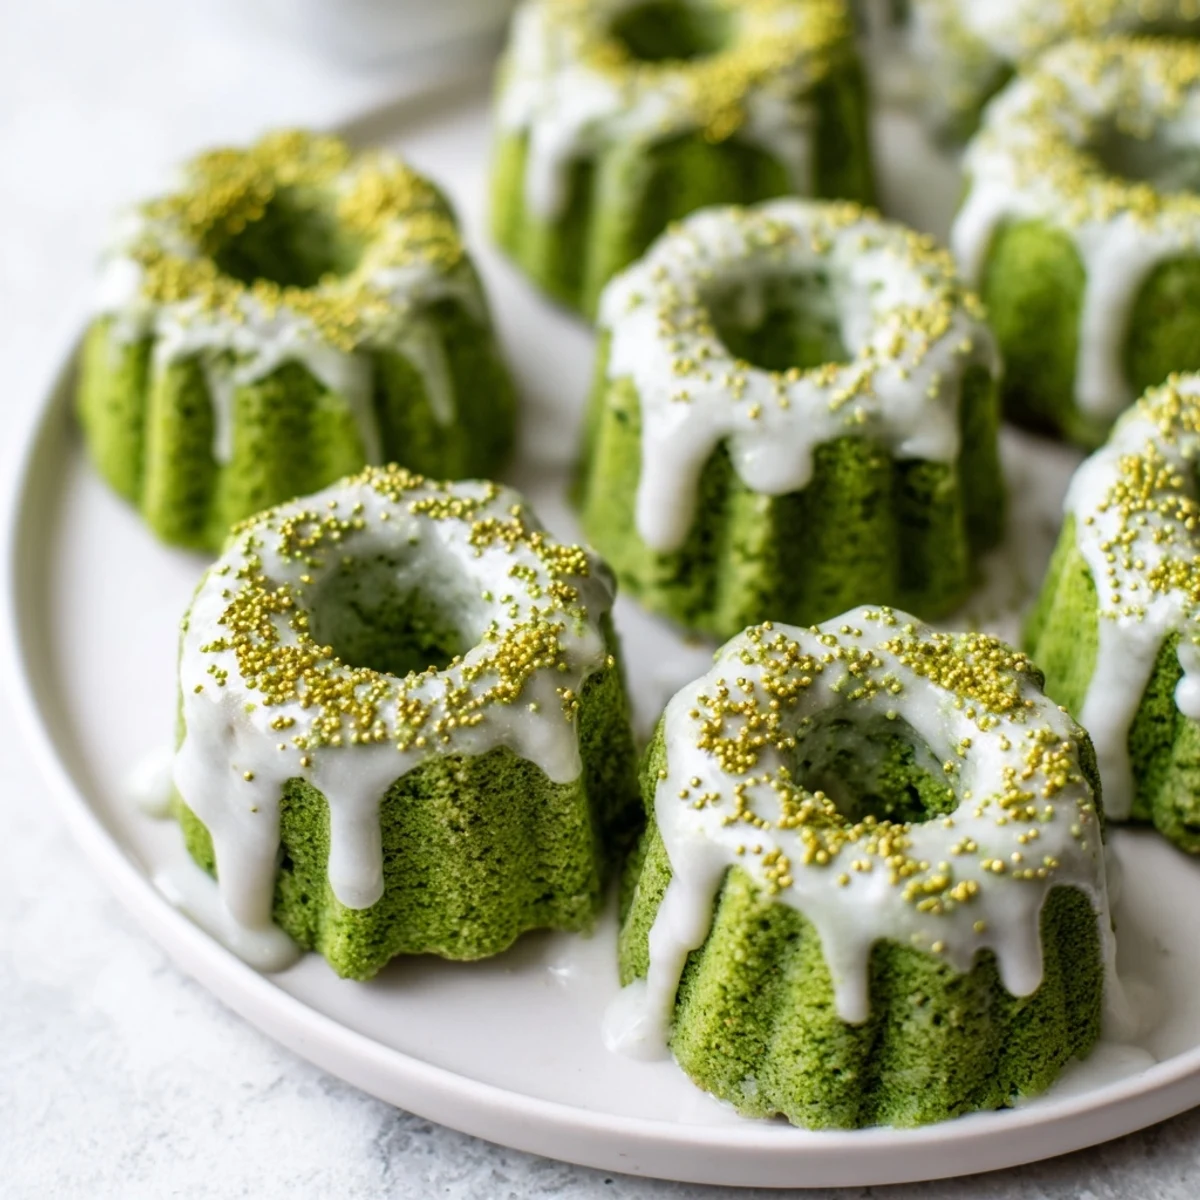
These shine brightest on a tiered stand surrounded by gold coins or shamrock confetti. They are the perfect size for guests to grab two or three without feeling too indulgent.
- Pair with Irish coffee for the adults
- Set up a DIY glaze station for kids
- Stack them in a rainbow pattern on your serving platter
 Save to Pinterest
 May your St. Patricks Day be filled with laughter, good friends, and perfectly green cake.
Recipe FAQs
- → What makes these cakes green?
-
The vibrant green color comes from gel food coloring added to the batter. Start with half a tablespoon and increase until you reach your desired shade. Gel coloring provides more intense color than liquid without thinning the batter.
- → Can I make these ahead of time?
-
Yes! Bake the cakes up to 2 days in advance and store in an airtight container. Add the glaze and sprinkles on the day of serving for the freshest appearance. The unglazed cakes can also be frozen for up to 3 months.
- → Why is there cocoa powder in green cakes?
-
A small amount of cocoa powder enhances the flavor profile without overpowering the vanilla. This is traditional in red velvet and green velvet cakes, providing subtle depth and richness that balances the sweetness.
- → Can I use a regular bundt pan instead of mini?
-
Absolutely! You'll need to adjust the baking time to 30-40 minutes for a standard 10-12 inch bundt pan. The batter amount should work fine, though cooking times may vary slightly based on pan size.
- → What if I don't have buttermilk?
-
Make a quick substitute by combining ½ cup of regular milk with 1 teaspoon of lemon juice or white vinegar. Let it sit for 5 minutes until it thickens slightly. This DIY buttermilk provides the necessary acidity for tender results.
