 Save to Pinterest
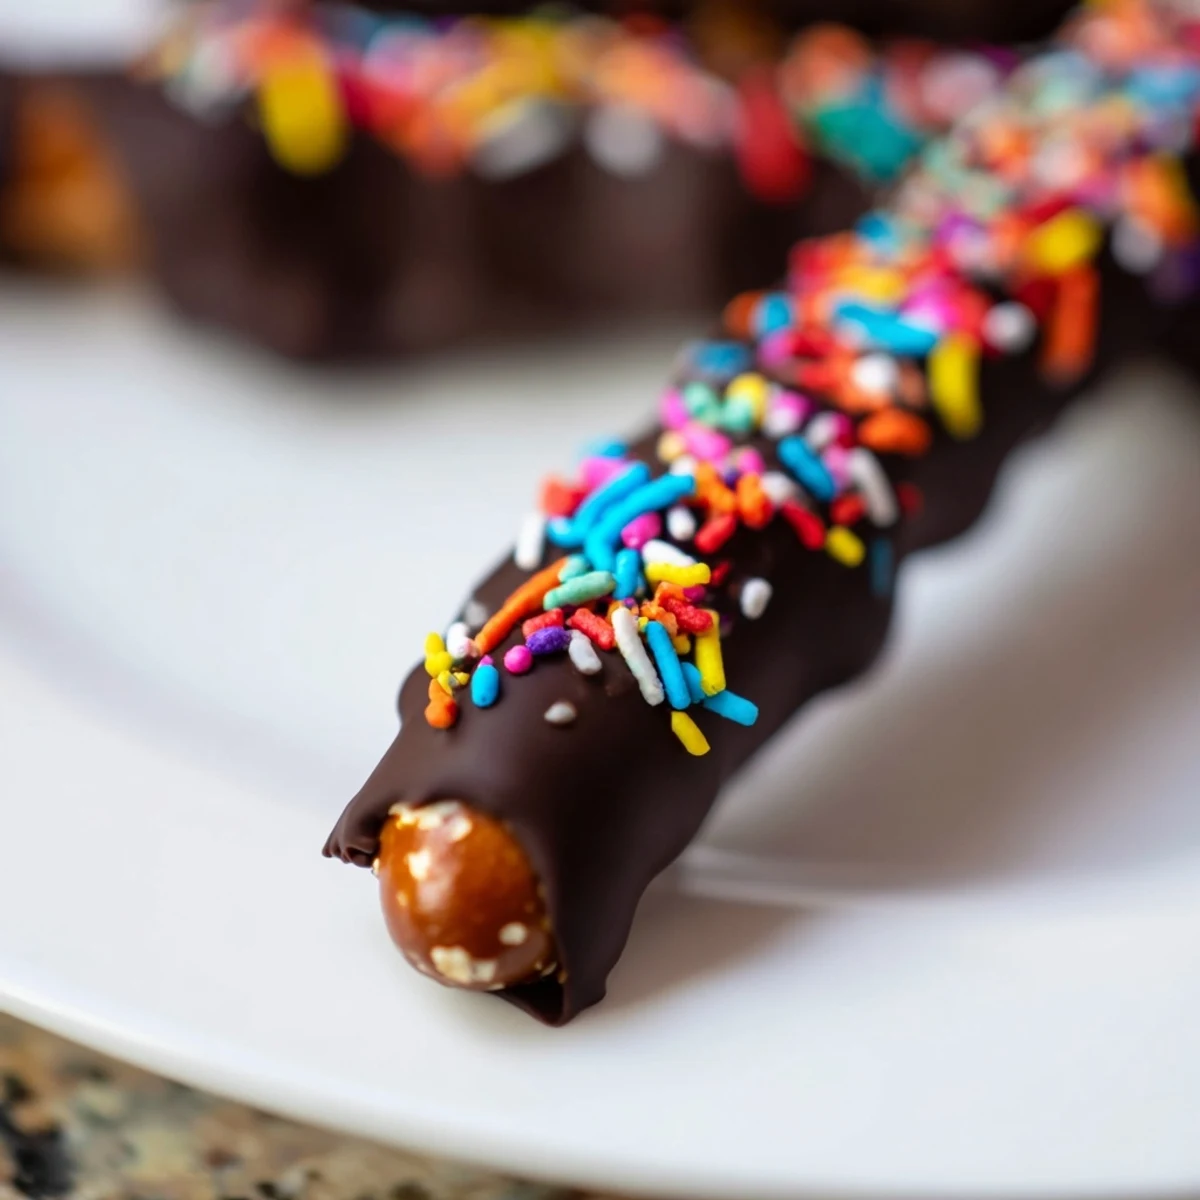
 These delightful chocolate-covered pretzels are an effortless sweet-and-salty treat. Start by melting your favorite chocolate, optionally with a touch of coconut oil for extra smoothness. Dip mini pretzels halfway into the warm, melted chocolate, letting any excess drip off naturally. For an added touch of fun and flavor, sprinkle them with colorful toppings like sprinkles, nuts, or shredded coconut while the chocolate is still soft. Place them on parchment paper to set, either at room temperature or quickly in the refrigerator. Once firm, they're ready to enjoy or store in an airtight container for up to a week. A fantastic quick snack or gift!
There's something undeniably comforting about the simple crunch of a pretzel meeting the smooth silkiness of chocolate. I remember a particularly dreary autumn afternoon, rain drumming against the kitchen window, when I first thought to tackle these. The idea was to brighten up an otherwise gloomy day, and the sheer simplicity of melting chocolate felt like a little act of defiance against the weather.
I once made these for a last-minute gathering, frantically dipping and sprinkling while my friend, Maya, chatted away on the phone in the background. The air filled with the sweet scent of melting chocolate, punctuated by her laughter. It was a chaotic but genuinely fun moment, and the finished pretzels were devoured before she even hung up.
Ingredients
- Pretzels: Choose mini twists for classic appeal or rods for easier dipping and a more generous chocolate coating.
- Semisweet or Milk Chocolate: Good quality chocolate makes all the difference; it melts smoother and tastes richer.
- Coconut Oil or Vegetable Shortening: A tiny bit of this optional helper ensures your chocolate stays fluid and gives a beautiful, glossy finish.
- Optional Toppings: Don't hold back here—sprinkles, nuts, or crushed candy canes add texture and visual flair.
Instructions
- Prepare Your Workspace:
- First things first, grab a baking sheet and line it with parchment paper or a silicone mat. This step is your best friend for easy cleanup and preventing sticking.
- Melt the Chocolate:
- In a microwave-safe bowl, gently combine your chopped chocolate with the coconut oil, if you're using it. Heat it in short bursts, stirring patiently between each, until it's beautifully smooth and free of lumps.
- Dip & Coat:
- Now for the fun part: take each pretzel and dip it about halfway into that glorious melted chocolate, letting any excess drip away for a clean look.
- Add Your Flair:
- Carefully place your chocolate-dipped pretzels onto the prepared baking sheet. While the chocolate is still wet and receptive, sprinkle on your favorite toppings with a flourish.
- Let Them Set:
- Give your pretzels about 20 minutes to firm up completely. You can leave them at room temperature, or pop them in the fridge if you're in a hurry.
- Store & Enjoy:
- Once set, transfer your delightful creations to an airtight container. They'll keep beautifully at room temperature for up to a week, perfect for grabbing a quick treat.
 Save to Pinterest
 One holiday season, my niece, barely tall enough to see over the counter, insisted on helping with the sprinkles. Her tiny, earnest hands showered the pretzels with colorful bursts, and while some missed the mark, the joy in her eyes as she created her "masterpieces" made those imperfect pretzels the most cherished treats of the batch. They really became a symbol of shared happiness that day.
Choosing Your Chocolate Adventure
Don't feel confined to just milk or semisweet chocolate! I've experimented with dark chocolate for a more sophisticated, less sweet bite, and white chocolate tinted with food coloring for themed events. Each type brings its own character, transforming the simple pretzel into something entirely new. The key is to pick one you genuinely enjoy eating on its own.
The Art of the Topping
Toppings aren't just for looks; they add another layer of texture and flavor. Crushed peppermints around Christmas are a revelation, offering a cool zing against the sweet chocolate. For a more year-round treat, a sprinkle of flaky sea salt elevates the sweet-and-salty dynamic to perfection. Think about what complements the chocolate and adds that satisfying crunch or chew.
Presentation & Gifting
These chocolate-covered pretzels are absolutely fantastic for gifting. I often arrange them in clear cellophane bags tied with a pretty ribbon, or layer them carefully in small decorative boxes. They always bring a smile to anyone's face. Imagine giving a friend a homemade gift that's both delicious and beautiful.
- Make sure the chocolate is fully set before packaging to prevent smudging.
- Layer them with parchment paper in between if stacking to avoid sticking.
- Consider a mix of different chocolate types and toppings for a varied assortment.
 Save to Pinterest
 These chocolate-covered pretzels are more than just a snack; they're a canvas for creativity and a guaranteed crowd-pleaser. Whip up a batch soon, and let the simple magic unfold in your own kitchen.
Recipe FAQs
- → How long does it take for the chocolate to set?
-
The chocolate typically sets in about 20 minutes at room temperature. For quicker results, you can place them in the refrigerator, but ensure they don't get too cold, as this can sometimes cause the chocolate to bloom or look dull.
- → What's the best way to melt the chocolate?
-
You can melt chocolate in a microwave-safe bowl in 20-second intervals, stirring after each, until smooth. Alternatively, use a double boiler on the stovetop for gentle, even melting. Adding a teaspoon of coconut oil or vegetable shortening can help achieve a smoother, more fluid consistency for dipping.
- → Can I use different types of chocolate?
-
Absolutely! Feel free to use white chocolate, dark chocolate, or even colored candy melts to customize your treats. Each will offer a unique flavor profile and aesthetic.
- → How should I store the finished pretzels?
-
Store these delightful snacks in an airtight container at room temperature. They will remain fresh and delicious for up to one week. Avoid refrigeration for extended periods as it can sometimes affect the chocolate's texture and appearance.
- → What are some fun topping ideas?
-
Beyond classic sprinkles, consider chopped nuts like peanuts or almonds, shredded coconut, crushed candy canes for the holidays, mini chocolate chips, or a drizzle of contrasting chocolate once the base layer is set.
- → Is coconut oil necessary for melting chocolate?
-
No, coconut oil is optional but highly recommended. It helps to thin the melted chocolate slightly, making it smoother and easier to dip the pretzels evenly. It also contributes to a slightly glossier finish.
