 Save to Pinterest
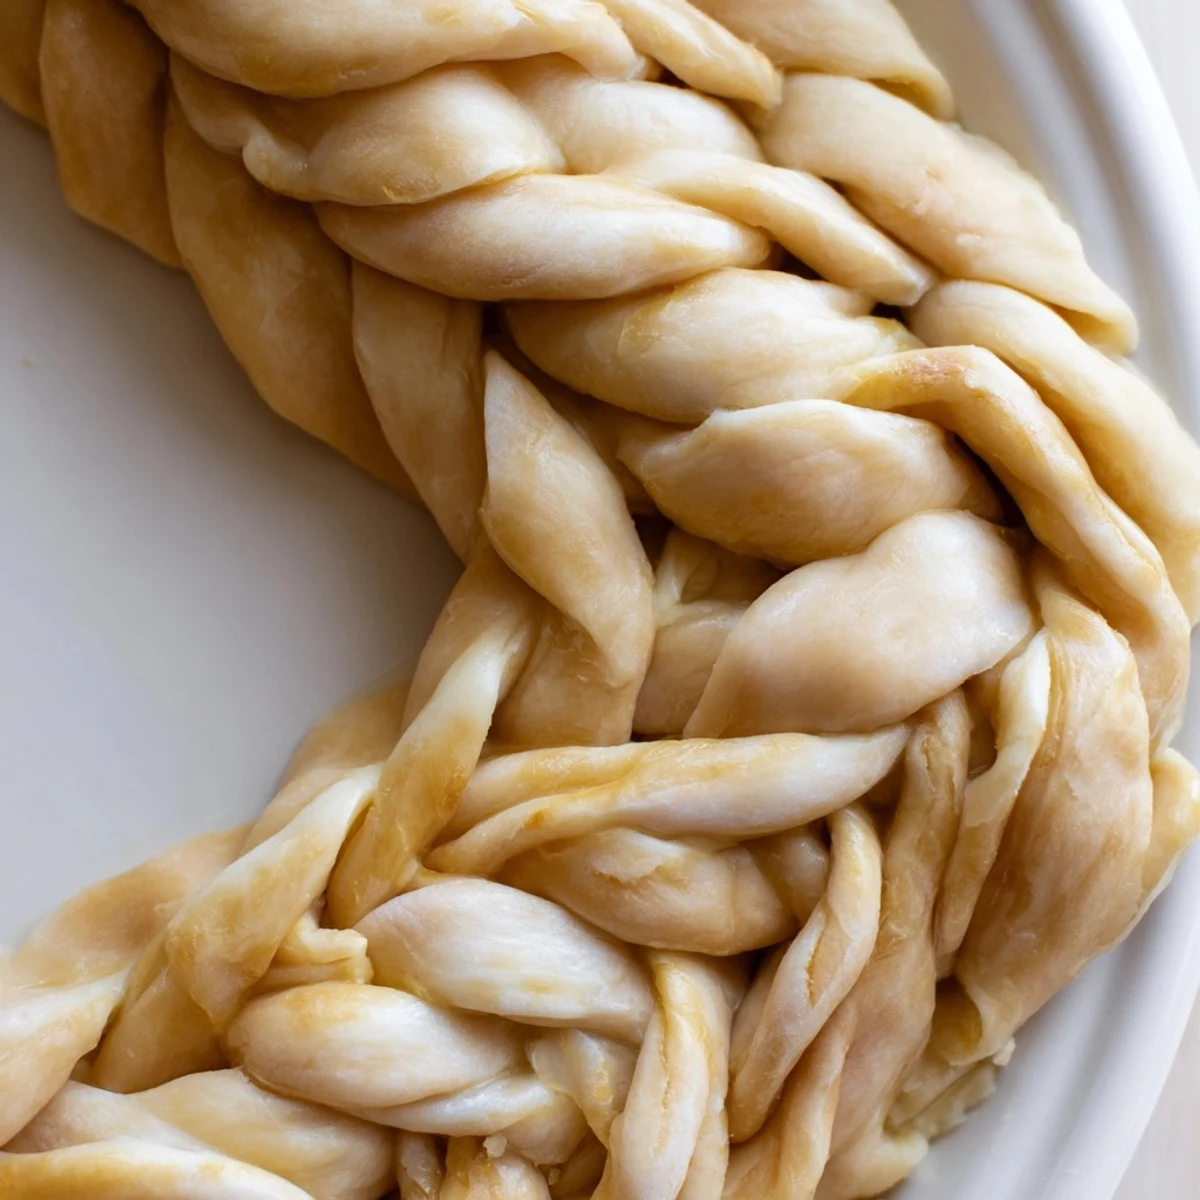
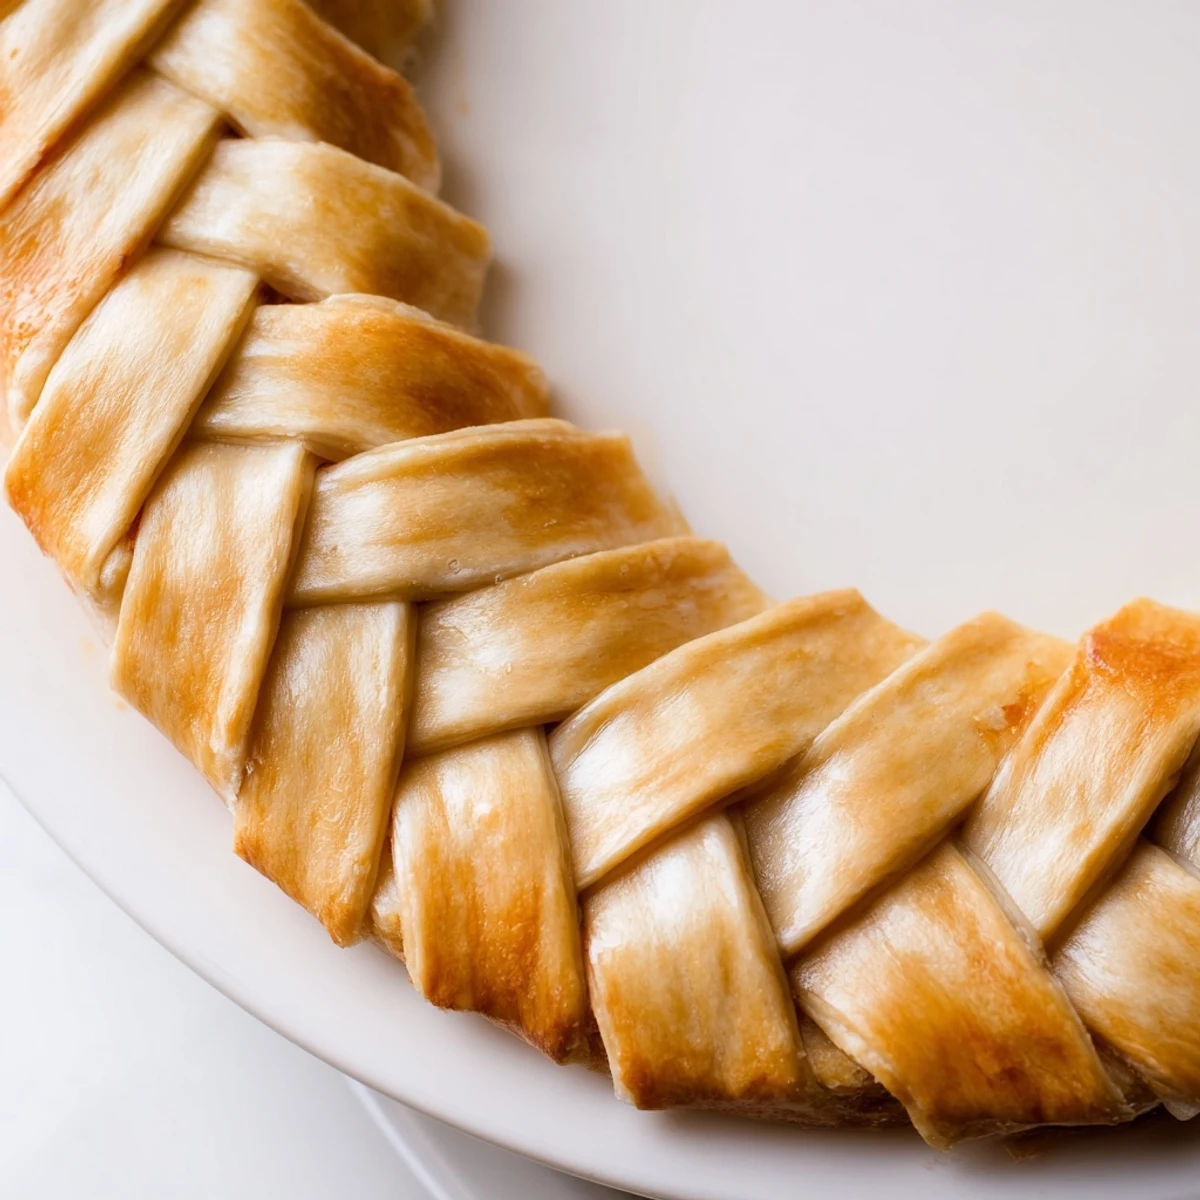
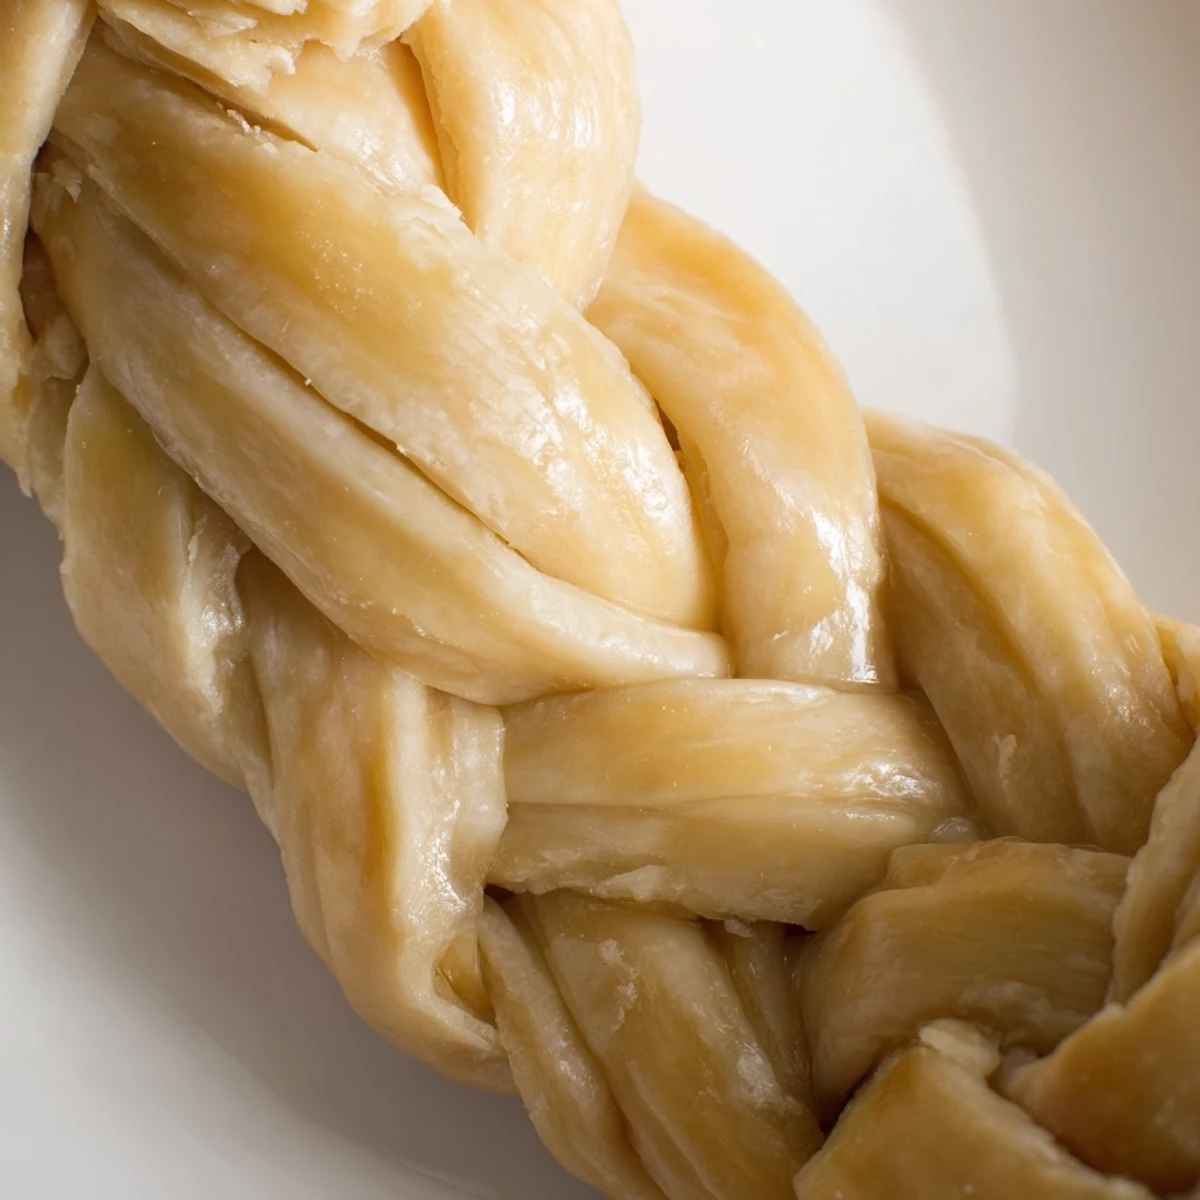
 Master the art of weaving a fishtail braid pie crust to add professional elegance to your baked creations. This decorative technique uses simple strips of buttery pastry dough woven into an intricate braided border that creates a stunning visual finish. The process involves rolling your homemade dough into even strips, then cross-weaving them using the fishtail method where outer strands are continuously crossed toward the center. Keep everything chilled for clean edges, brush with egg wash for golden shine, and adhere around your filled pie rim. Perfect for fruit pies, quiches, or savory pot pies that deserve an impressive presentation.
The first time I attempted a fishtail braid on a pie crust, it was Thanksgiving morning and I was feeling overly ambitious. My kitchen was already chaos with three different dishes going at once, but something about that intricate woven pattern just called to me. Two hours later, I had flour in my hair, dough stuck to my ceiling, and a pie that looked like it had been through a wrestling match. But that beautiful, messy fishtail edge somehow made everything taste better, and now I cannot imagine making a special occasion pie without it.
Last summer, I brought a peach pie with this crust to a neighborhood potluck, and honestly, I was nervous. The braiding took me longer than I care to admit, and my fingers were trembling from trying to work with such fussy strips. But when I set it down on the dessert table, my neighbor Sarah actually gasped loud enough that half the party turned to look. Now every time I see her, she asks when I am bringing that fancy braid pie again.
Ingredients
- All-purpose flour: The backbone of your crust structure, but do not pack it down when measuring
- Cold butter: Those tiny pea-sized pieces melting in the oven create the flaky layers we are chasing
- Ice water: Keep it actually ice cold, warm water makes the butter melt too fast and ruins everything
- Egg wash: That golden sheen that makes people think you are secretly a pastry chef
Instructions
- Make the dough foundation:
- Whisk flour, salt, and sugar together in a large bowl, then work in cold butter using a pastry cutter or your fingers until you see coarse crumbs with those crucial pea-sized butter chunks remaining throughout the mixture
- Bring it together:
- Drizzle ice water starting with just 1/4 cup, tossing gently with your fingers until the dough holds together when squeezed, then divide into two disks and wrap tightly before chilling for at least an hour
- Roll and cut strips:
- On a floured surface, roll one chilled disk into a rectangle about 1/8 inch thick, then use a ruler and knife to cut at least six even strips, each about 12 inches long and 1/2 inch wide
- Create the fishtail braid:
- Press three strip ends together, start with one regular braid crossover, then begin the fishtail pattern by taking the outermost right strip to center, then outermost left to center, continuing until you reach the end
- Apply the braid:
- Trim excess dough from your filled pie, brush the rim lightly with water, gently lift and shape your braid around the edge, pressing lightly to adhere, then finish with that beautiful egg wash
 Save to Pinterest
 My daughter helped me make this for her birthday pie last year, and watching her small hands carefully weaving those strips was one of those kitchen moments I will never forget. She was so proud of that slightly crooked braid, and honestly, it was the most beautiful pie crust I have ever seen.
Working With Temperature
Butter needs to stay cold until it hits the oven heat, so work quickly and keep everything chilled, including your work surface if possible. I have even been known to roll out dough on a baking sheet that is been chilling in the freezer.
Getting Even Strips
A ruler might feel like overkill, but those uniform strips make braiding so much easier and the final result look professionally done. Cut them slightly longer than you think you need, you can always trim the excess.
When Things Go Wrong
Dough tears can be patched with a little water and gentle pressing, and braids that fall apart can often be rearranged on the pie before baking. Nobody needs to know about the reconstruction work underneath that golden egg wash.
- Keep extra dough scraps handy for emergency patching
- If your braid breaks, just press the ends back together and continue
- Remember, rustic looks intentional in the world of homemade baking
 Save to Pinterest
 There is something deeply satisfying about serving a pie that looks like it came from a professional bakery, knowing you created that intricate beauty with your own two hands. Happy baking, friend.
Recipe FAQs
- → What makes fishtail braiding different from regular braiding?
-
Fishtail braiding crosses outer strands toward the center alternately, creating a flattened, woven appearance resembling a fish skeleton. Regular braids cross strands over the middle in a continuous pattern, resulting in a rounded shape. The fishtail technique produces wider, more intricate-looking pastry borders.
- → How thick should I cut the dough strips for braiding?
-
Cut strips approximately 1/2 inch wide and 12 inches long, rolling dough to about 1/8 inch thickness. This dimension provides enough structure for weaving while ensuring the braid cooks through evenly. Thinner strips may break during handling, while thicker ones won't braid neatly or bake properly.
- → Can I make the braided crust ahead of time?
-
Yes, prepare braids up to 24 hours in advance. After weaving, place them on a parchment-lined baking sheet, cover loosely with plastic wrap, and refrigerate. When ready to use, brush the pie rim with water, position the chilled braid, and proceed with baking. The cold temperature maintains clean edges and distinct definition.
- → Why does my dough become difficult to braid?
-
Warm dough becomes soft, sticky, and loses its shape quickly. Work in a cool kitchen, chill dough discs thoroughly before rolling, and return strips to the refrigerator if they soften during cutting. Keep your work surface lightly floured and handle strips minimally to maintain cold temperature throughout the weaving process.
- → What fillings work best with braided crusts?
-
This decorative technique suits both sweet and savory creations. Fruit pies like apple, cherry, or berry showcase beautifully against the golden braid. Savory options include quiches, chicken pot pies, or vegetable tarts. Ensure fillings aren't overly liquid, as excess moisture can make the bottom crust soggy during baking.
- → How do I prevent the braid from burning?
-
The braid contains minimal fat compared to the crust base, making it prone to over-browning. Monitor during the final 10 minutes of baking, and tent loosely with foil if coloring too quickly. Brush with egg wash rather than milk, as protein creates a protective barrier that promotes even, golden browning without burning.
